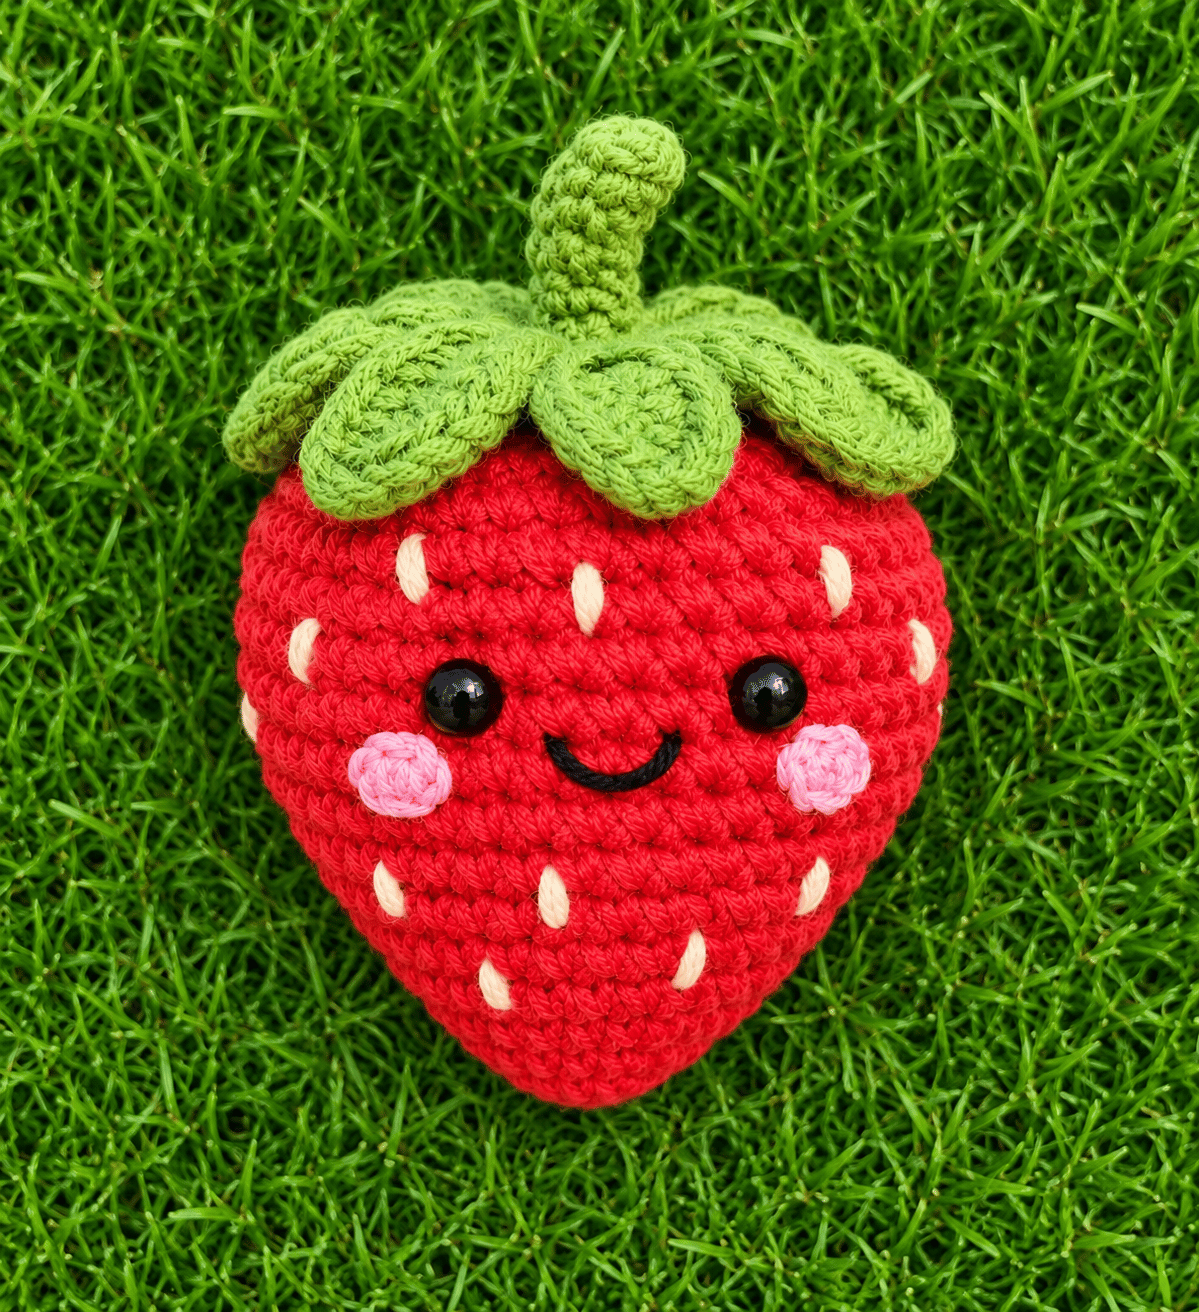
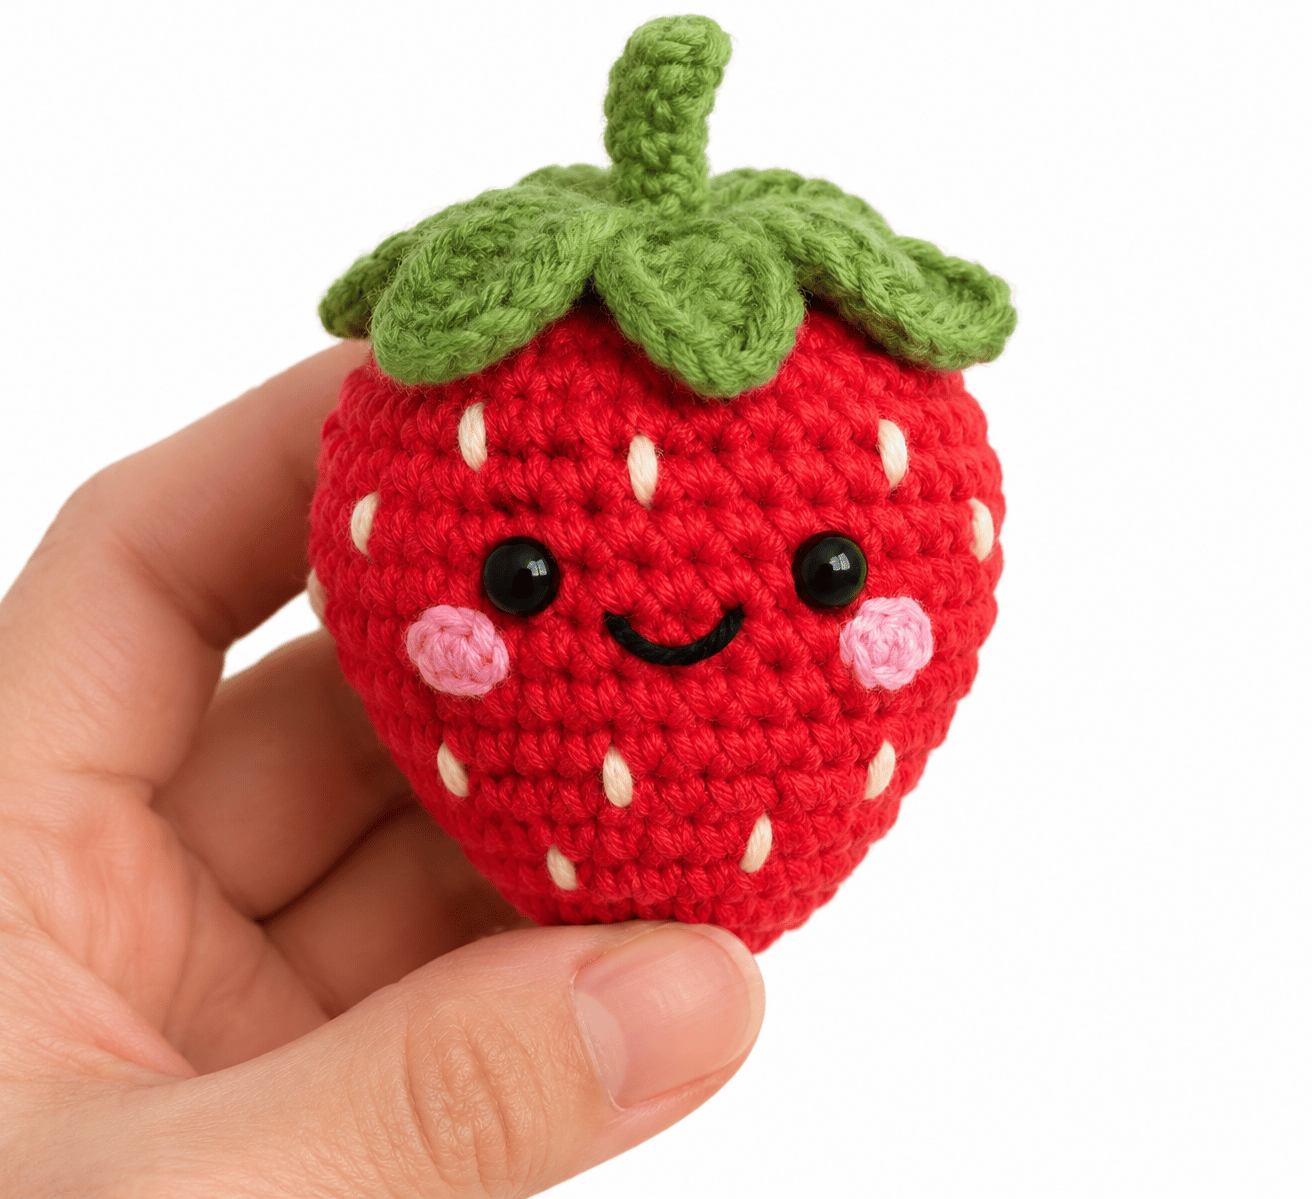
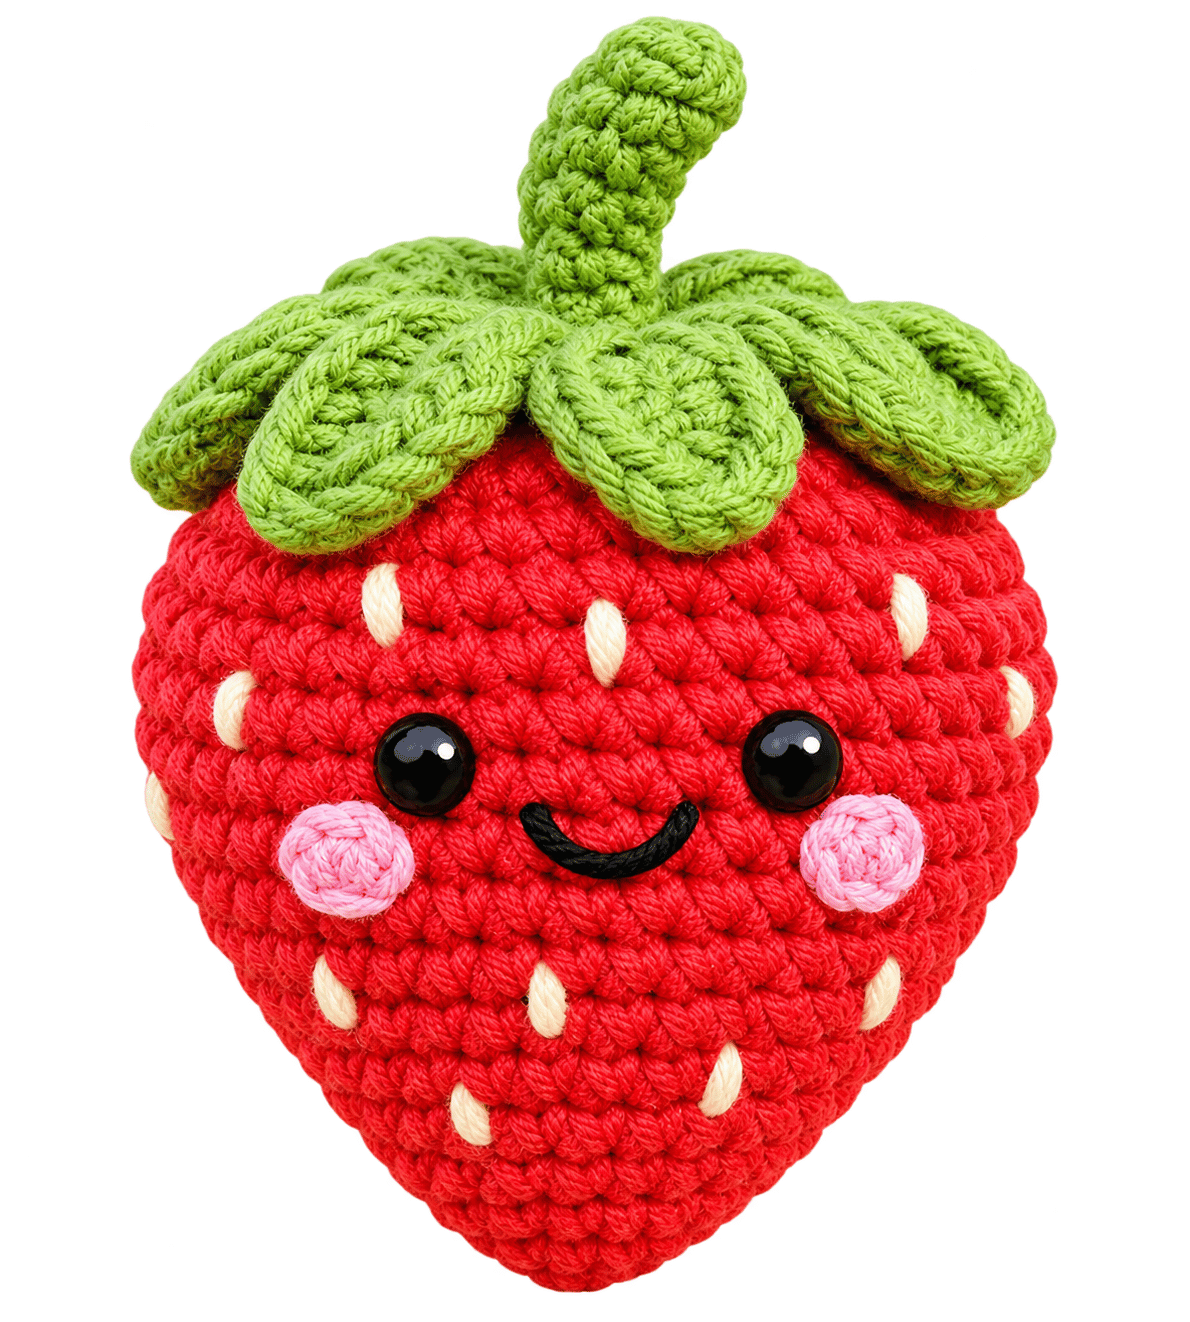
A tiny strawberry with a sweet smile, rosy cheeks, and a cute little green leafy top? Honestly, that’s a pretty good recipe for an adorable crochet project. This Mini Crochet Smiling Strawberry Plushie Pattern creates a soft, squishy strawberry with a cheerful face and a classic fruit-inspired shape.
Whether you’re making a handmade gift, adding something cute to your crochet collection, or creating little plushies for your Etsy shop, this pattern gives you a fun project without requiring hours of complicated stitching.
The best part? You can customize the strawberry with different expressions, blush colors, and tiny accessories. Let’s make a strawberry that looks like it has absolutely no worries in life. 🙂
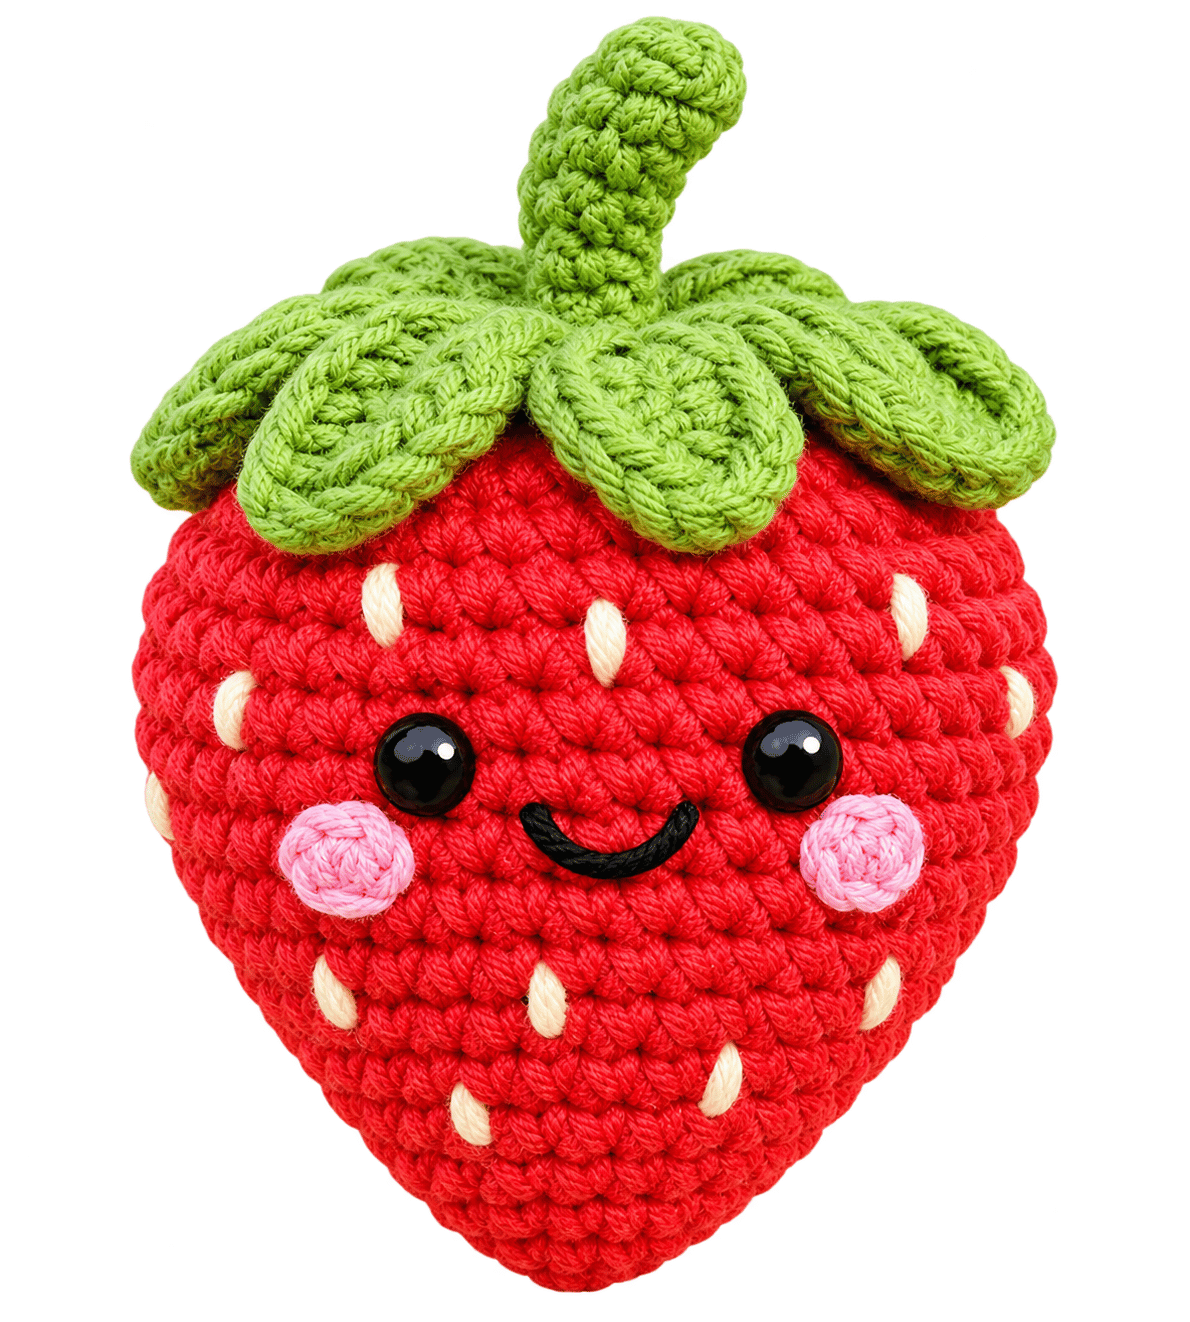
Materials
Yarn
You will need:
- Red yarn: For the strawberry body.
- Green yarn: For the leafy top.
- White or cream yarn: Optional, for embroidered highlights.
- Pink yarn: Optional, for blush cheeks.
Cotton yarn creates a neat, defined strawberry shape. Acrylic yarn feels softer and offers plenty of color choices. Chenille yarn creates a fluffy plushie, although it can hide stitch details.
Crochet Tools
- Crochet hook appropriate for your yarn.
- Fiberfill stuffing.
- Stitch marker.
- Yarn needle.
- Scissors.
- Safety eyes, approximately 5–6 mm, or black embroidery thread.
- Optional pins for positioning the facial features.
Choose a hook slightly smaller than the yarn label recommends if you notice gaps between stitches. Amigurumi needs a firm fabric to hold stuffing securely.
Measurements / Sizing
The finished strawberry measures approximately:
- Height: 3–4 inches (7.5–10 cm).
- Width: 2.5–3 inches (6–7.5 cm).
- Shape: Rounded triangular strawberry body.
- Leaf topper: Approximately 1–1.5 inches (2.5–4 cm) wide.
Your final measurements depend on your yarn thickness, crochet hook size, and individual tension.
Gauge and Stitch Pattern
Amigurumi doesn’t require the same strict gauge as garments, but consistent tension still matters.
For this strawberry, aim for tight single crochet stitches that create a smooth, compact fabric.
Stitch Pattern
The main strawberry body uses:
Single Crochet (SC): Insert the hook into the stitch, yarn over, pull up a loop, yarn over again, and pull through both loops.
Increase (INC): Work two single crochet stitches into the same stitch.
Decrease (DEC): Combine two stitches into one stitch.
Invisible Decrease (INV DEC): Insert the hook through the front loops of the next two stitches, yarn over, pull through both front loops, yarn over again, and pull through the remaining loops.
Stitch Abbreviations
This pattern uses US crochet terminology.
| Abbreviation | Meaning |
| MR | Magic Ring |
| SC | Single Crochet |
| INC | Increase |
| DEC | Decrease |
| INV DEC | Invisible Decrease |
| SL ST | Slip Stitch |
| CH | Chain |
| FO | Fasten Off |
| BLO | Back Loop Only |
| FLO | Front Loop Only |
| ST | Stitch |
| RND | Round |
Skill Level – Beginner
You should feel comfortable with:
- Making a magic ring.
- Crocheting single crochet stitches.
- Increasing stitches.
- Decreasing stitches.
- Counting stitches across rounds.
- Stuffing and closing an amigurumi.
- Sewing small crochet pieces together.
If you haven’t mastered invisible decreases yet, don’t worry. Regular single crochet decreases can work too, although invisible decreases usually create a smoother surface.
Notes Before You Start
Before starting your smiling strawberry plushie, keep these little details in mind.
- Work in continuous rounds: Avoid joining each round with a slip stitch unless the instructions specifically require it.
- Use a stitch marker: Place it in the first stitch of every round to keep track of your progress.
- Keep your stitches tight: Small gaps can allow stuffing to peek through.
- Stuff gradually: Add fiberfill in small amounts instead of filling the entire strawberry at once.
- Check the face placement: Position the eyes and smile before attaching them permanently.
- Adjust the expression: A curved smile, tiny blush circles, or embroidered eyelashes can completely change the strawberry’s personality.
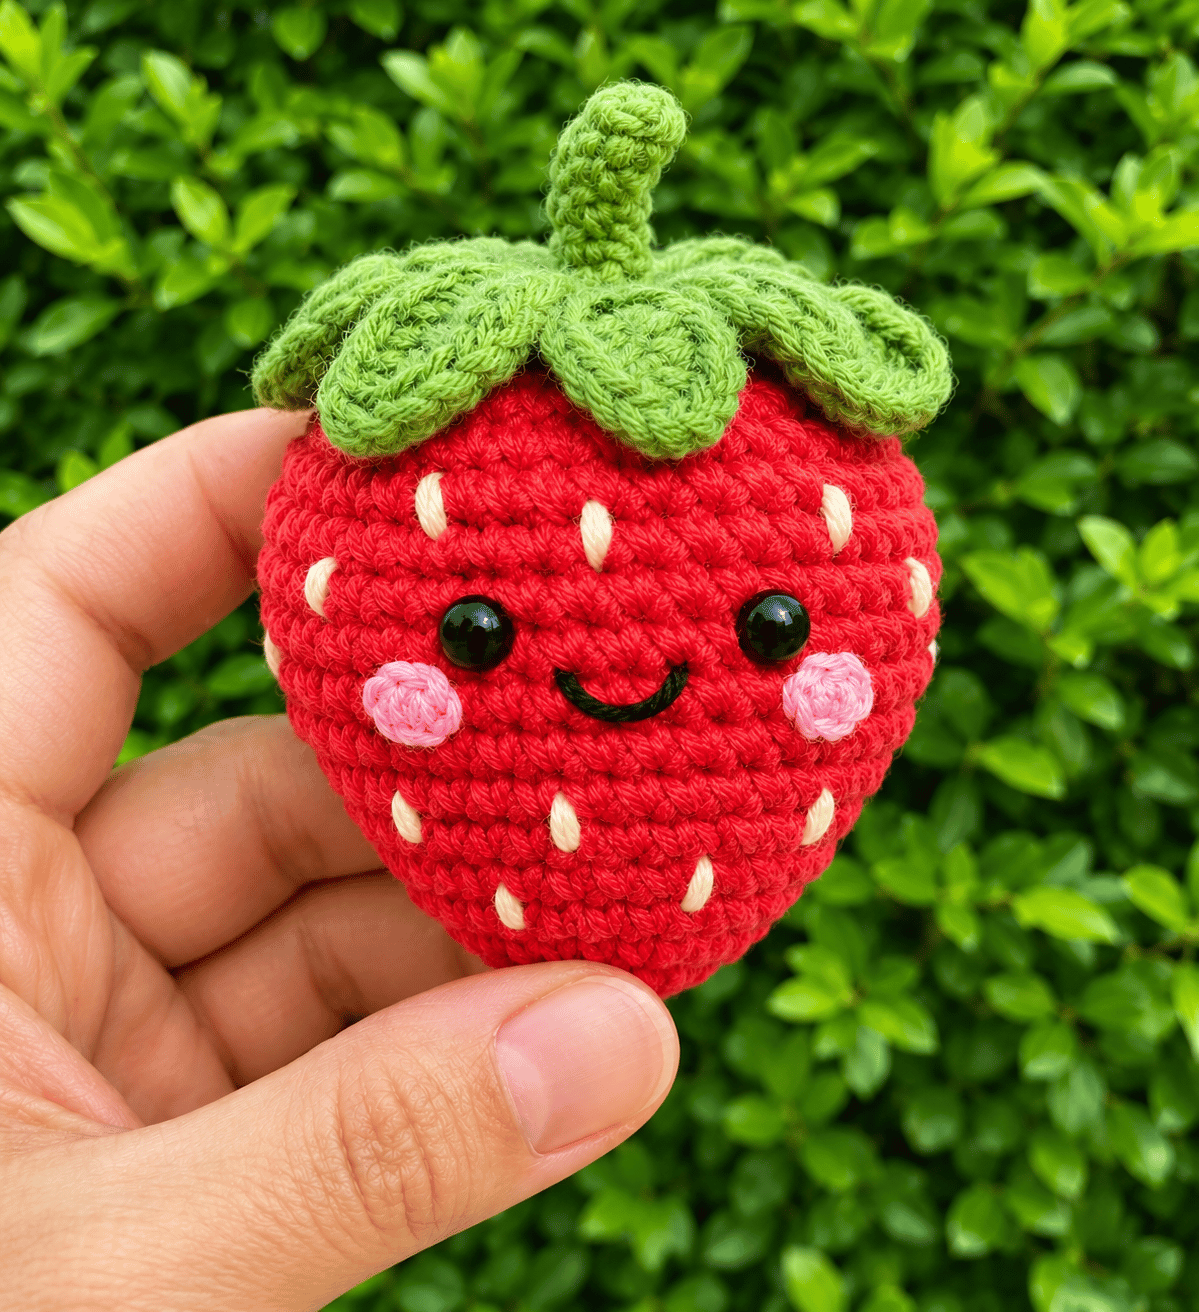
Mini Crochet Smiling Strawberry Plushie Pattern
This strawberry features a rounded body, a slightly tapered lower section, and a cute leafy crown.
Crochet the Strawberry Body
Use red yarn and your crochet hook.
Round 1
Make a magic ring and crochet 6 SC into the ring.
(6)
Round 2
Work 2 SC into each stitch around.
(12)
Round 3
Repeat 1 SC, INC around.
(18)
Round 4
Repeat 2 SC, INC around.
(24)
Round 5
Repeat 3 SC, INC around.
(30)
Round 6
Repeat 4 SC, INC around.
(36)
Rounds 7–11
SC in every stitch around.
(36)
These rounds create the wider middle section of your strawberry. Keep your stitches consistent so the body develops a smooth, rounded shape.
Round 12
Repeat 4 SC, DEC around.
(30)
Round 13
SC in every stitch around.
(30)
Round 14
Repeat 3 SC, DEC around.
(24)
Round 15
SC in every stitch around.
(24)
Round 16
Repeat 2 SC, DEC around.
(18)
Stuffing the Strawberry
Add fiberfill through the opening before the body becomes too narrow.
Push small amounts of stuffing toward the bottom and sides. Avoid packing everything into the center because that can create a lumpy shape.
Your strawberry should feel soft but hold its rounded form.
Round 17
Repeat 1 SC, DEC around.
(12)
Add a little more stuffing if necessary.
Round 18
DEC around.
(6)
Cut the yarn, leaving a tail. Thread the tail through the remaining front loops and pull tightly to close the opening.
Secure the yarn and hide the remaining tail inside the body.
Your strawberry body should now have a cute, plump shape.
Crochet the Green Strawberry Leaves
The leafy top gives your plushie its unmistakable strawberry appearance.
Use green yarn.
Leaf Base
Make a magic ring.
Work 6 SC into the ring and close it with a slip stitch.
You can also crochet a small circular base using increases if you prefer a wider leaf foundation.
Leaf Points
Create five small leaf points around the green base.
For each leaf:
- CH 4.
- Starting in the second chain from the hook, work 1 SL ST.
- Work 1 SC in the next chain.
- Work 1 HDC in the final chain.
- SL ST into the next stitch of the green base.
Repeat around the base until you create five leafy points.
The leaves should look slightly pointed rather than perfectly round. That’s what gives the strawberry its natural leafy crown.
Fasten off and leave a long yarn tail for sewing.
Optional Leaf Variation
If you want a fuller strawberry topper, create six leaves instead of five.
You can also make longer leaves by adding one extra chain to each point.
For a softer look, use light green yarn. Dark green creates a stronger contrast against the red strawberry body.
Add the Strawberry’s Smiling Face
This is the detail that turns an ordinary fruit plushie into a character.
Eye Placement
Position two small black safety eyes on the front of the strawberry.
For a 3–4 inch plushie, try placing the eyes approximately 5–7 stitches apart, depending on your stitch size.
Keep the eyes slightly above the center of the body.
Before attaching the safety-eye washers, check the expression from the front. Small changes in spacing can make your strawberry look sleepy, excited, or mischievous.
Important: Safety eyes contain small parts. Use embroidered eyes instead when making plushies for young children.
Embroider the Smile
Use black embroidery thread.
- Insert your needle slightly below the eyes.
- Create a small curved line.
- Stitch over the curve once or twice.
- Secure the thread inside the body.
A simple U-shaped smile works beautifully.
Keep the smile small. A huge grin can overwhelm the tiny strawberry face.
Add Rosy Cheeks
Use pink yarn or embroidery floss.
Create two small blush circles beneath the eyes.
You can make the cheeks using:
- Tiny embroidered circles.
- Small felt circles.
- A few pink stitches.
- Soft pastel fabric blush, if appropriate for your materials.
The blush gives the strawberry a sweet, cheerful expression.
Assemble the Strawberry Plushie
Assembly determines how polished your finished strawberry looks.
Attach the Leaf Topper
Place the green leaf base directly over the top opening of the strawberry body.
Use pins to hold it in place.
Sew around the green base using the yarn tail. Keep your stitches close together so the topper sits securely.
Avoid pulling too tightly. Excessive tension can make the leafy crown sink into the strawberry body.
Position the Leaves
Arrange the leaf points around the top.
You can leave them naturally spread outward or gently bend a few leaves downward.
If one leaf looks awkward, reposition it before securing the final stitches.
Check the Face
Look at the strawberry from the front.
Make sure:
- Both eyes sit at approximately the same height.
- The smile appears centered.
- The cheeks look balanced.
- The leafy top doesn’t cover the face.
A quick front-facing check can save you from discovering that your strawberry looks permanently surprised after you’ve finished sewing everything together.
Assembly & Finished Size
Your mini crochet smiling strawberry plushie should now measure approximately 3–4 inches tall.
The finished plushie should have:
- A rounded red strawberry body.
- A green leafy crown.
- Two cute black eyes.
- A small embroidered smile.
- Optional rosy cheeks.
You can personalize the strawberry with a few extra details.
Tiny White Seeds: Add small embroidered seed stitches using cream or white yarn.
Mini Bow: Attach a tiny pink bow beneath the leafy crown.
Keychain: Sew a small hanging loop into the top and attach a suitable keychain clasp.
Heart Detail: Embroider a tiny heart on the side of the strawberry.
Different Expressions: Try sleepy eyes, wink faces, or a surprised mouth.
Conclusion
Mini Crochet Smiling Strawberry Plushie Pattern combines simple amigurumi techniques with adorable details that make the finished plushie feel special.
The rounded body, leafy green topper, embroidered smile, and rosy cheeks create a cheerful little strawberry that works beautifully as a handmade gift, crochet collection piece, or Etsy product.
Take your time with the shaping, keep your stitches tight, and pay attention to facial placement. Those small details make a noticeable difference.
FAQ
Is this mini crochet strawberry pattern beginner-friendly?
Yes. The pattern uses basic amigurumi techniques such as single crochet, increases, decreases, stuffing, and simple sewing.Beginners should practice the magic ring and invisible decrease before starting if they haven’t used those techniques before.
Can I use chenille yarn?
Absolutely.Chenille yarn creates a softer, fluffier strawberry. However, it can make stitch counting more difficult, especially when you work with tiny rounds.Cotton or acrylic yarn gives you more visible stitch definition.
How can I make a smaller strawberry?
Use thinner yarn and a smaller crochet hook.You can also shorten the middle section by removing one or two rounds of plain single crochet.
Can I sell strawberries made from this pattern?
You can sell finished handmade strawberries if you create them yourself and follow any applicable pattern licensing terms.If you plan to sell finished plushies commercially, check the requirements for toy safety, labeling, and applicable marketplace rules.
How do I make the strawberry look extra cute?
Focus on the facial expression.Small eyes, a centered smile, and soft pink cheeks usually create a sweet appearance. A tiny bow or embroidered seeds can add personality without making the design too busy.