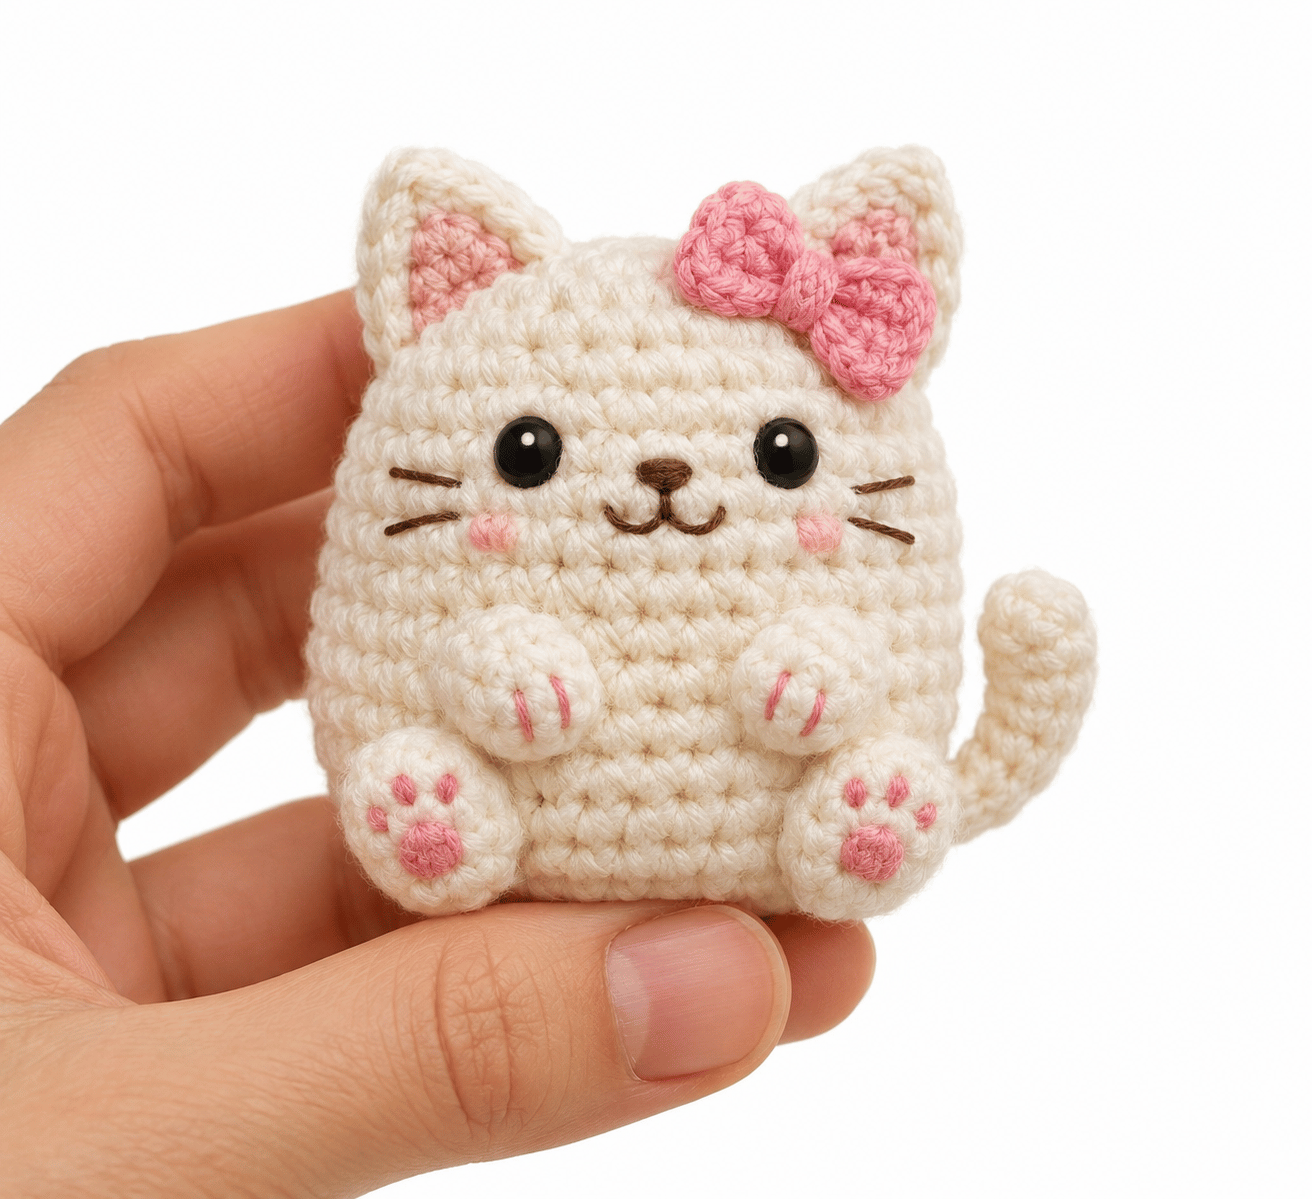
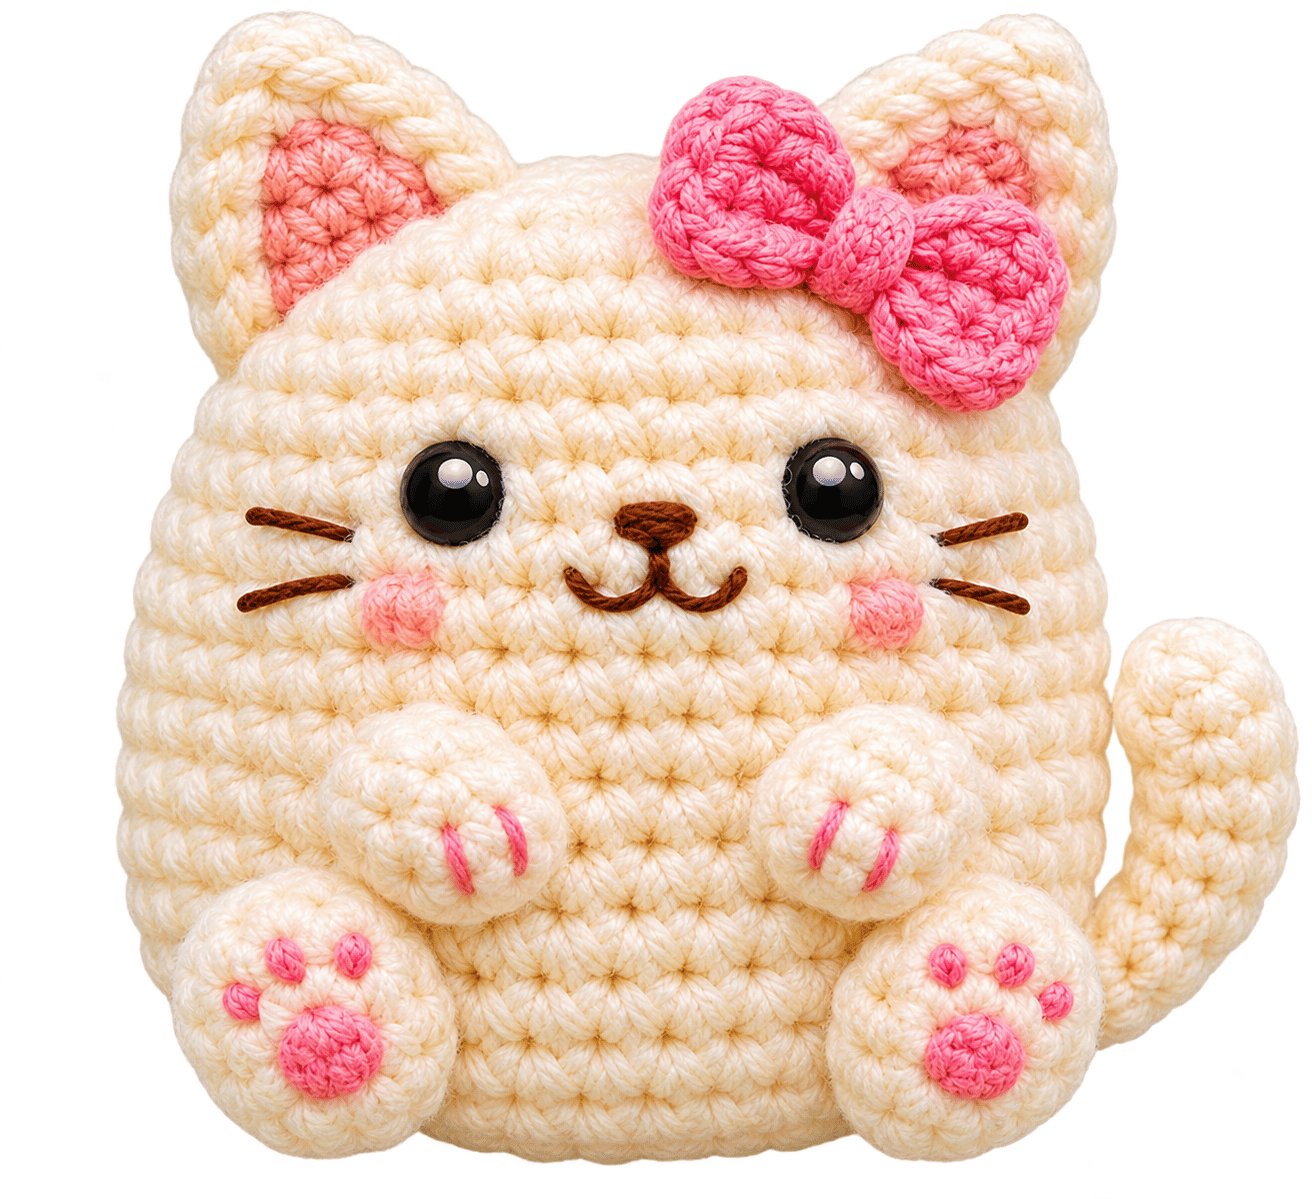
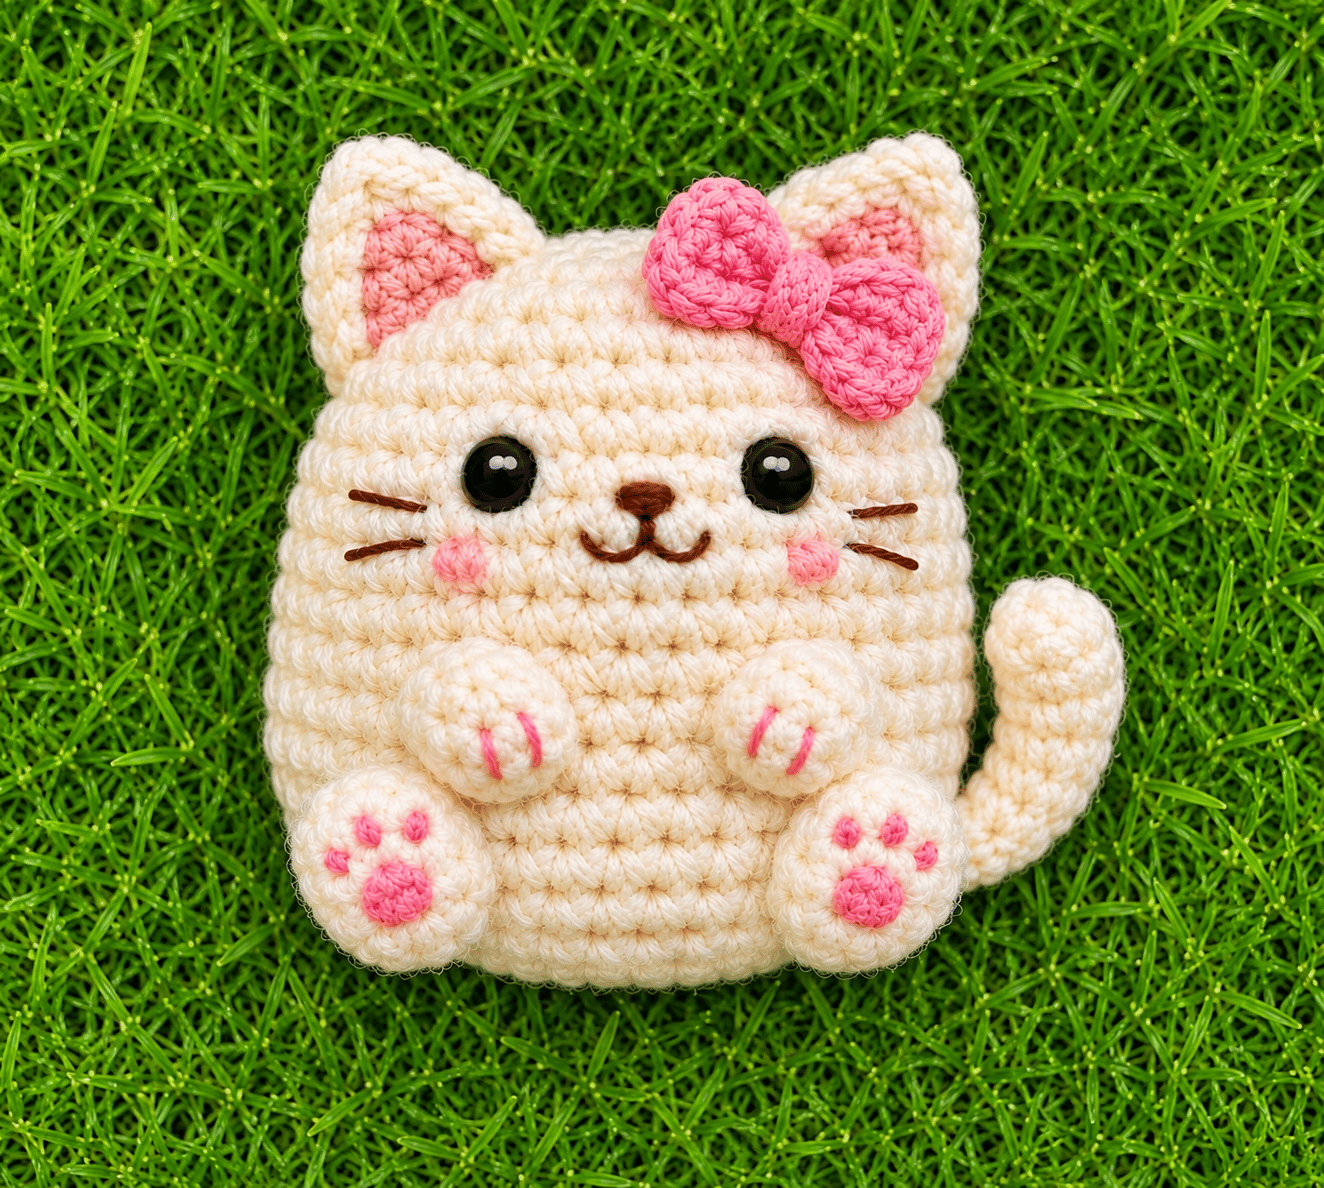
A tiny crochet cat with a little bow? Honestly, that’s a pretty convincing reason to grab your yarn and crochet hook. This cute little kitty features a round face, pointy ears, a chubby body, and an adorable bow that gives it just the right amount of personality.
If you enjoy making small amigurumi animals, this Cute Crochet Cat With a Tiny Bow Pattern makes a lovely addition to your collection. You can use it as a handmade gift, a desk companion, a shelf decoration, or even a cute little crochet accessory.
The pattern uses basic crochet stitches and simple shaping techniques. You don’t need advanced amigurumi skills to make it. I’ll walk you through each part, from crocheting the head and body to attaching the ears, embroidering the face, and making that tiny bow.
Grab your favorite yarn, prepare your crochet hook, and let’s make a little kitty!
Materials
Yarn
Choose a smooth, medium-weight or DK cotton or acrylic yarn.
For this design, you’ll need:
- Main color: White, cream, beige, pink, grey, or your favorite cat color.
- Bow color: Pink, red, lavender, or pastel blue.
- Nose and mouth: Black or dark brown embroidery thread.
Cotton yarn gives your cat a neat stitch definition and helps maintain its shape. Acrylic yarn feels softer and offers more flexibility. IMO, either works well for a small amigurumi project.
Other Supplies
- 2.5 mm crochet hook.
- Polyester fiberfill stuffing.
- Stitch marker.
- Yarn needle.
- Scissors.
- Black embroidery thread.
- Two 6 mm safety eyes (optional).
- Pins for positioning the parts.
Measurements / Sizing
Your finished cat will measure approximately:
| Part | Approximate Measurement |
| Total height | 10–12 cm |
| Head width | 5–6 cm |
| Body height | 4–5 cm |
| Ear height | 1.5–2 cm |
| Tail length | 3–4 cm |
| Bow width | 2–2.5 cm |
These measurements assume DK or light worsted yarn with a 2.5 mm crochet hook.
Remember: Your finished size depends on your yarn thickness, hook size, stitch tension, and stuffing amount.
If you want a slightly larger cat, use thicker yarn and an appropriately larger hook. For a tiny keychain version, use thinner yarn and a smaller hook.
Gauge and Stitch Pattern
Amigurumi doesn’t require the same strict gauge as garments, but your stitches should remain consistent.
For this project, aim for approximately:
- 20 single crochet stitches across 10 cm.
- 22–24 rounds across 10 cm.
These measurements provide a general guide rather than a strict requirement.
Stitch Pattern
The entire cat mainly uses single crochet stitches worked in continuous rounds.
The basic shaping techniques include:
- Increase (inc): Work two single crochet stitches into one stitch.
- Decrease (dec): Combine two stitches into one using an invisible decrease.
Keep your stitch tension consistent throughout the head and body. Loose stitches can create small holes that expose the stuffing.
Stitch Abbreviations
This pattern uses US crochet terminology.
| Abbreviation | Meaning |
| MR | Magic Ring |
| ch | Chain |
| sc | Single Crochet |
| inc | Increase (2 sc in one stitch) |
| dec | Decrease (invisible single crochet decrease) |
| sl st | Slip Stitch |
| st | Stitch |
| sts | Stitches |
| FO | Fasten Off |
| BLO | Back Loop Only |
Skill Level – Beginner
This crochet cat pattern suits crocheters who already understand a few basic techniques.
You should feel comfortable with:
- Making a magic ring.
- Crocheting single crochet stitches.
- Increasing stitches.
- Decreasing stitches.
- Working in continuous rounds.
- Stuffing amigurumi pieces.
- Sewing separate crochet pieces together.
If you’ve already crocheted a small ball or a basic amigurumi animal, you’ll recognize most of these techniques.
Notes Before You Start
A few small details can make a noticeable difference in your finished cat.
- Work in continuous rounds: Don’t join each round with a slip stitch unless the instructions specifically say so.
- Use a stitch marker: Place it in the first stitch of every round so you don’t lose track of your position.
- Maintain tight stitches: Amigurumi needs a firm fabric that keeps stuffing inside.
- Stuff gradually: Add small amounts of fiberfill instead of pushing everything inside at once.
- Check your stitch count: Count your stitches after increases and decreases.
- Leave long yarn tails: You’ll need them to sew the head, ears, and tail onto the body.
One important tip: don’t pull your yarn so tightly that your hook struggles to enter the stitches. You want firm, even stitches, not a battle with your crochet hook.
Step-by-Step Crochet Cat Pattern
Crochet the Cat Head
Use your main yarn color.
Work in continuous rounds.
| Round | Instructions | Total |
| R1 | 6 sc in MR | 6 |
| R2 | Inc in each stitch | 12 |
| R3 | (1 sc, inc) × 6 | 18 |
| R4 | (2 sc, inc) × 6 | 24 |
| R5 | (3 sc, inc) × 6 | 30 |
| R6–R9 | Sc in each stitch | 30 |
| R10 | (3 sc, dec) × 6 | 24 |
| R11 | (2 sc, dec) × 6 | 18 |
| R12 | (1 sc, dec) × 6 | 12 |
| R13 | Dec × 6 | 6 |
Before you close the head completely, add polyester stuffing.
Push the fiberfill gently into the lower and side sections. Distribute it evenly to create a smooth, round shape.
Place the safety eyes between R7 and R8, approximately 7 stitches apart. Adjust the spacing slightly if you prefer a wider or more playful expression.
If you plan to embroider the eyes, wait until you’ve positioned the head on the body so you can check the facial alignment.
Fasten off and close the remaining opening.
Crochet the Cat Body
Use the same main yarn color.
The body has a slightly oval shape to give your cat a cute, rounded appearance.
| Round | Instructions | Total |
| R1 | 6 sc in MR | 6 |
| R2 | Inc in each stitch | 12 |
| R3 | (1 sc, inc) × 6 | 18 |
| R4 | (2 sc, inc) × 6 | 24 |
| R5–R9 | Sc in each stitch | 24 |
| R10 | (2 sc, dec) × 6 | 18 |
| R11–R12 | Sc in each stitch | 18 |
| R13 | (1 sc, dec) × 6 | 12 |
| R14 | Dec × 6 | 6 |
Stuff the body gradually.
Add slightly more fiberfill around the middle to create a plump appearance. Keep the top and bottom openings manageable so you can close the piece neatly.
Fasten off and close the opening.
Don’t overstuff the body. Excessive stuffing can stretch the stitches and make the shape look uneven.
Make Two Small Cat Ears
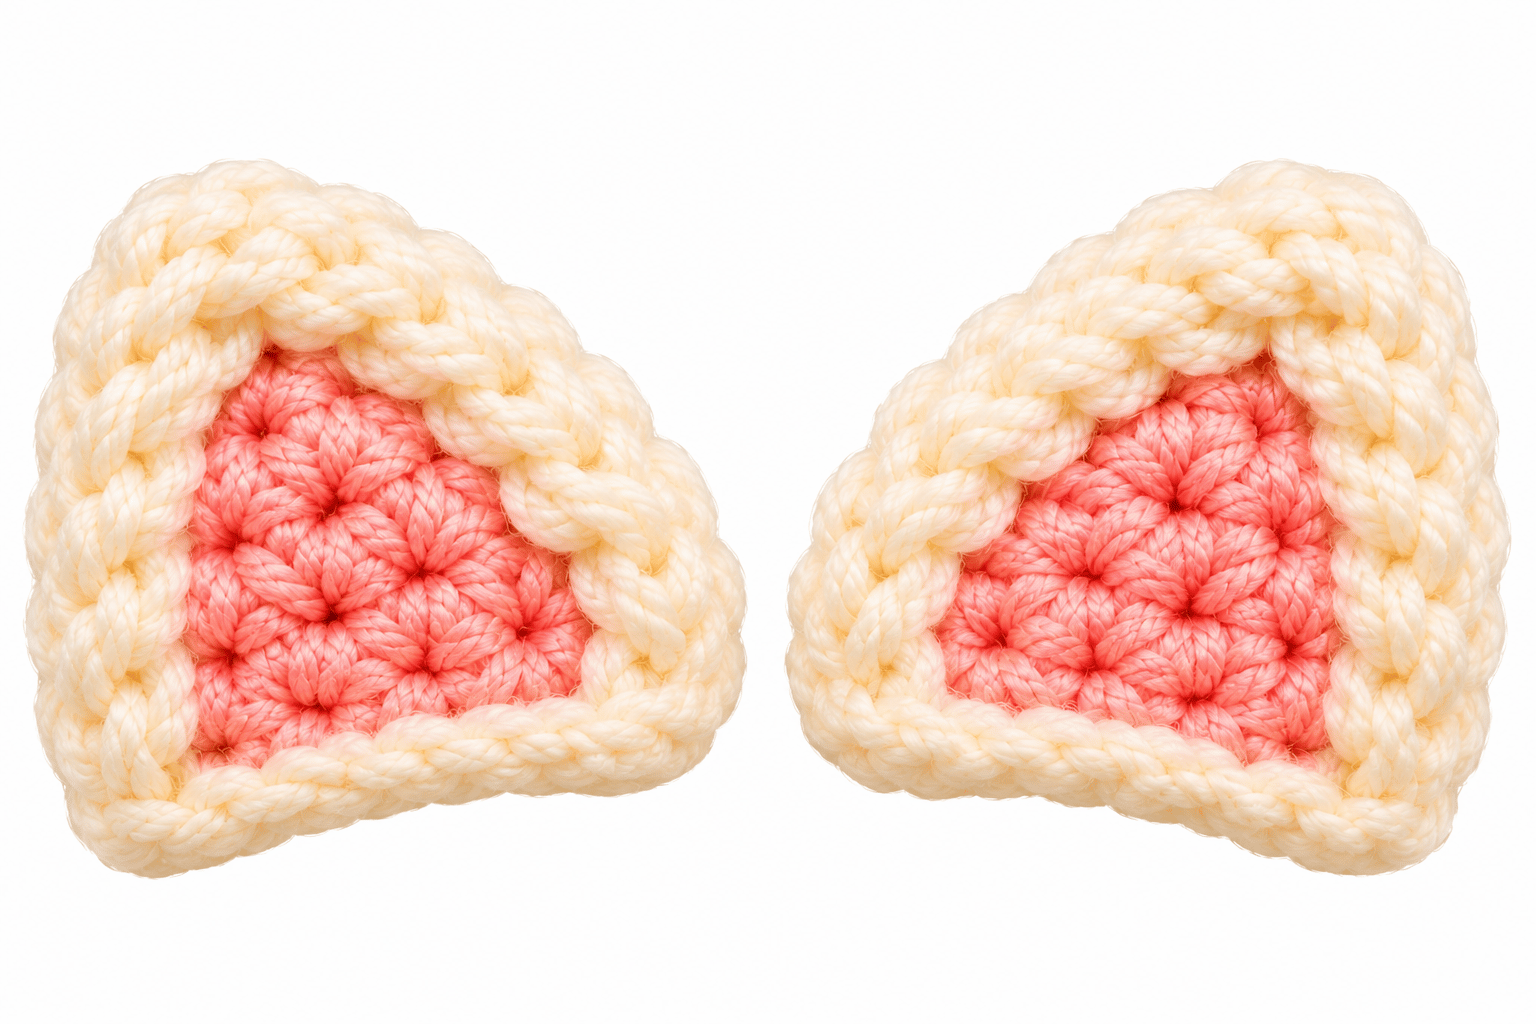
The ears give your amigurumi its unmistakable cat-like appearance.
Use the main yarn color and make two identical pieces.
Ear pattern:
- R1: 4 sc in MR (4)
- R2: Inc in each stitch (8)
- R3: (1 sc, inc) × 4 (12)
- R4: Sc around (12)
Fasten off, leaving a long sewing tail.
Gently flatten each ear into a small rounded triangular shape. You can use your fingers to adjust the tip and make it look slightly pointed.
You don’t need to stuff these tiny pieces.
Pin both ears to the upper sides of the head. Leave a little space between them so the cat doesn’t end up looking like a tiny bear.
Sew them securely in place.
Crochet the Cat Tail
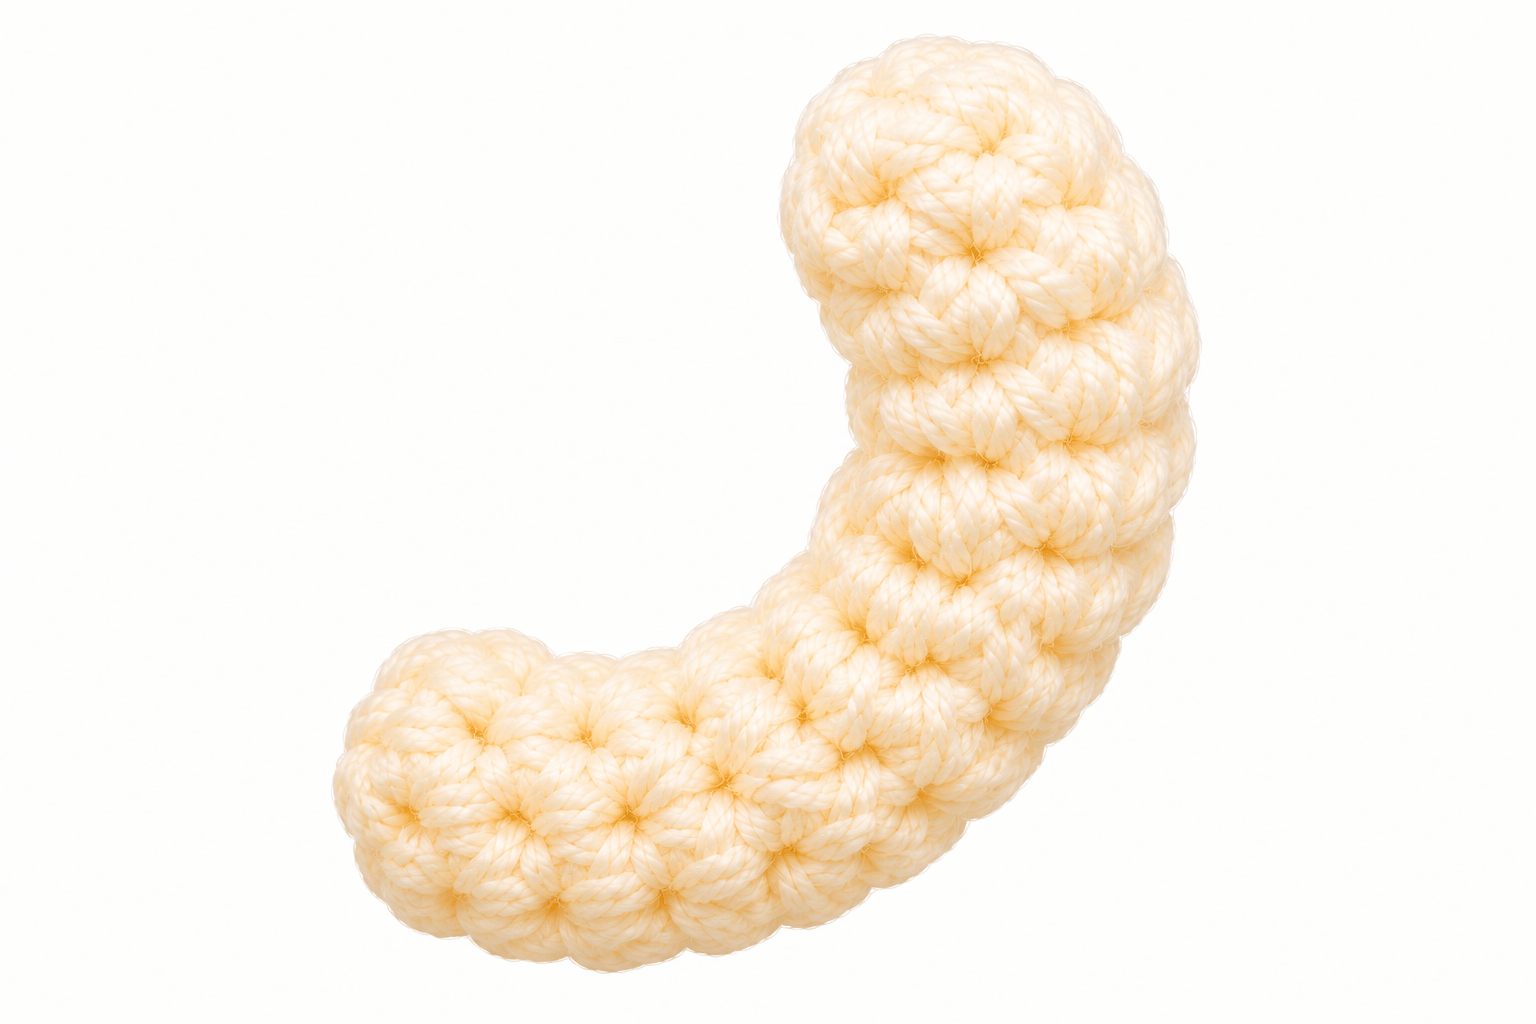
A little tail completes the cat’s silhouette.
Use your main yarn color.
Tail pattern:
- Chain 9.
- Starting in the second chain from the hook, work 1 sc in each chain.
- You should have 8 sc.
- Fasten off and leave a long sewing tail.
Roll the crocheted strip gently between your fingers to give it a slightly curved appearance.
Sew one end to the lower back of the body. Position it toward one side rather than directly in the middle.
You can curve the tail slightly upward for a playful look.
Make the Tiny Crochet Bow
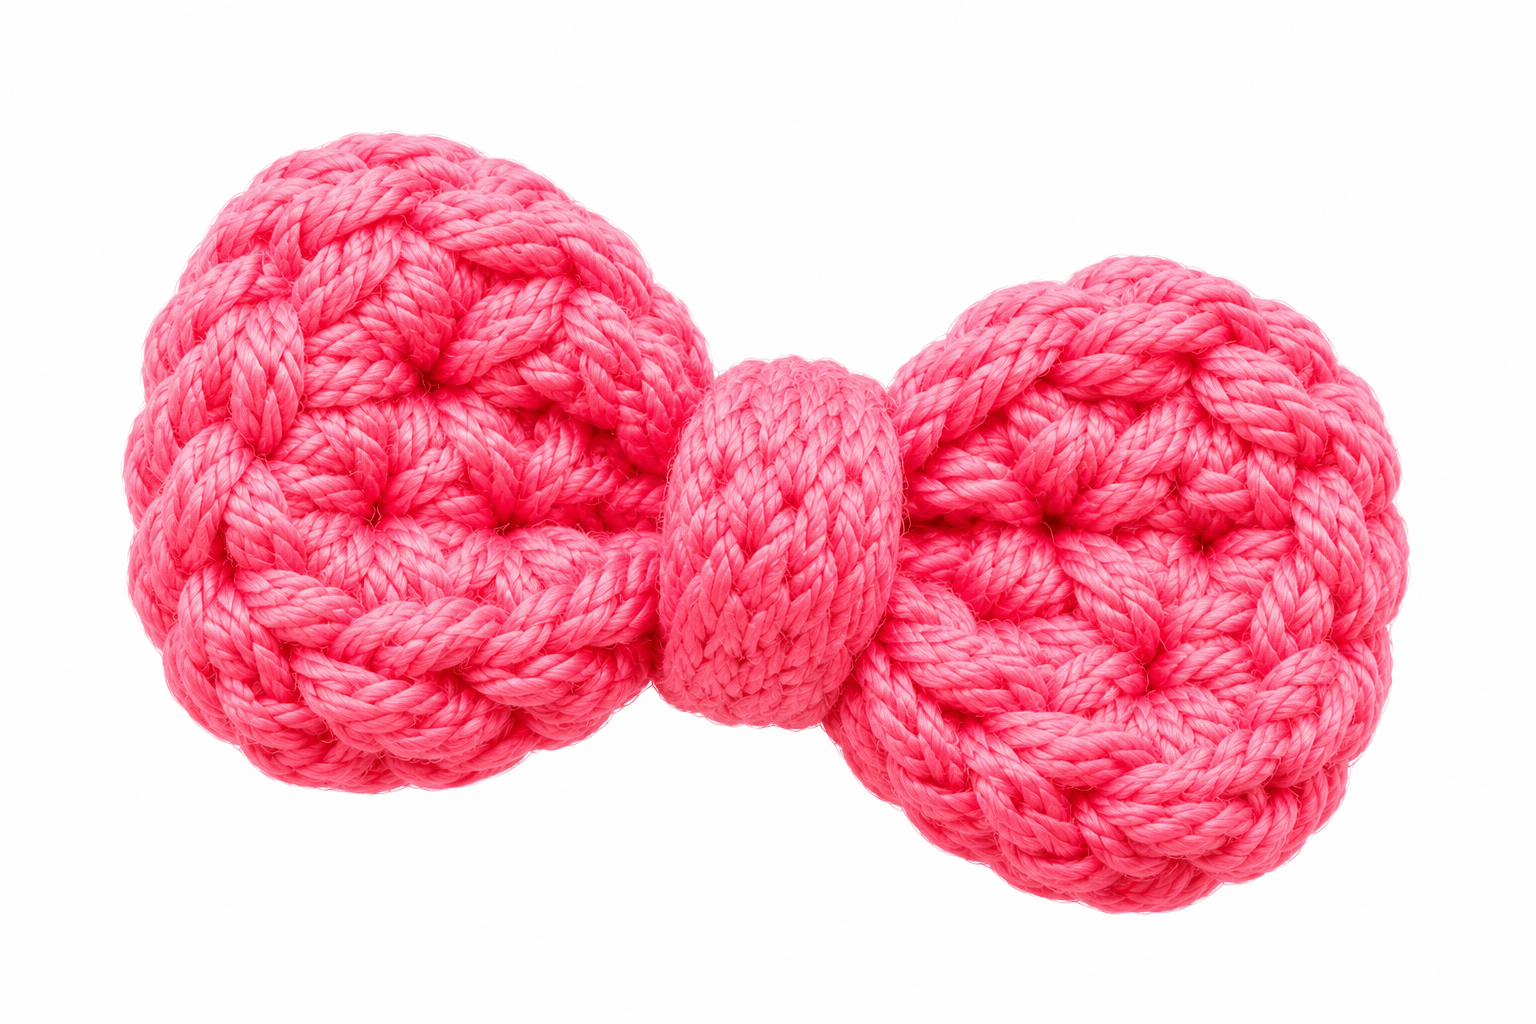
Here’s the little detail that gives this cat its personality.
Choose a contrasting yarn color. Soft pink, pastel lavender, cherry red, and baby blue all look lovely against a cream or white cat.
Bow pattern:
Start by chaining 7.
- Row 1: Starting in the second chain from the hook, work 1 sc in each chain (6).
- Row 2: Ch 1, turn, sc in each stitch (6).
- Row 3: Ch 1, turn, sc in each stitch (6).
Fasten off, leaving a long yarn tail.
You should have a small rectangular crochet piece.
Shape the bow:
- Fold the rectangle gently around its middle.
- Pinch the center to create two small loops.
- Wrap the remaining yarn around the center several times.
- Tighten the wrap gently.
- Secure the yarn at the back with a knot.
Adjust both loops until they look balanced.
Sew the bow onto the top of the cat’s head, slightly toward one ear.
For a more playful look, you can attach it near the base of one ear instead.
Adding the Cat’s Facial Details
The face gives your little kitty its expression, so take your time with this section.
Eyes
If you use safety eyes, position them evenly between R7 and R8.
For embroidered eyes, use black embroidery thread and create two small vertical or oval shapes.
Keep both eyes at approximately the same height.
Nose
Use pink or black embroidery thread.
Make a tiny horizontal stitch or small triangular shape at the center of the face.
Mouth
Use a strand of black embroidery thread.
Create a short vertical stitch underneath the nose. Add two small diagonal stitches to form a simple smiling mouth.
Whiskers
Whiskers are optional, but they can add a nice finishing detail.
Use thin embroidery thread and create one or two short stitches on each cheek.
Avoid making the whiskers too long. Small facial details usually look better on miniature amigurumi.
Assembly & Finished Size
You’ve crocheted all the individual pieces. It’s time to bring them together.
Correct placement matters because even a small adjustment can change the overall expression of your cat.
Step 1: Attach the Head
Position the head on top of the body.
Center it carefully and use pins to hold it in place.
Sew around the bottom of the head using the long yarn tail. Make several small stitches between the head and body so the connection stays firm.
Check the angle before completing the seam.
Step 2: Attach the Ears
Position the ears on the upper left and right sides of the head.
Keep them symmetrical, but don’t worry about making them perfectly identical. A little variation can give your cat a handmade appearance.
Sew each ear securely.
Step 3: Attach the Tail
Sew the tail onto the lower back of the body.
You can leave it straight or curve it slightly to one side.
Step 4: Attach the Bow
Position the tiny bow near one ear.
Use the remaining yarn tail or matching sewing thread to attach it securely.
If you prefer a removable accessory, you can use a small detachable fabric fastener instead. Keep small detachable parts away from babies and young children.
Step 5: Final Adjustments
Take a moment to inspect your finished cat.
- Check that both ears sit securely.
- Adjust the bow loops if they look uneven.
- Make sure the head connects firmly to the body.
- Check the facial details for symmetry.
- Remove any visible yarn tails.
Your finished crochet cat should measure approximately 10–12 cm tall.
Conclusion
This Cute Crochet Cat With a Tiny Bow Pattern combines simple amigurumi techniques with a few charming details to create a sweet little handmade companion.
You can customize the yarn colors, change the bow design, adjust the facial expression, or make an entire collection of tiny cats in different styles.
The most important things to remember are to maintain consistent stitches, stuff the pieces gradually, and take your time when assembling the face and ears.
Whether you make this little kitty as a gift, a crochet decoration, or a handmade addition to your amigurumi collection, the tiny bow adds a lovely finishing touch.
So grab your favorite yarn color and give this little cat a personality of its own. Who knows? One tiny kitty might turn into an entire crochet cat collection! 🙂
FAQ
Is This Crochet Cat Pattern Suitable for Beginners?
Yes! This pattern uses basic amigurumi techniques, including single crochet, increases, decreases, and simple sewing.Beginners who understand these stitches can follow the instructions comfortably.
What Yarn Works Best for a Crochet Cat?
Cotton and acrylic yarn both work well.Cotton yarn gives you defined stitches and a firm shape, while acrylic yarn provides a softer finish.
Can I Make This Cat Without Safety Eyes?
Absolutely.Use black embroidery thread to create small eyes. This option also makes the cat more suitable for young children when you secure all other parts properly and follow appropriate toy-safety practices.
How Can I Make the Cat Bigger?
Use thicker yarn and a larger crochet hook.For example, you can switch from DK yarn with a 2.5 mm hook to a heavier yarn with a 3.5 mm or 4 mm hook. Your finished cat will have larger dimensions.
Can I Sell Finished Crochet Cats Made From This Pattern?
You can sell your own handmade finished items if you follow the usage terms of the pattern source and any applicable marketplace rules.Always create your own product photographs and accurately describe your handmade item.