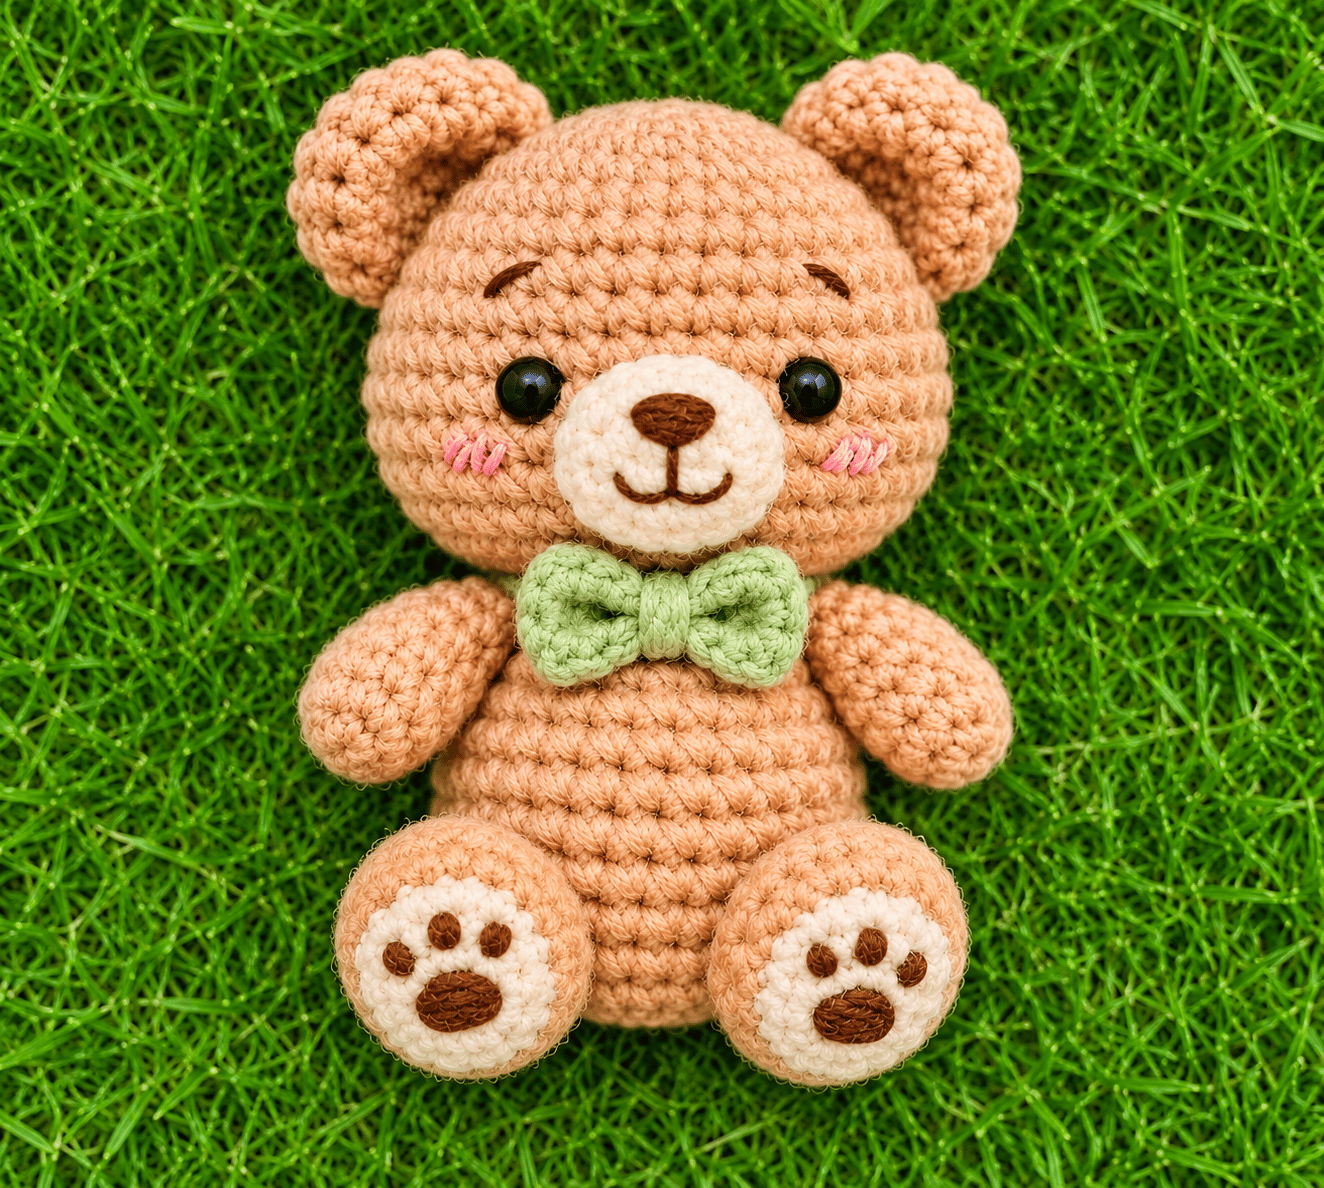
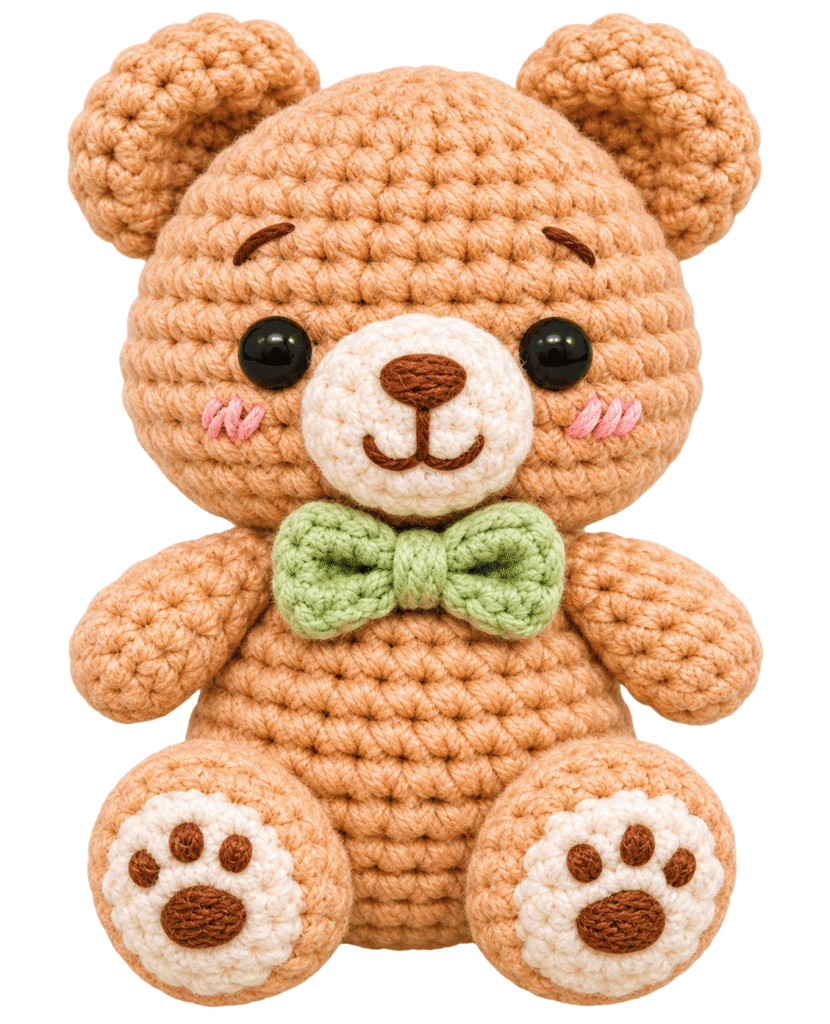
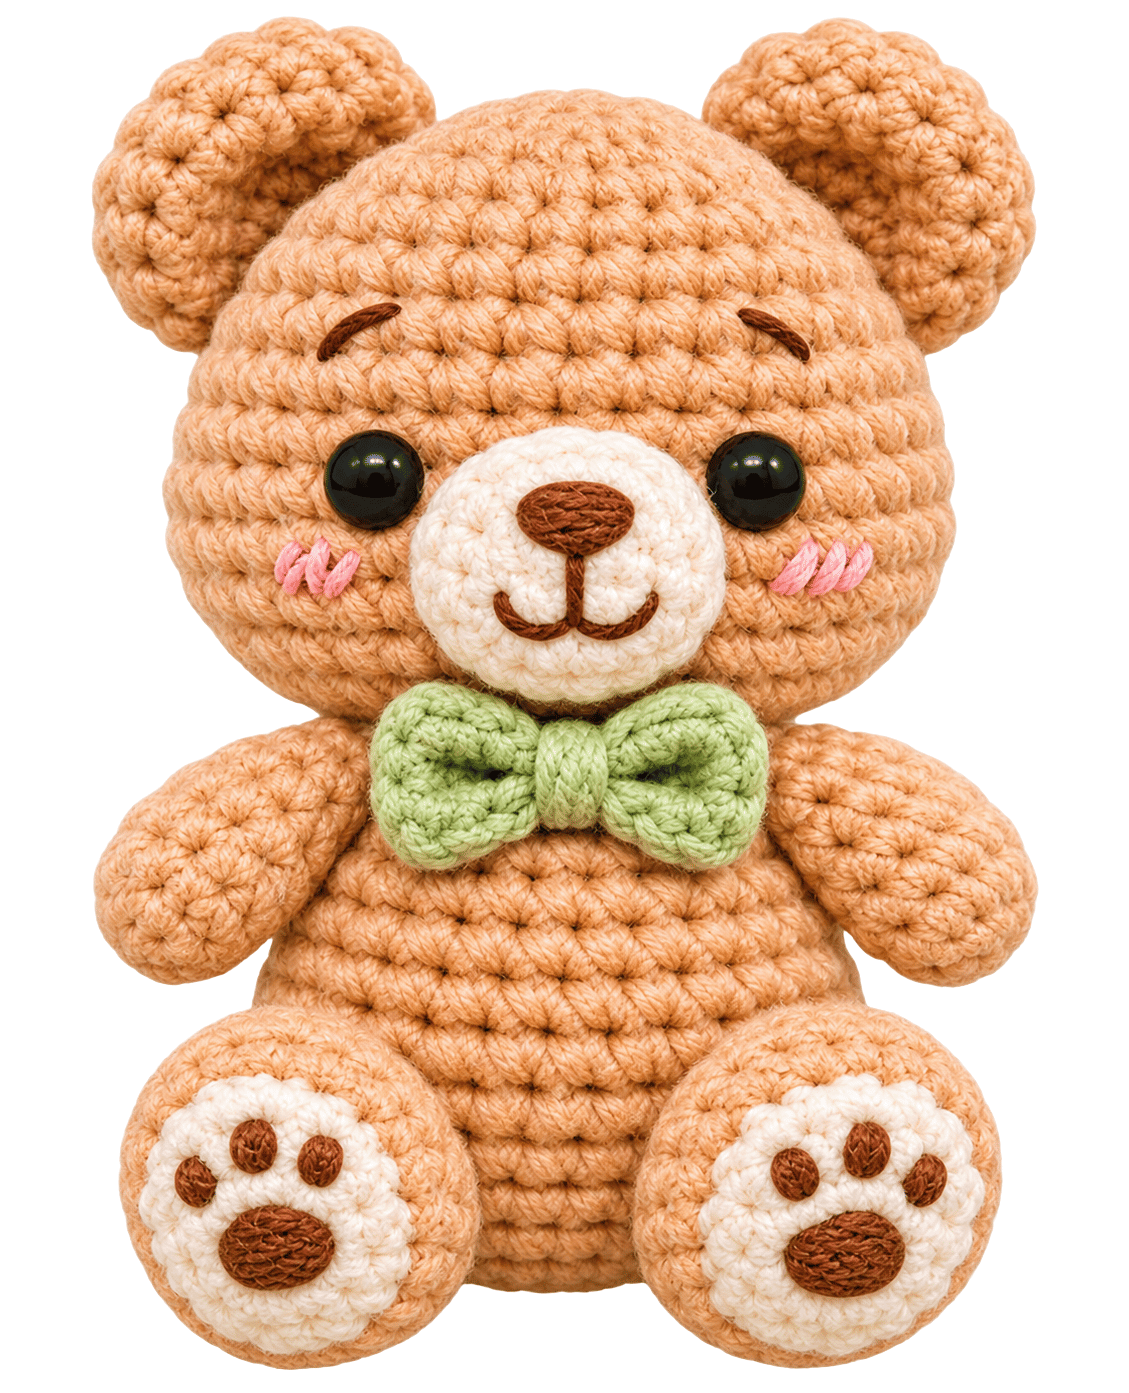
A tiny bear with chubby cheeks, little rounded ears, and a sweet embroidered nose? Honestly, it’s hard to resist making one. This Cute Crochet Baby Bear Amigurumi Pattern gives you a soft, cuddly little bear that works beautifully as a handmade gift, nursery decoration, or adorable addition to your amigurumi collection.
The best part? You don’t need complicated stitches or fancy techniques. This beginner-friendly crochet baby bear pattern uses basic amigurumi stitches, simple shaping, and a little patience during assembly. You can even customize the bear with different yarn colors, tiny accessories, or a cute little bow.
Let’s make a baby bear that looks like it belongs in a tiny teddy bear nursery.
Materials
| Material | Suggested Choice |
| Main Yarn | Beige, brown, caramel, or light mocha |
| Muzzle Yarn | Cream or ivory |
| Hook | 2.5–3.5 mm for DK yarn |
| Safety Eyes | 6–8 mm |
| Stuffing | Polyester fiberfill |
| Needle | Blunt tapestry needle |
| Stitch Marker | Any removable marker |
| Scissors | Small sharp scissors |
| Embroidery Thread | Dark brown or black |
You can use cotton yarn for a neat, structured bear. Acrylic yarn produces a softer, slightly fluffier appearance and often works well for cuddly amigurumi.
Measurements / Sizing
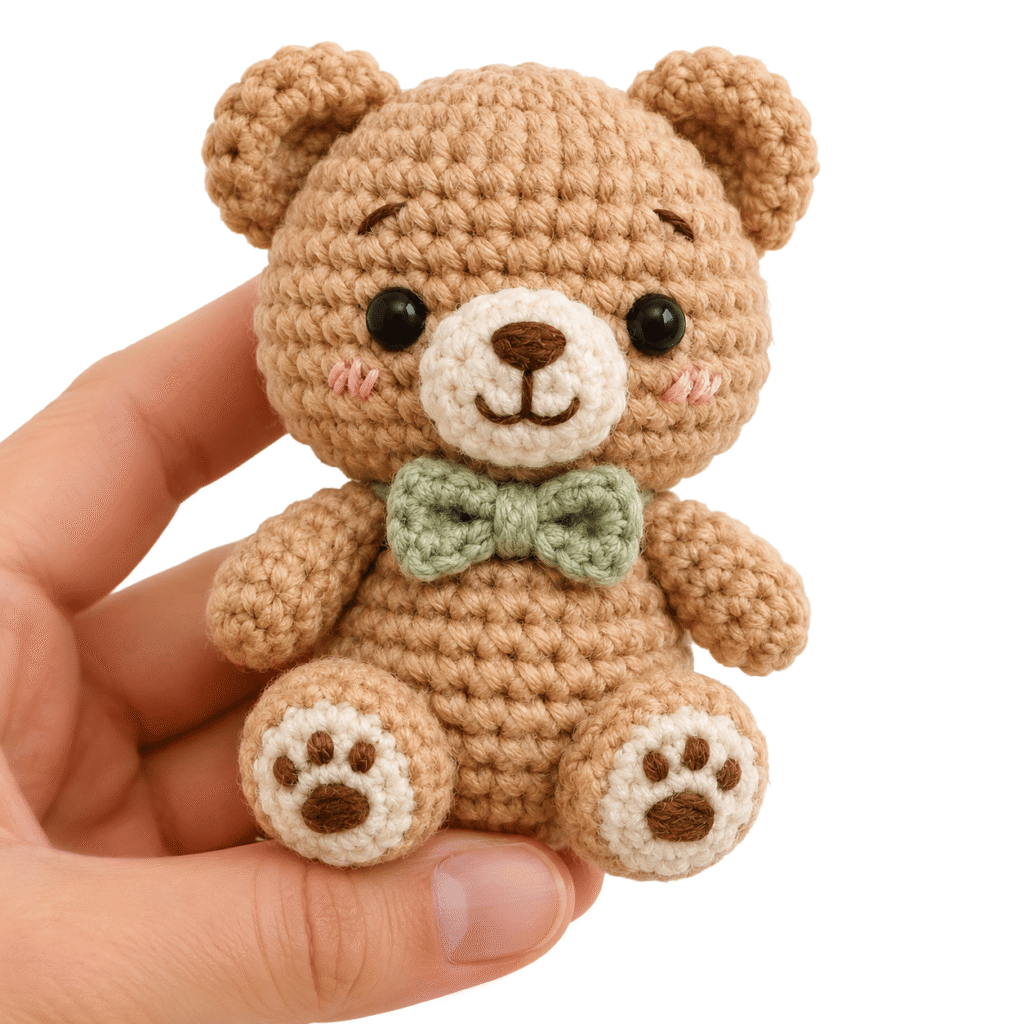
The finished crochet baby bear measures approximately 12–15 cm (4.7–5.9 inches) tall when you use DK or light worsted yarn with a suitable hook.
Your final size depends on several factors:
- Yarn thickness.
- Crochet hook size.
- Stitch tension.
- Amount of stuffing.
- Proportions of the head and body.
For a miniature bear, use thinner yarn and a smaller hook. For a larger, cuddly plushie, choose bulky yarn and increase the hook size accordingly.
Gauge and Stitch Pattern
Amigurumi doesn’t require the same strict gauge as clothing, but tight stitches matter a lot.
Your fabric should hold stuffing securely without leaving visible gaps. If you notice white fiberfill peeking through the stitches, switch to a smaller hook.
Main Stitch Pattern
The pattern uses single crochet stitches worked in continuous spiral rounds.
Stitch Abbreviations
This pattern uses US crochet terminology.
You’ll see these abbreviations throughout the pattern.
| Abbreviation | Meaning |
| MR | Magic Ring |
| sc | Single Crochet |
| inc | Increase |
| dec | Invisible Decrease |
| sl st | Slip Stitch |
| ch | Chain |
| FO | Fasten Off |
| BLO | Back Loop Only |
| R | Round |
| st | Stitch |
| sts | Stitches |
When a round says (sc 2, inc) × 6, repeat the sequence six times.
The number inside parentheses tells you the total stitches after completing that round.
Skill Level – Beginner
This pattern suits beginners who already know basic crochet stitches.
You should feel comfortable with:
- Making a magic ring.
- Crocheting single crochet stitches.
- Increasing and decreasing stitches.
- Working in continuous spiral rounds.
- Counting stitches accurately.
- Sewing separate amigurumi pieces together.
- Embroidering simple facial details.
If you have already crocheted a small mushroom, frog, bunny, or other amigurumi, you’ll probably find this bear fairly straightforward.
The most challenging part usually involves attaching the head and positioning the facial features. Don’t rush those steps. A little adjustment can turn an ordinary bear into an especially expressive little plushie.
Notes Before You Start
Before starting, keep these practical tips in mind.
- Use a smaller crochet hook than your yarn recommends. A tighter fabric prevents stuffing from showing through the stitches.
- Stuff gradually. Add small amounts of fiberfill instead of pushing everything inside at once.
- Mark the first stitch of every round. Continuous rounds can become confusing without a stitch marker.
- Keep your stitch tension consistent. Uneven tension can create lumpy shapes, especially around the head.
- Check the face placement before attaching the head. A few millimeters can completely change your bear’s expression.
- Choose washable yarn if you plan to make the bear as a children’s gift.
safety eyes create a polished teddy bear appearance, but embroidered eyes work better for toys intended for babies or very young children.
Cute Crochet Baby Bear Amigurumi Pattern
This bear uses a large rounded head, a compact body, tiny arms, and short legs. The proportions give it that sweet baby bear appearance.
Head
Use beige, caramel, or brown yarn.
| Round | Instructions | Total |
| R1 | 6 sc in MR | 6 |
| R2 | inc × 6 | 12 |
| R3 | (sc 1, inc) × 6 | 18 |
| R4 | (sc 2, inc) × 6 | 24 |
| R5 | (sc 3, inc) × 6 | 30 |
| R6 | (sc 4, inc) × 6 | 36 |
| R7–R12 | sc around | 36 |
| R13 | (sc 4, dec) × 6 | 30 |
| R14 | (sc 3, dec) × 6 | 24 |
| R15 | (sc 2, dec) × 6 | 18 |
| R16 | (sc 1, dec) × 6 | 12 |
Insert the safety eyes between R9 and R10, approximately 6–7 stitches apart.
Stuff the head firmly before closing it.
For a baby bear appearance, keep the head slightly larger than the body. This proportion gives the plushie a softer, more youthful look.
Body
Use the same yarn color as the head.
| Round | Instructions | Total |
| R1 | 6 sc in MR | 6 |
| R2 | inc × 6 | 12 |
| R3 | (sc 1, inc) × 6 | 18 |
| R4 | (sc 2, inc) × 6 | 24 |
| R5–R8 | sc around | 24 |
| R9 | (sc 2, dec) × 6 | 18 |
| R10 | sc around | 18 |
| R11 | (sc 1, dec) × 6 | 12 |
Stuff the body gradually as you crochet.
Keep the bottom slightly wider than the neck area. This helps the bear sit comfortably and gives the body a rounded shape.
Ears
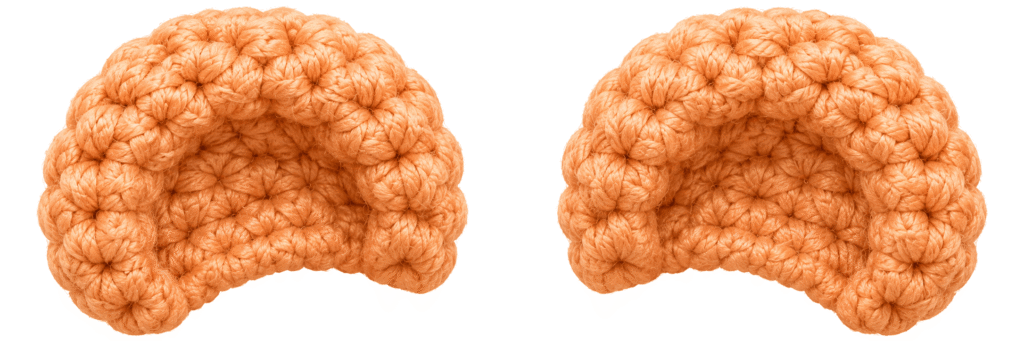
Make two ears using the main yarn.
| Round | Instructions | Total |
| R1 | 6 sc in MR | 6 |
| R2 | inc × 6 | 12 |
| R3 | sc around | 12 |
Fasten off and leave a long sewing tail.
Flatten each ear gently. You don’t need to stuff the ears unless you prefer a fuller shape.
Arms
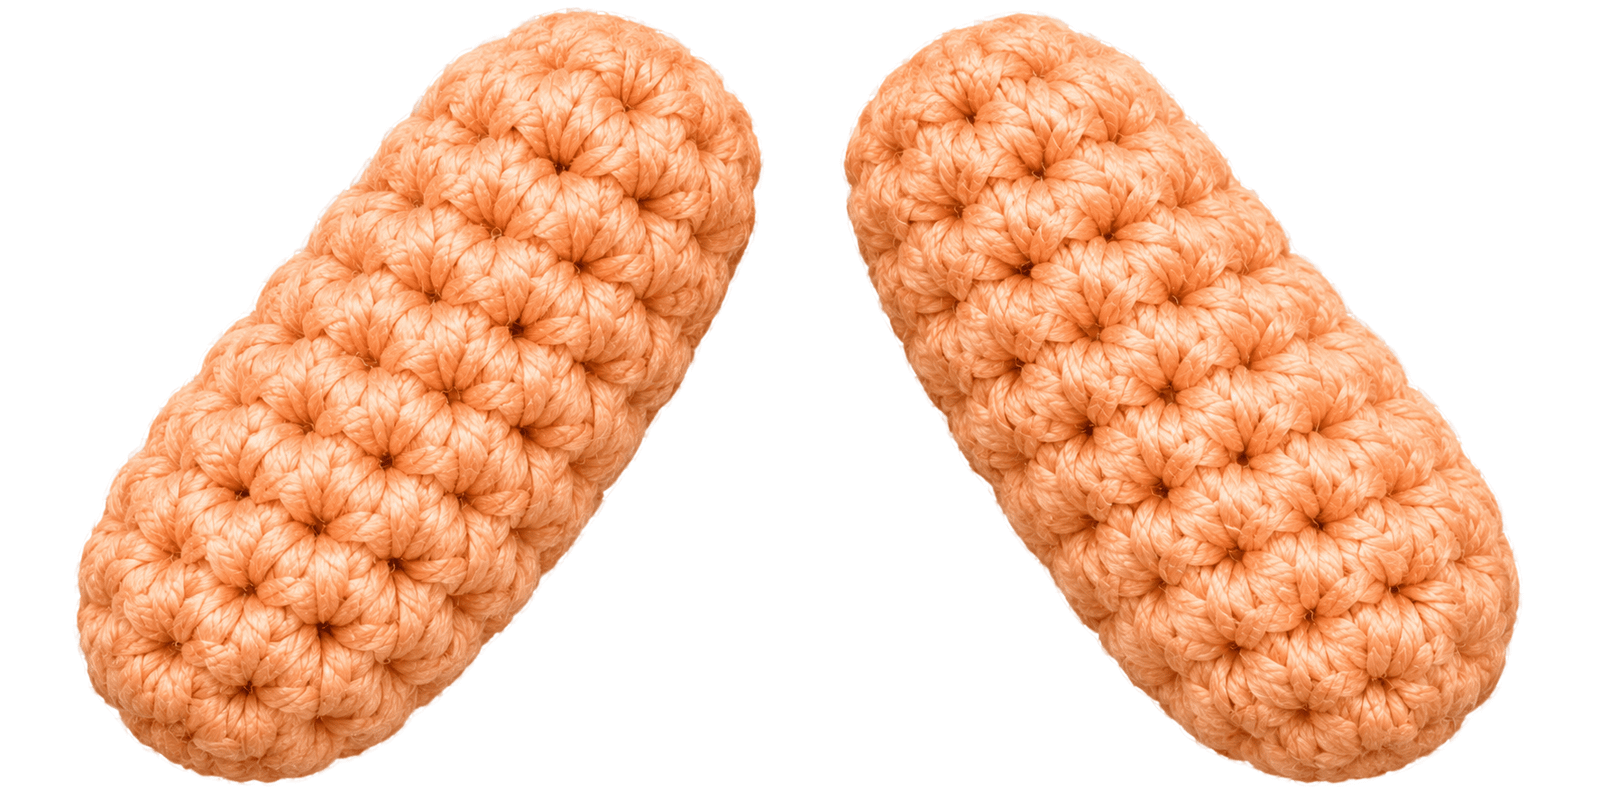
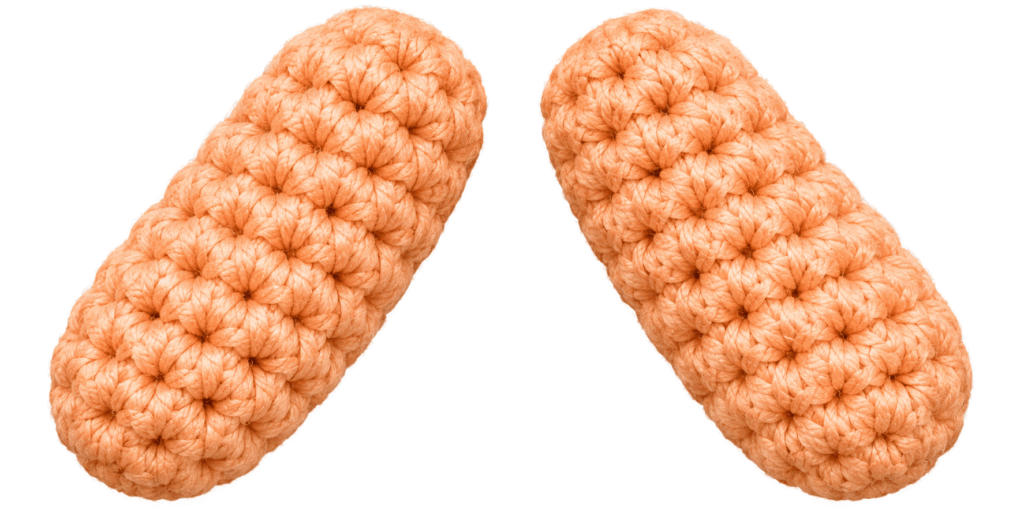
Make two arms.
| Round | Instructions | Total |
| R1 | 6 sc in MR | 6 |
| R2 | (sc 1, inc) × 3 | 9 |
| R3–R6 | sc around | 9 |
Add a small amount of stuffing near the hand area.
Keep the upper arm lightly stuffed or unstuffed so it bends naturally when you attach it.
Legs
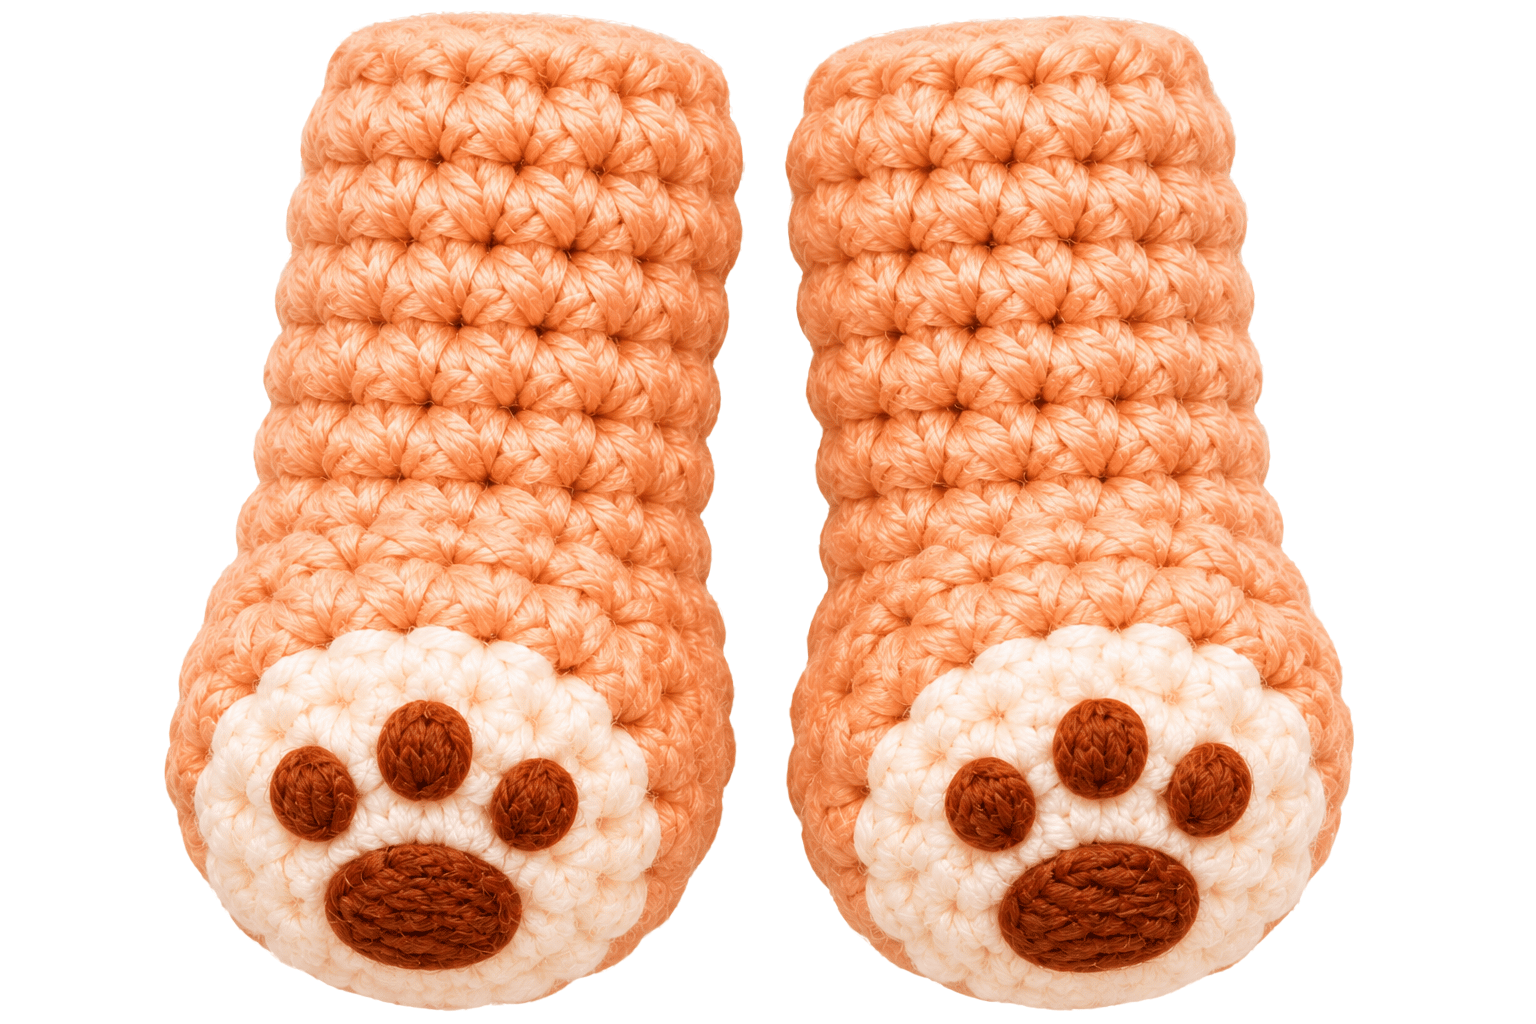
Make two legs.
| Round | Instructions | Total |
| R1 | 6 sc in MR | 6 |
| R2 | inc × 6 | 12 |
| R3–R4 | sc around | 12 |
| R5 | (sc 2, dec) × 3 | 9 |
| R6 | sc around | 9 |
Stuff the feet lightly.
Leave the upper part of each leg unstuffed so you can sew it comfortably onto the body.
Muzzle
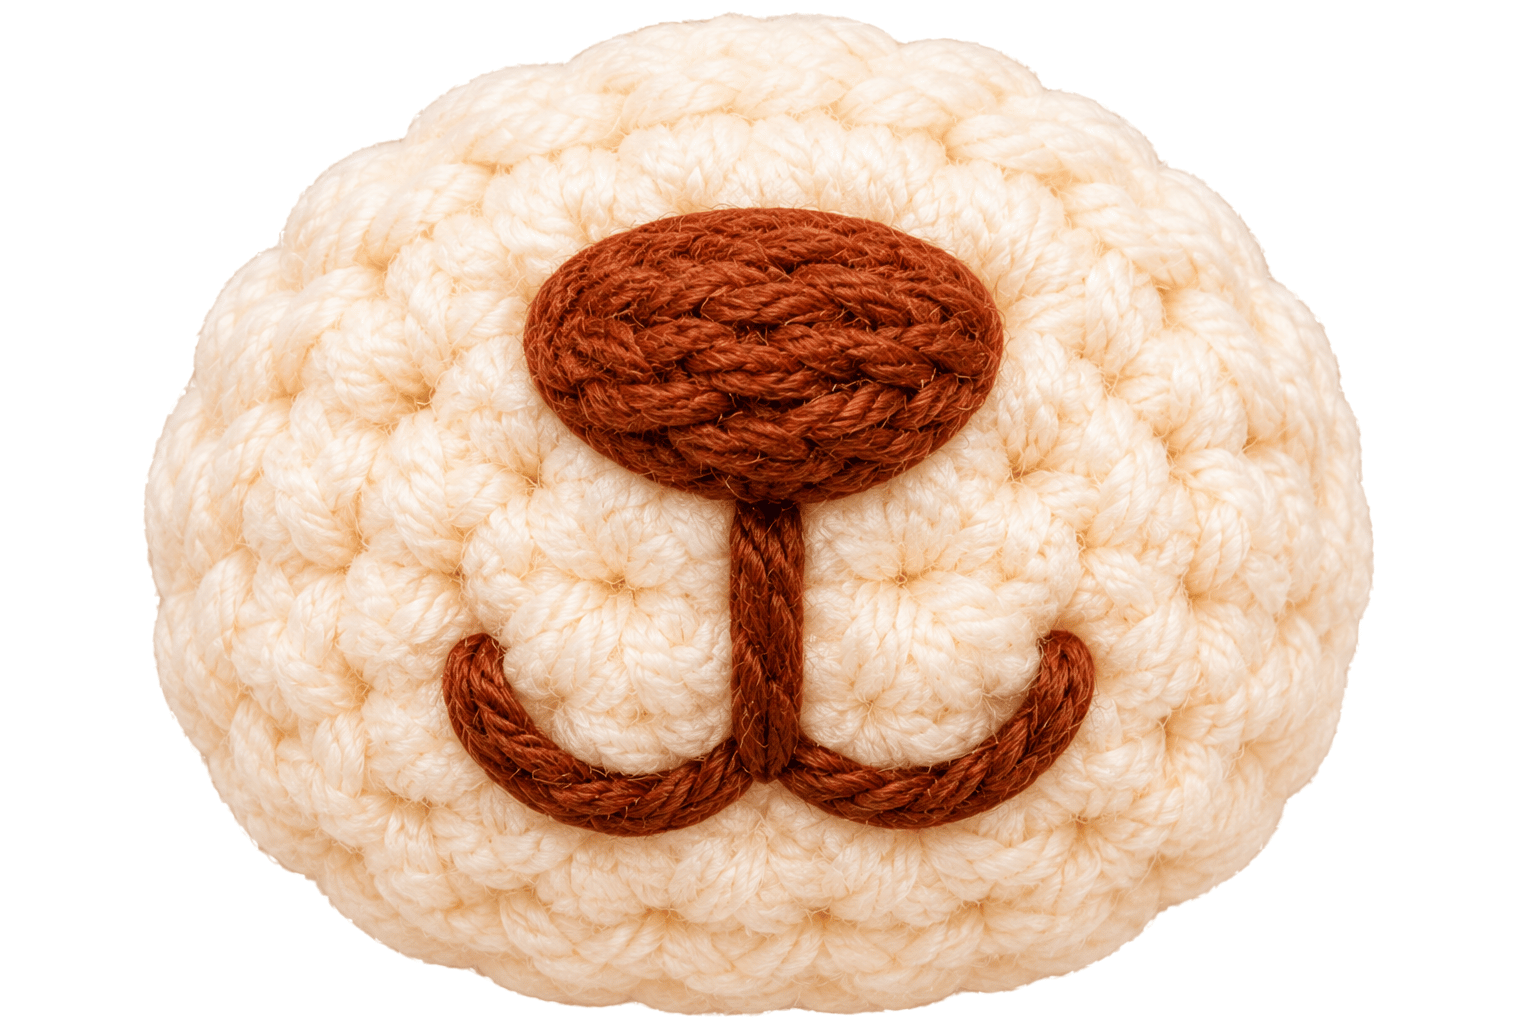
Use cream or ivory yarn.
| Round | Instructions | Total |
| R1 | 6 sc in MR | 6 |
| R2 | inc × 6 | 12 |
| R3 | (sc 1, inc) × 6 | 18 |
Fasten off and leave a long tail.
The muzzle should look like a small oval patch. If you prefer a flatter face, avoid stuffing it.
Nose and Facial Details
Use dark brown or black embroidery thread.
- Embroider a small triangular nose.
- Add a short vertical line below the nose.
- Stitch a gentle smile if you want a cheerful expression.
- Add tiny blush marks using pink yarn or embroidery thread.
Keep the nose centered on the muzzle. A crooked nose can make the bear look unintentionally confused, which is cute too, but probably not the expression you’re aiming for.
Assembly & Finished Size
Attach the Muzzle
Position the muzzle near the lower center of the head.
Pin it temporarily before sewing. This lets you adjust the placement until the face looks balanced.
Use small stitches around the edge and secure the muzzle firmly.
Attach the Ears
Place the ears near the top corners of the head.
Keep a small gap between them. You can position them slightly outward for a playful teddy bear look or closer together for a baby bear appearance.
Sew each ear securely using the long yarn tail.
Attach the Arms
Position the arms on both sides of the body.
Keep them slightly below the neck area. This placement creates a natural shoulder line and makes the bear look as if it can give tiny hugs.
Attach the Legs
Sew the legs near the bottom of the body.
Place them evenly so the bear can sit without tipping over. Check the position before tightening the stitches.
Join the Head and Body
Place the head on top of the body.
The head should sit slightly forward rather than perfectly upright. This small adjustment gives the bear a softer, more relaxed expression.
Sew around the neck carefully. Add extra stitches if the head feels loose.
Add Final Details
Check your bear for loose yarn ends or uneven stitching.
You can also add:
- A tiny crochet bow.
- A miniature scarf.
- A little heart on the tummy.
- Embroidered paw details.
- A small flower accessory.
The finished bear should measure approximately 12–15 cm tall, depending on your yarn and tension.
Conclusion
This Cute Crochet Baby Bear Amigurumi Pattern combines simple stitches, rounded shapes, and adorable facial details to create a handmade bear that feels genuinely special.
You can customize the colors, change the accessories, or experiment with different proportions to make each bear unique. The basic pattern also gives you a useful foundation for creating other teddy bear designs.
Take your time with the stuffing, keep the facial features balanced, and sew each piece securely. Those three details make a noticeable difference in the finished plushie.
Whether you crochet this little bear as a gift, a nursery decoration, or a new addition to your handmade collection, enjoy the process. Sometimes a tiny ball of yarn and a few simple stitches can produce something surprisingly memorable.
FAQ
The Head Looks Lumpy
Uneven stuffing often causes lumps.
Fix: Remove a little stuffing and redistribute it evenly. Add small amounts rather than large handfuls.
The Head Wobbles
The neck may need stronger support.
Fix: Add extra sewing stitches around the neck. You can also use a little more stuffing in the body to support the head.
The Bear Looks Too Thin
Your crochet hook may be too large, or your stuffing may be too light.
Fix: Use a smaller hook for tighter stitches or increase the stuffing gradually.
The Face Looks Unbalanced
The eyes or muzzle may sit too high or too low.
Fix: Before sewing the muzzle permanently, check the face from several angles. Use pins to test different placements.
The Bear Cannot Sit Properly
Uneven leg placement often causes this problem.
Fix: Position both legs at the same height and check the bear’s balance before completing the sewing.