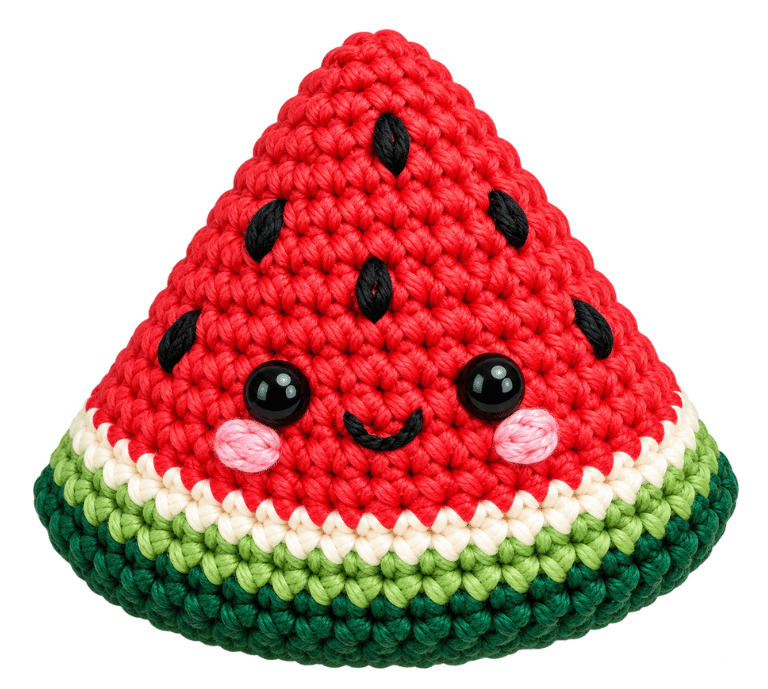
A tiny watermelon slice can turn into a surprisingly cute crochet project. With a little red yarn, a couple of shades of green, and a handful of embroidered seeds, you can create a squishy fruit plushie that works as a decoration, keychain, bag charm, or handmade gift.
This Cute Crochet Watermelon Slice Pattern keeps the construction simple while giving you that recognizable watermelon shape. You don’t need complicated colorwork or advanced shaping. If you can work basic single crochet and simple increases and decreases, you can handle this project.
The best part? You can easily change the size. Use a smaller hook and thinner yarn for a tiny keychain, or switch to chunky chenille yarn for a soft, squishy watermelon plush. FYI, small changes in yarn and hook size can make a surprisingly big difference in the finished piece.
Materials
- Green yarn — watermelon rind
- Light green yarn — inner rind
- Red or pink yarn — watermelon flesh
- Black yarn — seeds
- Crochet hook — 2.5–3.0 mm
- Polyester fiberfill
- Tapestry needle
- Stitch marker
- Scissors
- Optional: small keychain clasp
Measurements / Sizing
For a Smaller Watermelon
Use:
- DK or sport-weight yarn
- 2–2.5 mm hook
- Fewer increase rounds
This version works especially well as a crochet watermelon keychain.
For a Larger Watermelon
Use:
- Worsted-weight yarn
- 3–3.5 mm hook
- Additional increase rounds
Gauge and Stitch Pattern
Main Stitch Pattern
The project mainly uses:
Single crochet (sc)
Increase (inc)
Decrease (dec)
These three stitches create almost the entire watermelon shape.
For example:
(sc, inc) × 6
means that you repeat one single crochet followed by one increase six times.
Likewise:
(sc, dec) × 6
means that you repeat one single crochet followed by one decrease six times.
Once you understand this notation, the pattern becomes much easier to follow.
Stitch Abbreviations
This pattern uses standard US crochet terminology.
Here are the abbreviations used throughout the pattern.
| MR | Magic Ring |
| ch | Chain |
| sc | Single Crochet |
| inc | 2 sc in the same stitch |
| dec | Single Crochet Decrease |
| sl st | Slip Stitch |
| st | Stitch |
| sts | Stitches |
| FO | Fasten Off |
Skill Level – beginner to intermediate
You should feel comfortable with:
- Magic ring
- Chain stitch
- Single crochet
- Single crochet increase
- Single crochet decrease
- Slip stitch
- Fastening off
- Basic sewing
- Simple embroidery
Notes Before You Start
Keep Your Tension Consistent
Try to maintain the same tension throughout the project. Loose stitches can create visible gaps, while extremely tight stitches can make the shaping uncomfortable to work.
For a stuffed watermelon, tight, even stitches usually work best because they help keep the fiberfill inside.
Count Your Stitches
Don’t rely only on how the piece looks.
Count your stitches after each increase and decrease round. One missing stitch might seem harmless at first, but it can gradually distort the shape.
FYI, stitch counting feels tedious until you discover that ignoring it creates three times as much work later. 🙂
Use a Smaller Hook
Choose a hook slightly smaller than the size you might normally use with your yarn.
A smaller hook creates tighter stitches, which helps prevent stuffing from showing through the finished watermelon.
Don’t Overstuff
Add fiberfill little by little.
Push small amounts toward the curved edges and corners instead of stuffing the entire piece at once. This technique gives you better control and helps the watermelon keep its rounded triangular shape.
Keep Your Yarn Tails
Leave enough yarn when you finish each section.
Longer tails make sewing and securing the pieces easier. You can hide the tails inside the finished plush after you complete the assembly.
Embroider the Seeds After Shaping
Wait until you finish the main watermelon shape before adding the seeds.
That way, you can position each seed according to the final shape instead of guessing where it should sit.
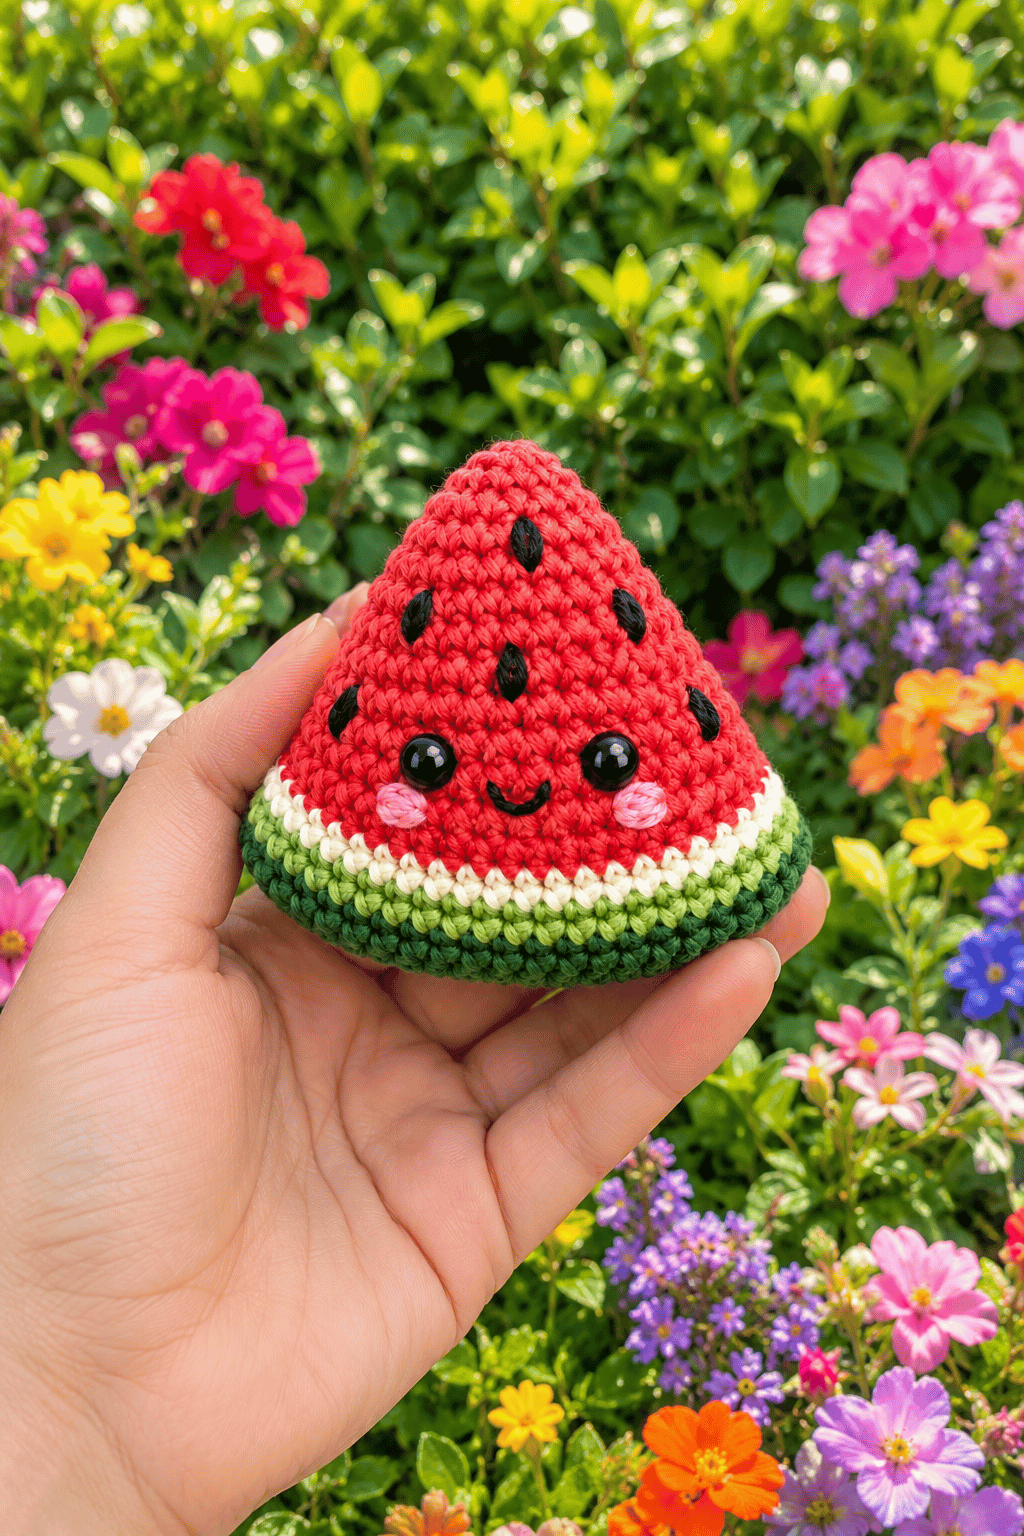
How to Crochet the Watermelon Flesh
Start with your red or pink yarn.
The red section forms the main fruit portion. Work the increase rounds carefully because they determine the width of your watermelon.
Round 1
Make a magic ring.
Work:
6 sc into the MR
Pull the center closed.
Total: 6 sts
Round 2
Work an increase in every stitch.
inc × 6
Total: 12 sts
Your circle should expand evenly.
Round 3
Work:
(sc, inc) × 6
Total: 18 sts
Round 4
Work:
(2 sc, inc) × 6
Total: 24 sts
Round 5
Work:
(3 sc, inc) × 6
Total: 30 sts
Round 6
Work:
(4 sc, inc) × 6
Total: 36 sts
At this stage, you should have a fairly flat circular piece.
If you want a smaller watermelon, you can stop the increases earlier. If you want a larger slice, add another increase round using the same progression.
Shaping the Watermelon Slice
The circle needs a little shaping to become a slice.
Fold the circular piece in half.
The folded edge creates the straight bottom edge, while the outer curved edge creates the rounded fruit portion.
Work across half of the circle.
Row 1
Chain 1 and turn.
Work:
18 sc
Row 2
Chain 1 and turn.
Work:
18 sc
Row 3
Chain 1 and turn.
Work:
dec, sc across until 2 sts remain, dec
Total: 16 sts
Row 4
Chain 1 and turn.
Work:
16 sc
Row 5
Chain 1 and turn.
Decrease at both ends.
Total: 14 sts
Continue alternating a plain single crochet row with a decrease row.
Each decrease row should remove two stitches.
Continue until you reach approximately 2 stitches.
Work a final decrease and fasten off.
Your red piece should now resemble a rounded triangular watermelon slice.
Adding the Light Green Rind
Attach your light green yarn along the curved bottom edge of the red watermelon.
Work single crochet evenly along the edge.
Don’t force too many stitches into a small section. Excess stitches can create a wavy edge.
Keep your tension relaxed enough for the rind to follow the curve naturally.
When you reach the other end, fasten off and weave in the yarn tail.
The light green stripe should remain relatively narrow. It represents the pale layer between the juicy red flesh and the darker outer skin.
Adding the Dark Green Rind
Switch to your dark green yarn.
Work another row of single crochet along the outside of the light green rind.
For a thicker rind, add another row.
A simple combination looks like this:
- Red: main flesh
- Light green: 1 row
- Dark green: 1–2 rows
You can change the proportions if you prefer.
A thin rind creates a delicate, realistic fruit look. A thicker rind gives the project a more cartoon-like appearance.
IMO, the thicker version works especially well when you use chenille yarn because the wider green border gives the watermelon a stronger silhouette.
Adding the Watermelon Seeds
The seeds add one of the most recognizable details.
Use black embroidery thread or thin black yarn.
You can embroider approximately 5–8 seeds across the red section.
Simple Seed Method
- Thread your tapestry needle.
- Bring the needle from the back of the watermelon.
- Pull the yarn through the red fabric.
- Make a short diagonal stitch.
- Return the needle close to the starting point.
- Pull gently.
- Secure the yarn at the back.
Repeat the process until you have enough seeds.
Don’t arrange every seed in a perfect row.
Real watermelon seeds don’t line up like they’re waiting for attendance, so vary the direction slightly. Keep most seeds toward the center and leave some space near the rind.
Adding a Kawaii Face
You can leave the watermelon plain, but a tiny face gives it a completely different personality.
For simple eyes, embroider two small vertical stitches on the upper portion of the red flesh.
Add a tiny curved mouth between them.
For cheeks, use pink or peach thread and make two tiny stitches beneath the eyes.
Keep the facial features small. Large eyes can quickly dominate the watermelon and make the fruit look more like a character than a slice.
Making the Watermelon 3D
If you want a plush watermelon instead of a flat decoration, create two matching watermelon pieces.
Place the pieces together with their finished sides facing outward.
Thread your tapestry needle with matching green yarn.
Sew around the outside edge, keeping the stitches close and even.
Leave a small opening for stuffing.
Adding the Stuffing
Insert small amounts of polyester fiberfill.
Start near the corners and curved edge.
Add more stuffing gradually until the watermelon feels plump.
Don’t pack the filling tightly. Excess stuffing can stretch the stitches and distort the triangular shape.
Once you achieve the shape you want, sew the opening closed.
Weave the remaining yarn inside the watermelon and trim the excess.
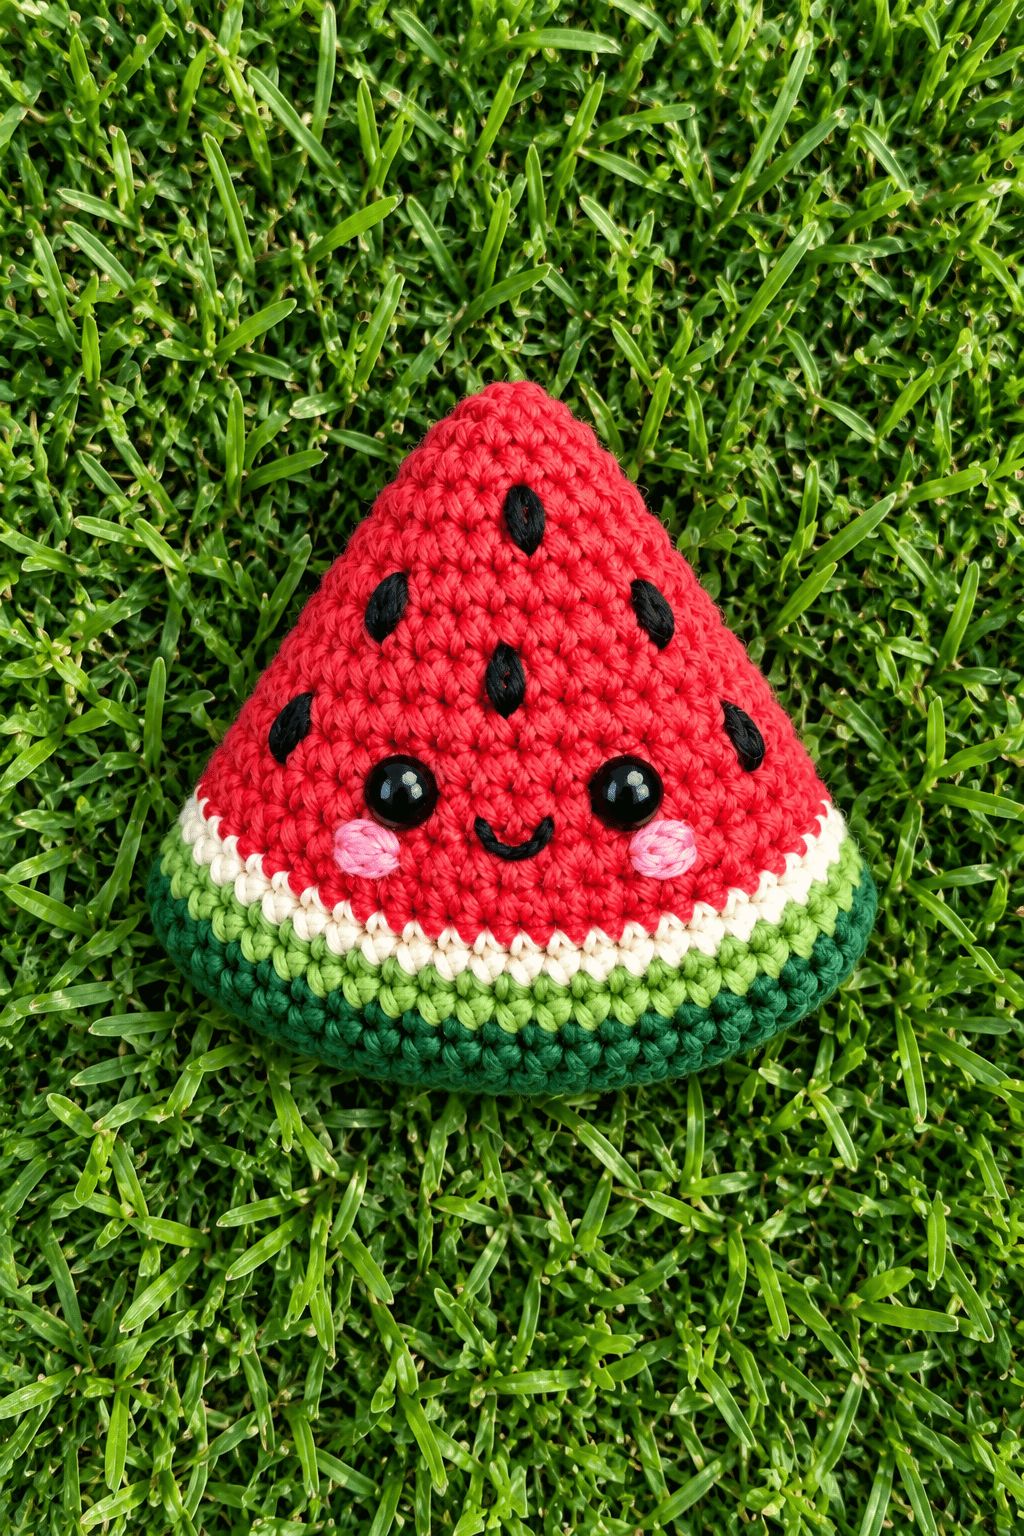
Assembly & Finished Size
Take a few minutes to inspect the watermelon before finishing the project.
Check the following:
- The red flesh should look evenly shaped.
- The green rind should follow the curved edge.
- The dark green layer should sit neatly against the light green.
- The seeds should have comfortable spacing.
- The stuffing should feel evenly distributed.
- The seam should remain secure.
- The face should sit roughly in the center.
Gently shape the finished watermelon with your fingers.
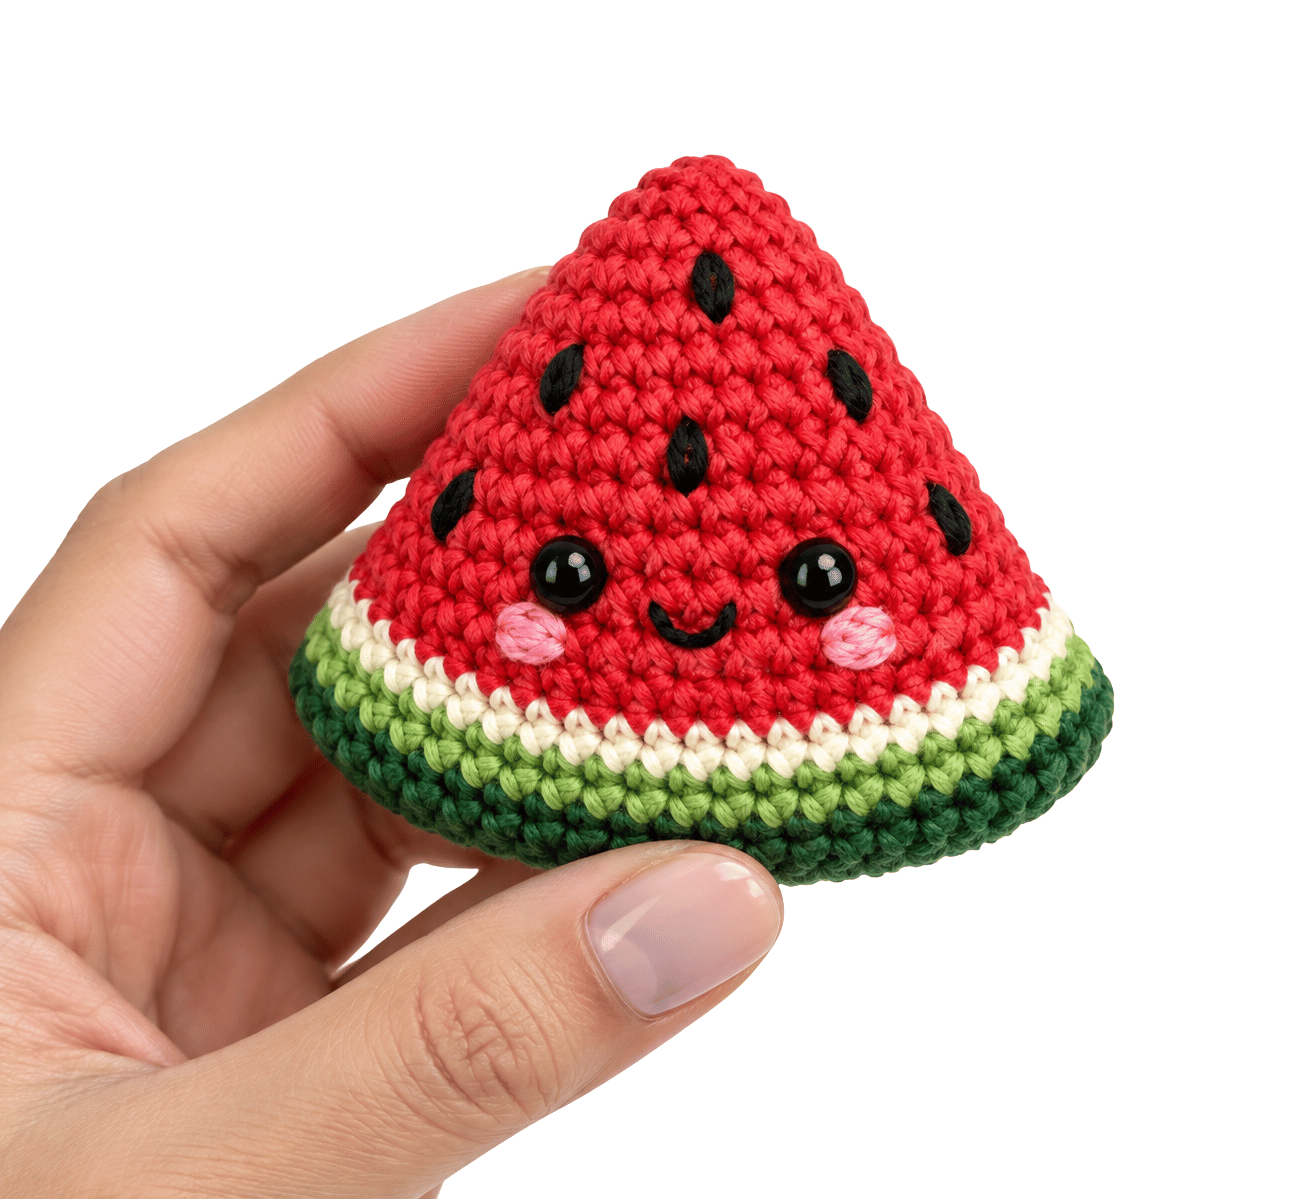
standard version should measure approximately 3.5–4.5 inches, depending on your materials and tension.
Assembly
Check the following:
- The red flesh should look evenly shaped.
- The green rind should follow the curved edge.
- The dark green layer should sit neatly against the light green.
- The seeds should have comfortable spacing.
- The stuffing should feel evenly distributed.
- The seam should remain secure.
- The face should sit roughly in the center.
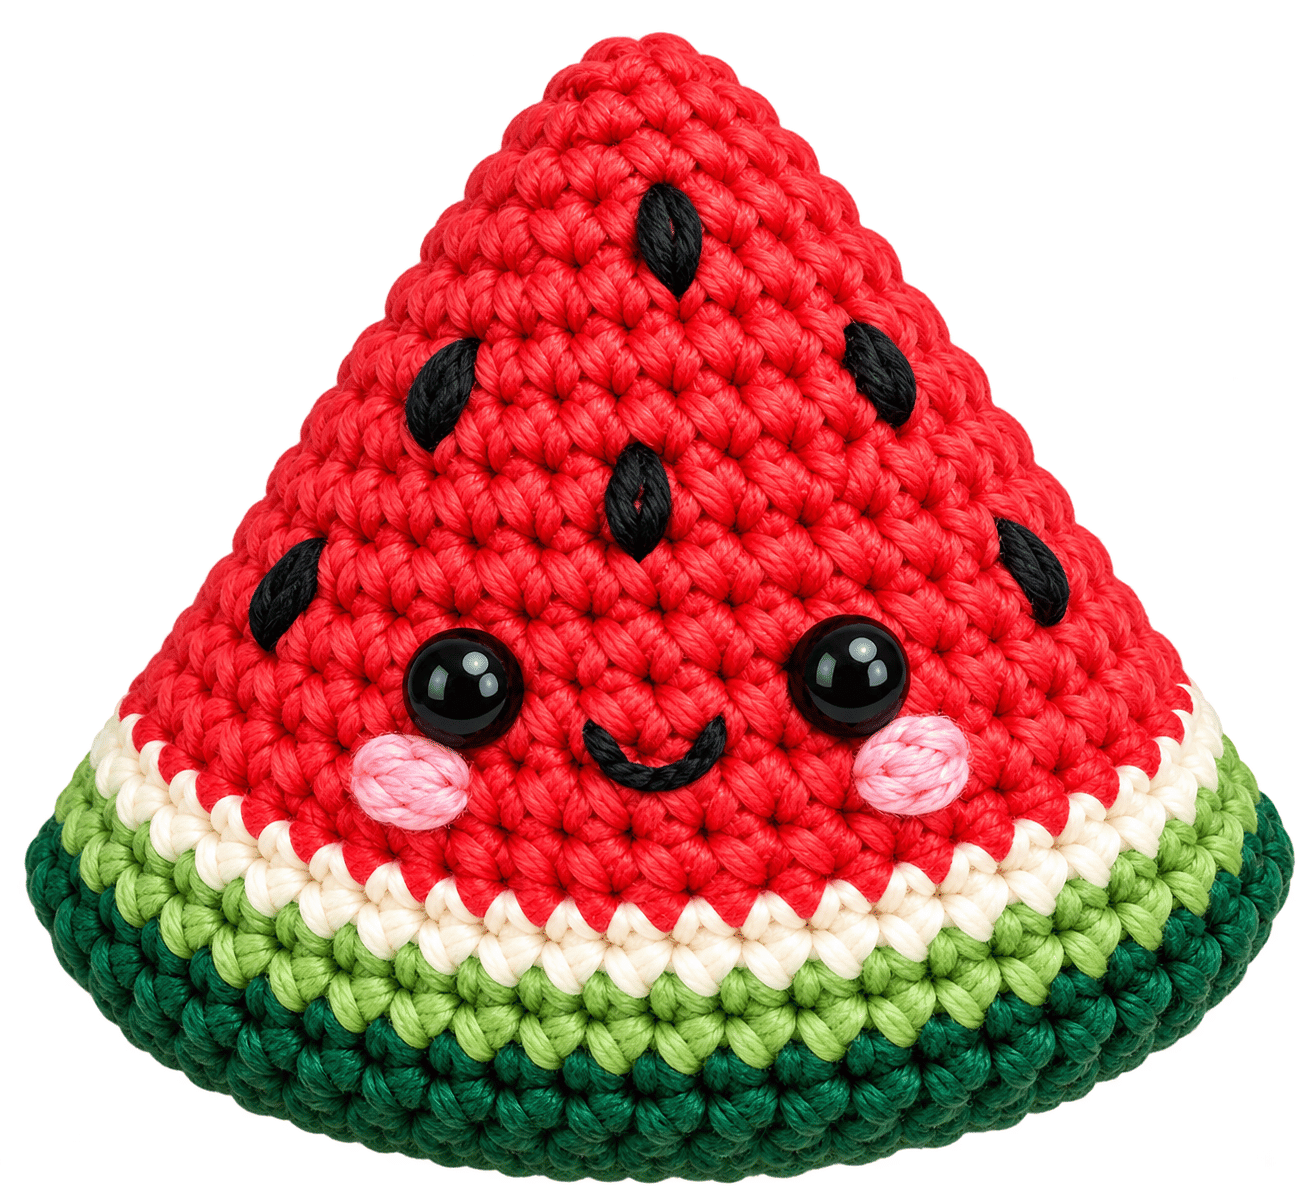
Finished Size
The standard version should measure approximately 3.5–4.5 inches, depending on your materials and tension.
If your watermelon looks slightly smaller or larger, don’t worry. Crochet naturally produces small variations between makers.
Conclusion
Cute Crochet Watermelon Slice Pattern gives you a simple project with plenty of room for creativity. You only need basic crochet stitches, three main yarn colors, a little stuffing, and a few embroidered details to create a recognizable watermelon slice.
The red flesh provides the main shape, the light and dark green yarn creates the rind, and the black embroidered seeds bring the fruit to life. You can keep the design simple or add a tiny kawaii face, cheeks, a bow, or even a keychain clasp.
The standard watermelon measures around 3.5–4.5 inches, but you can easily change the size by adjusting your yarn, hook, and number of increase rounds.
Most importantly, focus on consistent tension, accurate stitch counts, gradual stuffing, and neat assembly. Those four things will have the biggest effect on your finished piece.
Once you’ve made one watermelon slice, you might find yourself thinking about the rest of the fruit basket. A strawberry next? Maybe a tiny lemon? That’s how these little crochet projects get you. One minute you’re making a watermelon, and suddenly your desk looks like a miniature farmers’ market.
FAQ
My Watermelon Looks Too Round
You may have worked too many increase rounds.
Try stopping the increases earlier before beginning the triangular shaping.
My Watermelon Looks Too Flat
Add a little more fiberfill if you’re making a stuffed version.
Avoid cramming in a large amount at once. Gradual stuffing gives you much better control.
The Stuffing Shows Through
Use a smaller crochet hook or tighten your tension slightly.
You can also use thicker yarn.
The Rind Looks Wavy
You probably added too many stitches around the edge.
Work your border more evenly and avoid squeezing multiple stitches into a small section.
The Triangle Looks Crooked
Check your decreases.
The decrease rows should remove stitches evenly from both sides. If you remove stitches from only one side, the watermelon can lean noticeably.
The Seeds Look Uneven
That’s usually easy to fix.
If you haven’t secured the yarn completely, reposition the seeds. If you’ve already finished them, don’t worry about tiny differences. Handmade pieces don’t need factory-level symmetry.