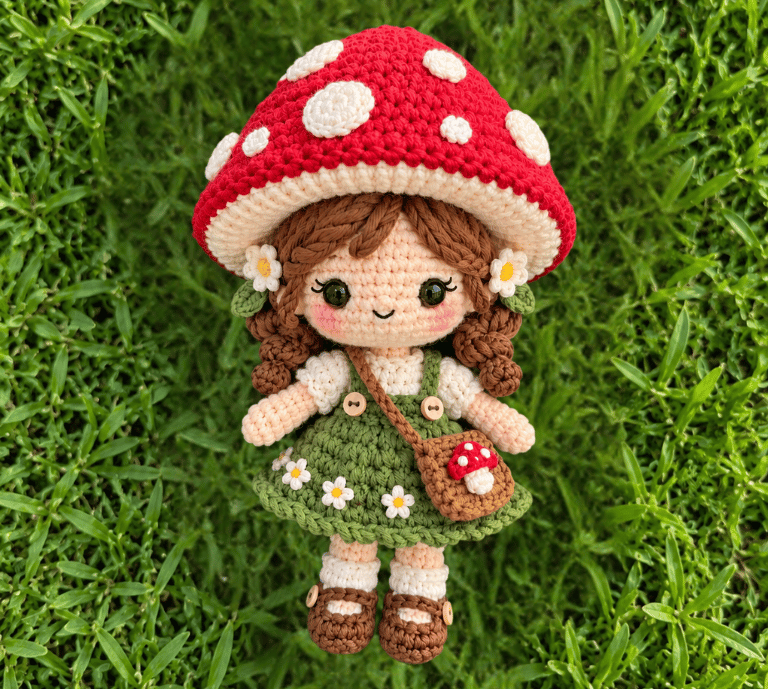
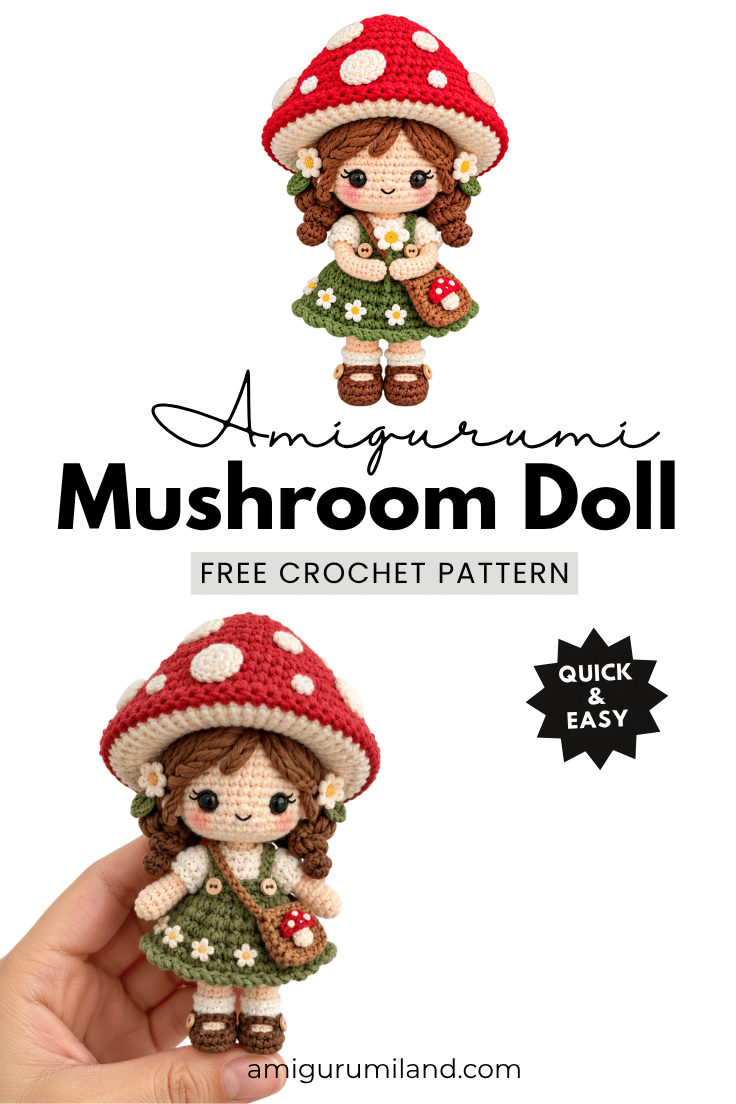
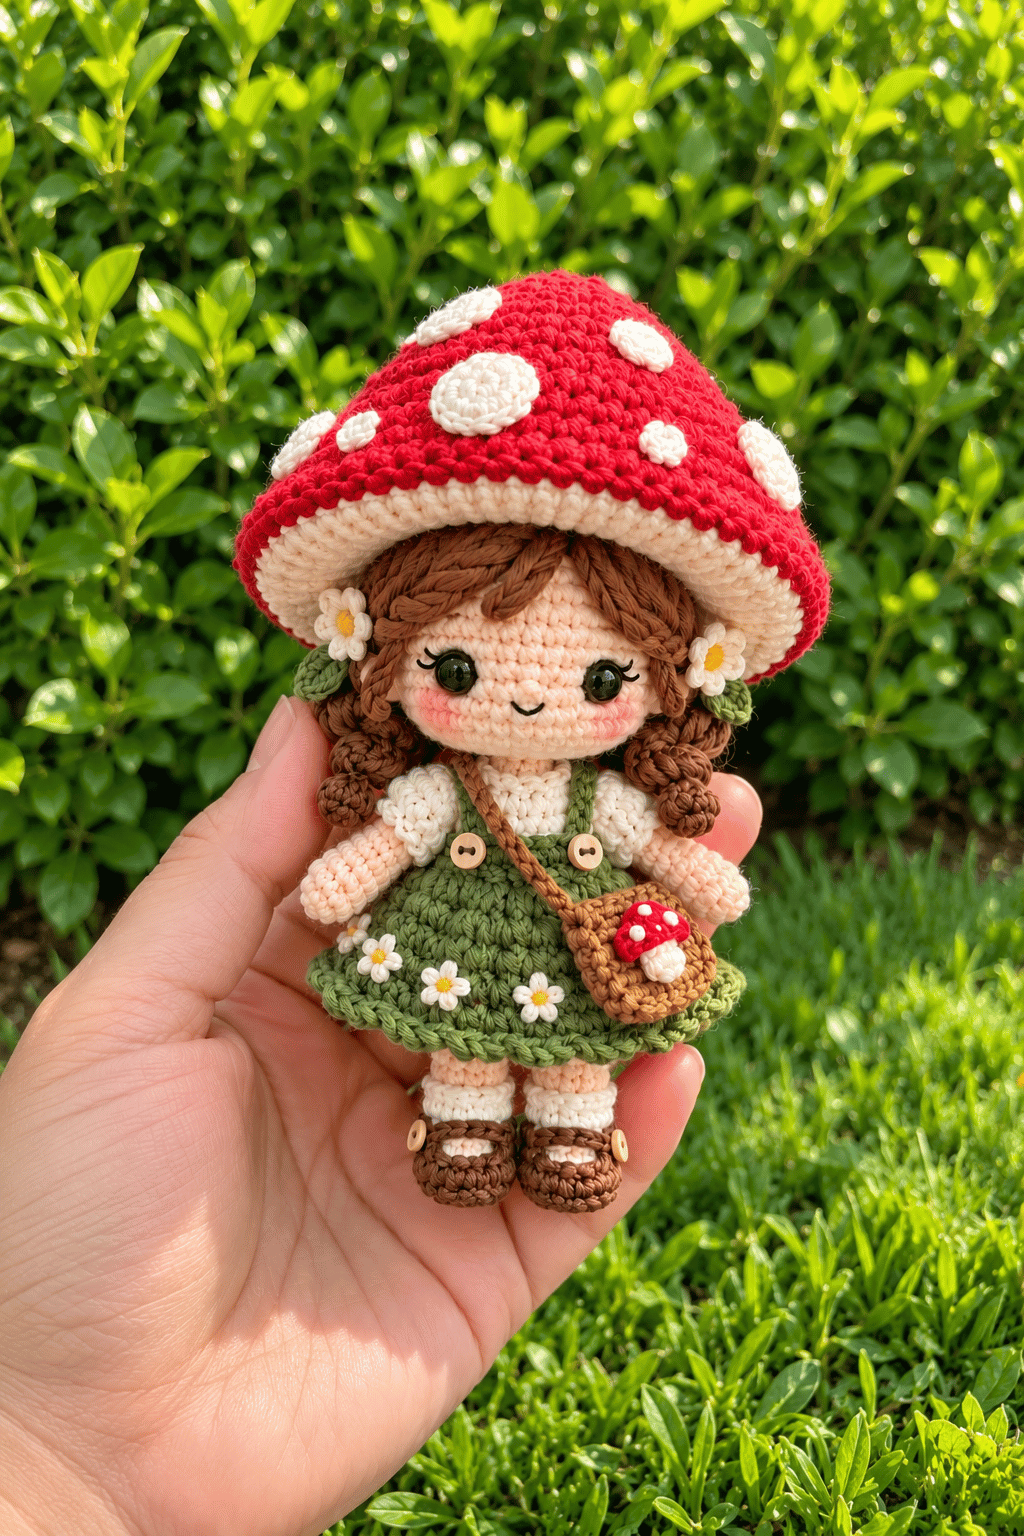
Crochet Mushroom Girl Doll Pattern combines a sweet little doll with a whimsical woodland mushroom theme. You’ll crochet the doll in separate pieces, add her hair and facial details, then finish everything with a slightly oversized mushroom cap.
The pattern uses basic amigurumi techniques, so you don’t need a huge stitch vocabulary. If you can work single crochet, increases, decreases, and a magic ring, you already have most of the skills you need.
The best part? You can change the dress, hair, mushroom colors, or facial expression to create a completely different character. A red-and-white mushroom cap gives you the classic look, while earthy brown, cream, orange, or dusty pink can create a softer woodland style.
So grab your yarn, your hook, and a little stuffing. Let’s make a mushroom girl who looks like she wandered straight out of a tiny crochet forest.
Materials
Worsted/DK weight yarn:
- Red — mushroom hat
- Cream or beige — face/body
- Brown — hair
- Your choice of dress color
- Black — eyes
- Pink — cheeks
- 2.5–3 mm crochet hook
- Fiberfill stuffing
- Tapestry needle
- Stitch marker
- Scissors
- Embroidery needle
- Small amount of white yarn for mushroom spots
- Safety eyes, 6–8 mm, or black embroidery thread
Measurements / Sizing
DK or worsted-weight yarn and a 2.5–3 mm crochet hook, the finished doll should measure approximately 15–18 cm (6–7 inches) tall.
The exact size depends on your yarn and tension.
The mushroom hat should measure roughly 8–10 cm across when you create the oversized version.
That larger cap gives the doll her distinctive mushroom-girl silhouette. You can make the cap smaller if you want a more proportionate doll, or enlarge it if you want an exaggerated chibi appearance.
Gauge & Stitch Pattern
The pattern primarily uses:
Single crochet (sc)
You’ll also use:
- Increase (inc)
- Decrease (dec)
- Slip stitch (sl st)
- Magic ring
- Chain (ch)
If your fabric feels loose, try a smaller hook. If your stitches feel extremely tight and difficult to work, move up slightly.
Stitch Abbreviations
The pattern uses standard US crochet terminology.
| MR | Magic Ring |
| sc | Single Crochet |
| inc | Increase |
| dec | Decrease |
| sl st | Slip Stitch |
| ch | Chain |
| BLO | Back Loop Only |
| FO | Fasten Off |
Skill Level – Beginner to Intermediate
You should feel comfortable with:
- Magic ring
- Single crochet
- Increasing
- Decreasing
- Working in continuous rounds
- Basic stuffing
- Sewing amigurumi pieces together
- Simple embroidery
Notes Before You Start
Work the pieces in continuous rounds unless the pattern tells you otherwise. A stitch marker can save you from losing your starting point after several rounds.
Add stuffing gradually. If you cram the head full in one go, you can stretch the stitches and create little gaps.
1 IMAGE
Crochet Mushroom Girl Doll Pattern — Step by Step
Crochet the Mushroom Hat
The mushroom cap creates most of the character of this project, so pay attention to its shape.
Use red yarn.
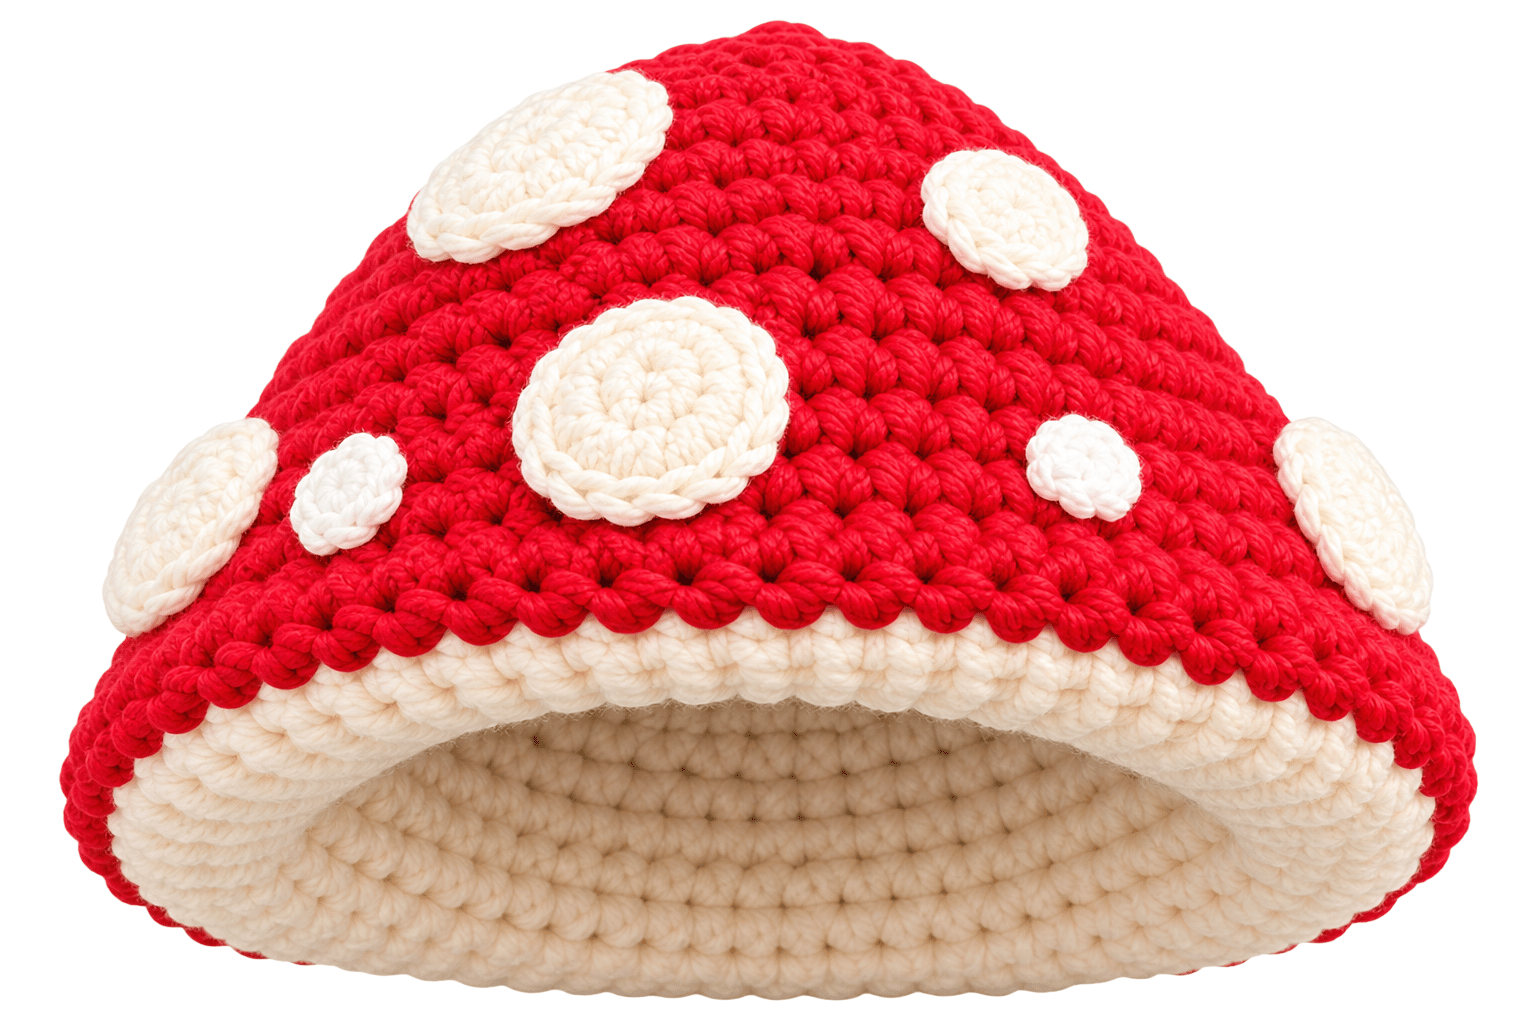
Mushroom Cap
Round 1: 6 sc into MR — 6 stitches
Round 2: inc around — 12
Round 3: (sc, inc) × 6 — 18
Round 4: (2 sc, inc) × 6 — 24
Round 5: (3 sc, inc) × 6 — 30
Round 6: (4 sc, inc) × 6 — 36
Round 7: (5 sc, inc) × 6 — 42
Round 8: (6 sc, inc) × 6 — 48
Rounds 9–12: sc around — 48
Continue shaping the edge.
Round 13: (7 sc, inc) × 6 — 54
Round 14: sc around — 54
Round 15: (8 sc, inc) × 6 — 60
Round 16: sc around — 60
Fasten off and leave a long sewing tail.
Add the Mushroom Spots
Use white yarn to embroider spots across the red cap.
Don’t worry about perfect circles. Small irregular spots often look more natural and give the hat a handmade woodland feel.
Place a few larger spots near the center and smaller ones around the outer area.
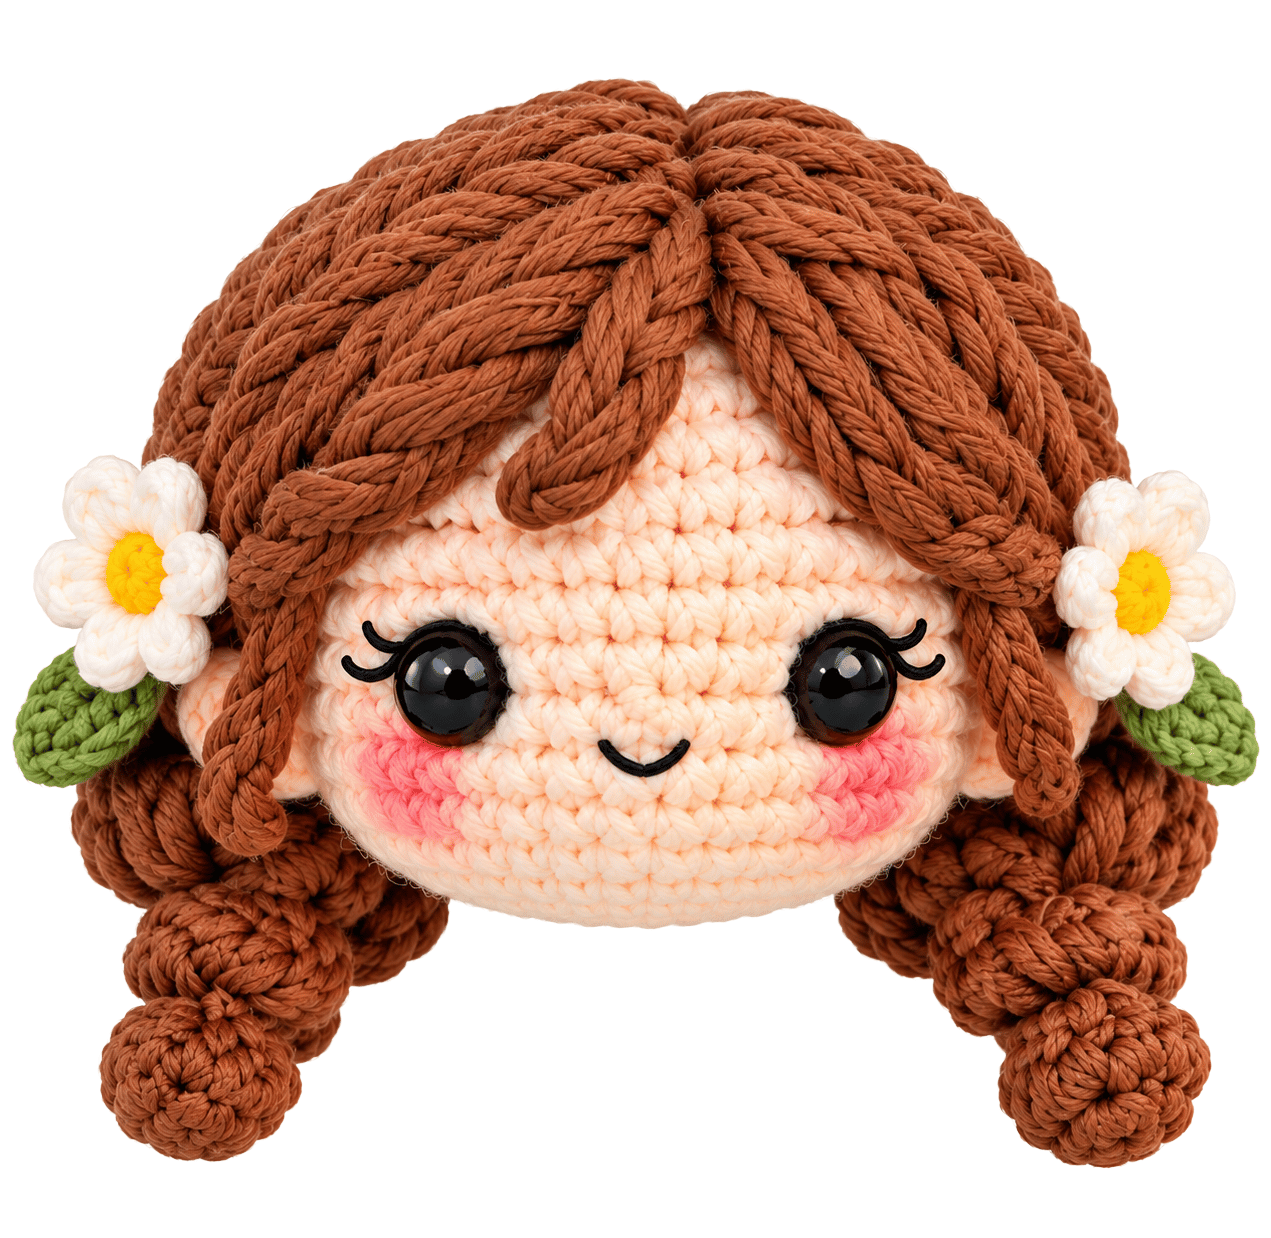
Crochet the Doll Head
Switch to cream or beige yarn.
Round 1: 6 sc into MR — 6
Round 2: inc around — 12
Round 3: (sc, inc) × 6 — 18
Round 4: (2 sc, inc) × 6 — 24
Round 5: (3 sc, inc) × 6 — 30
Round 6: (4 sc, inc) × 6 — 36
Rounds 7–12: sc around — 36
Insert safety eyes between Rounds 8 and 9, leaving approximately 7–8 stitches between them.
If you prefer an embroidered face, use black yarn instead.
Continue shaping the head.
Round 13: (4 sc, dec) × 6 — 30
Round 14: (3 sc, dec) × 6 — 24
Start adding stuffing.
Round 15: (2 sc, dec) × 6 — 18
Round 16: (sc, dec) × 6 — 12
Add more stuffing as needed.
Round 17: dec around — 6
Fasten off and close the opening.
Create the Doll’s Hair
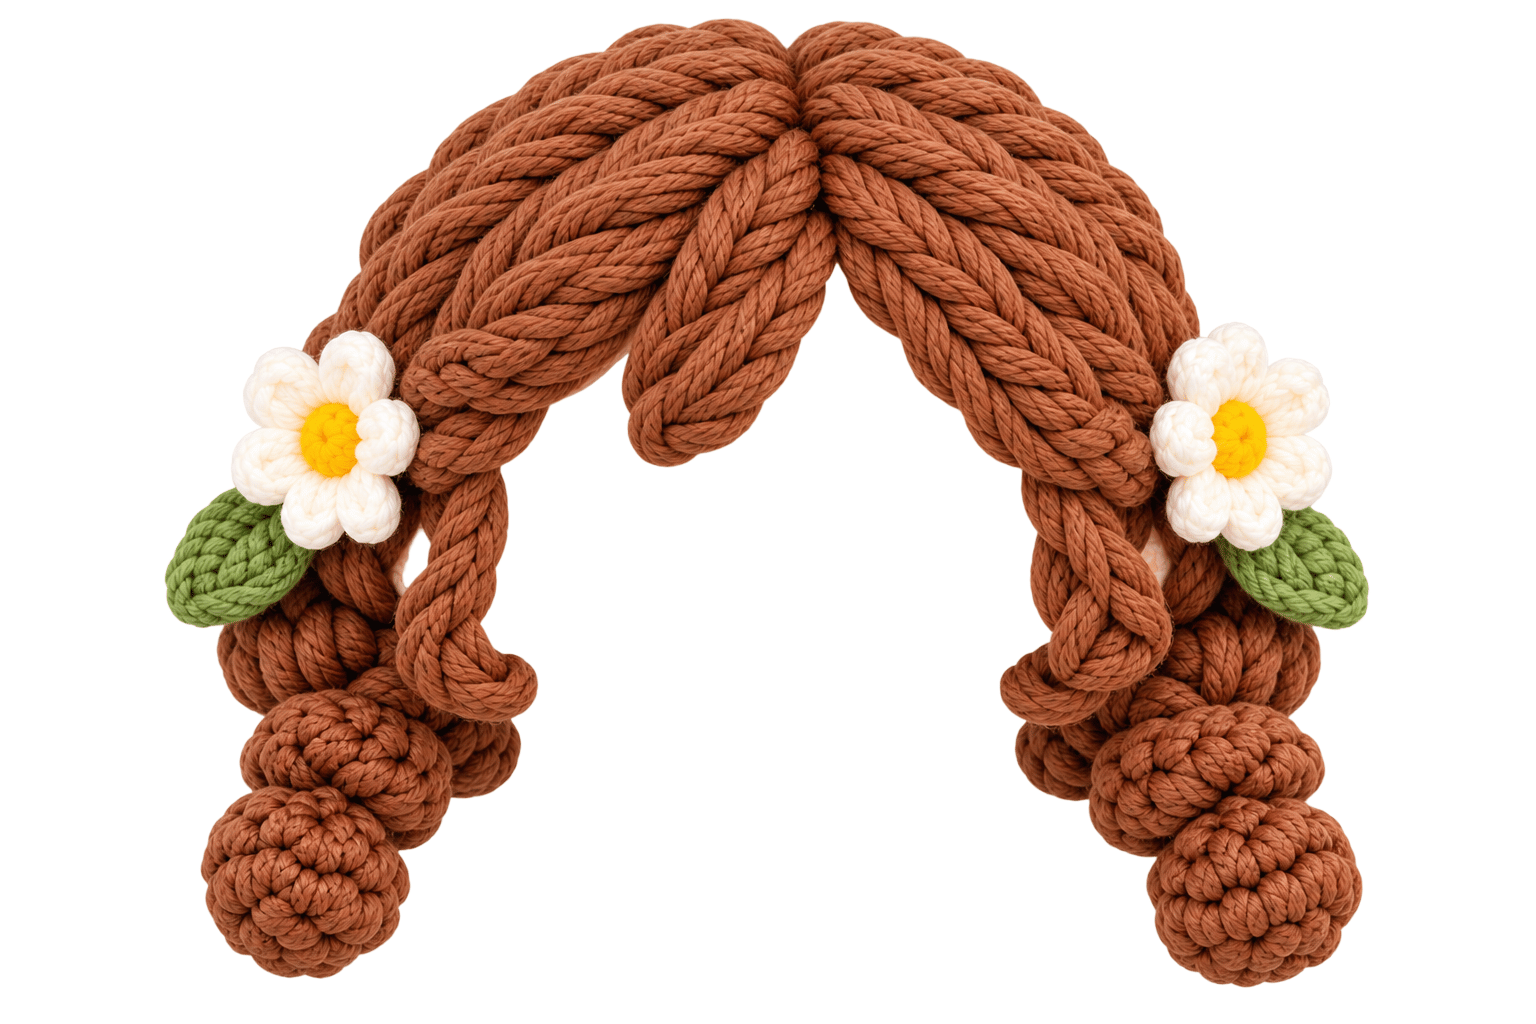
Brown yarn creates a warm woodland look, but you can use almost any color.
Create a simple wig cap:
Round 1: 6 sc into MR — 6
Round 2: inc around — 12
Round 3: (sc, inc) × 6 — 18
Round 4: (2 sc, inc) × 6 — 24
Round 5: (3 sc, inc) × 6 — 30
Round 6: (4 sc, inc) × 6 — 36
Rounds 7–9: sc around — 36
Fasten off and leave a long tail.
Place the hair cap over the back of the head and sew it securely.
For extra character, attach individual strands around the bottom edge. You can make a short bob, long hair, pigtails, or two tiny braids.
Crochet the Body and Dress
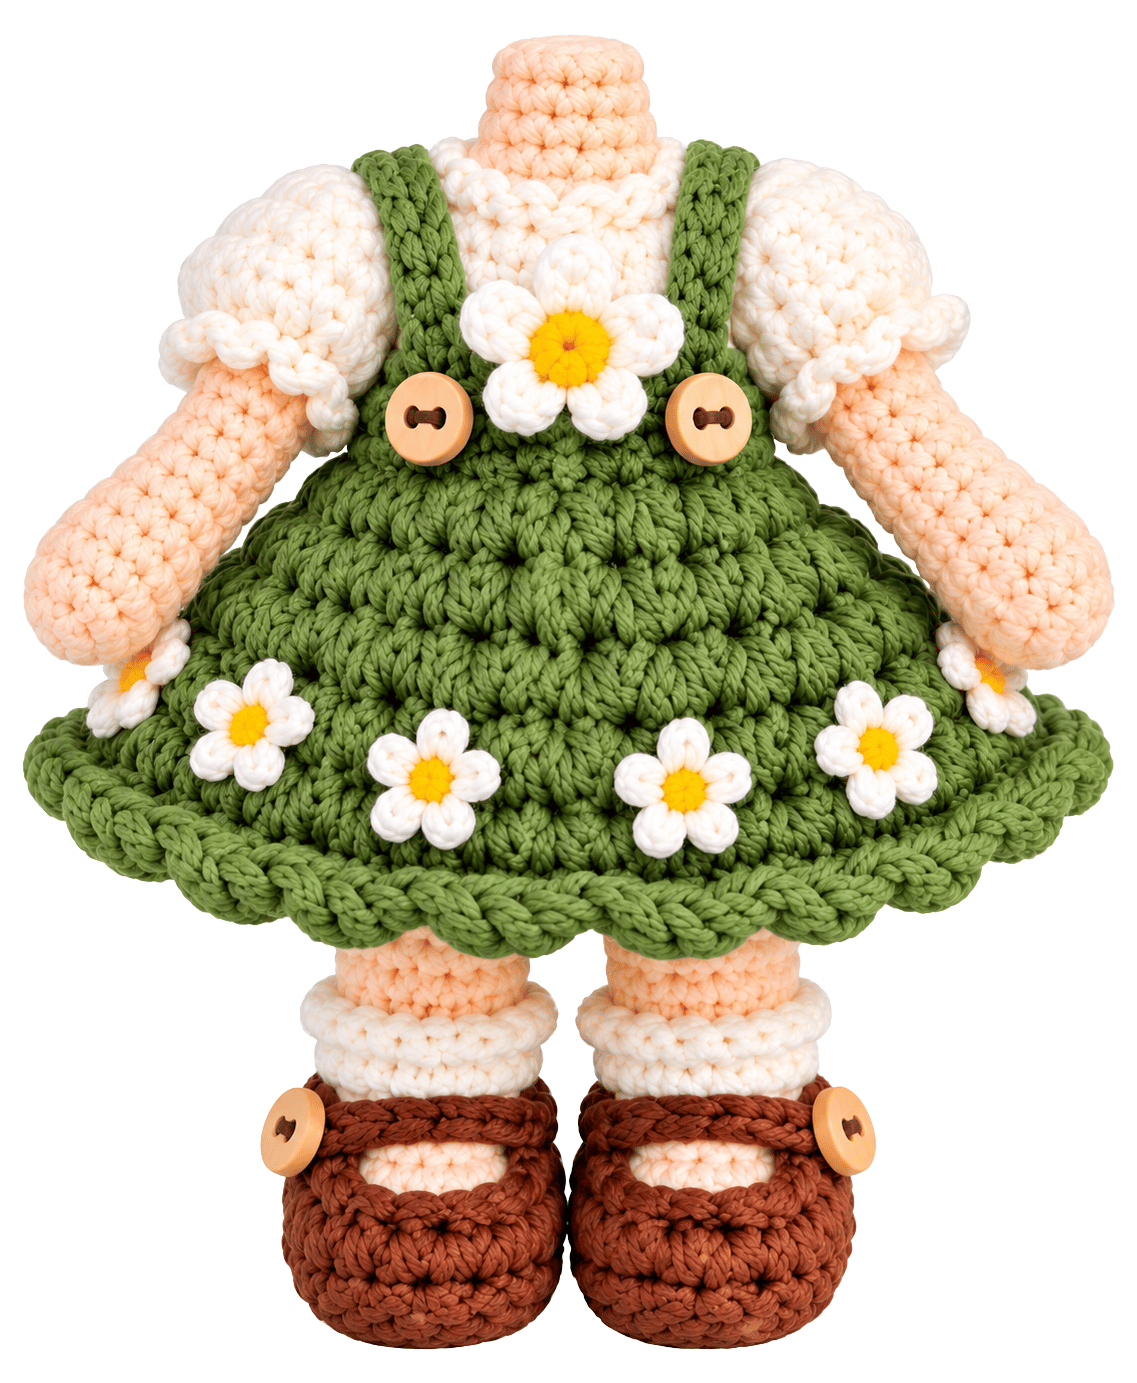
Choose a dress color that contrasts nicely with the mushroom cap.
Start at the neck.
Round 1: 6 sc into MR — 6
Round 2: inc around — 12
Round 3: (sc, inc) × 6 — 18
Round 4: (2 sc, inc) × 6 — 24
Rounds 5–8: sc around — 24
Stuff lightly.
Begin shaping the skirt.
Round 9: (3 sc, inc) × 6 — 30
Round 10: sc around — 30
Round 11: (4 sc, inc) × 6 — 36
Round 12: sc around — 36
Round 13: (5 sc, inc) × 6 — 42
Rounds 14–16: sc around — 42
For a fuller skirt:
Round 17: (6 sc, inc) × 6 — 48
Rounds 18–19: sc around — 48
Fasten off.
You can add a contrasting crochet border around the skirt for extra detail.
Crochet the Legs
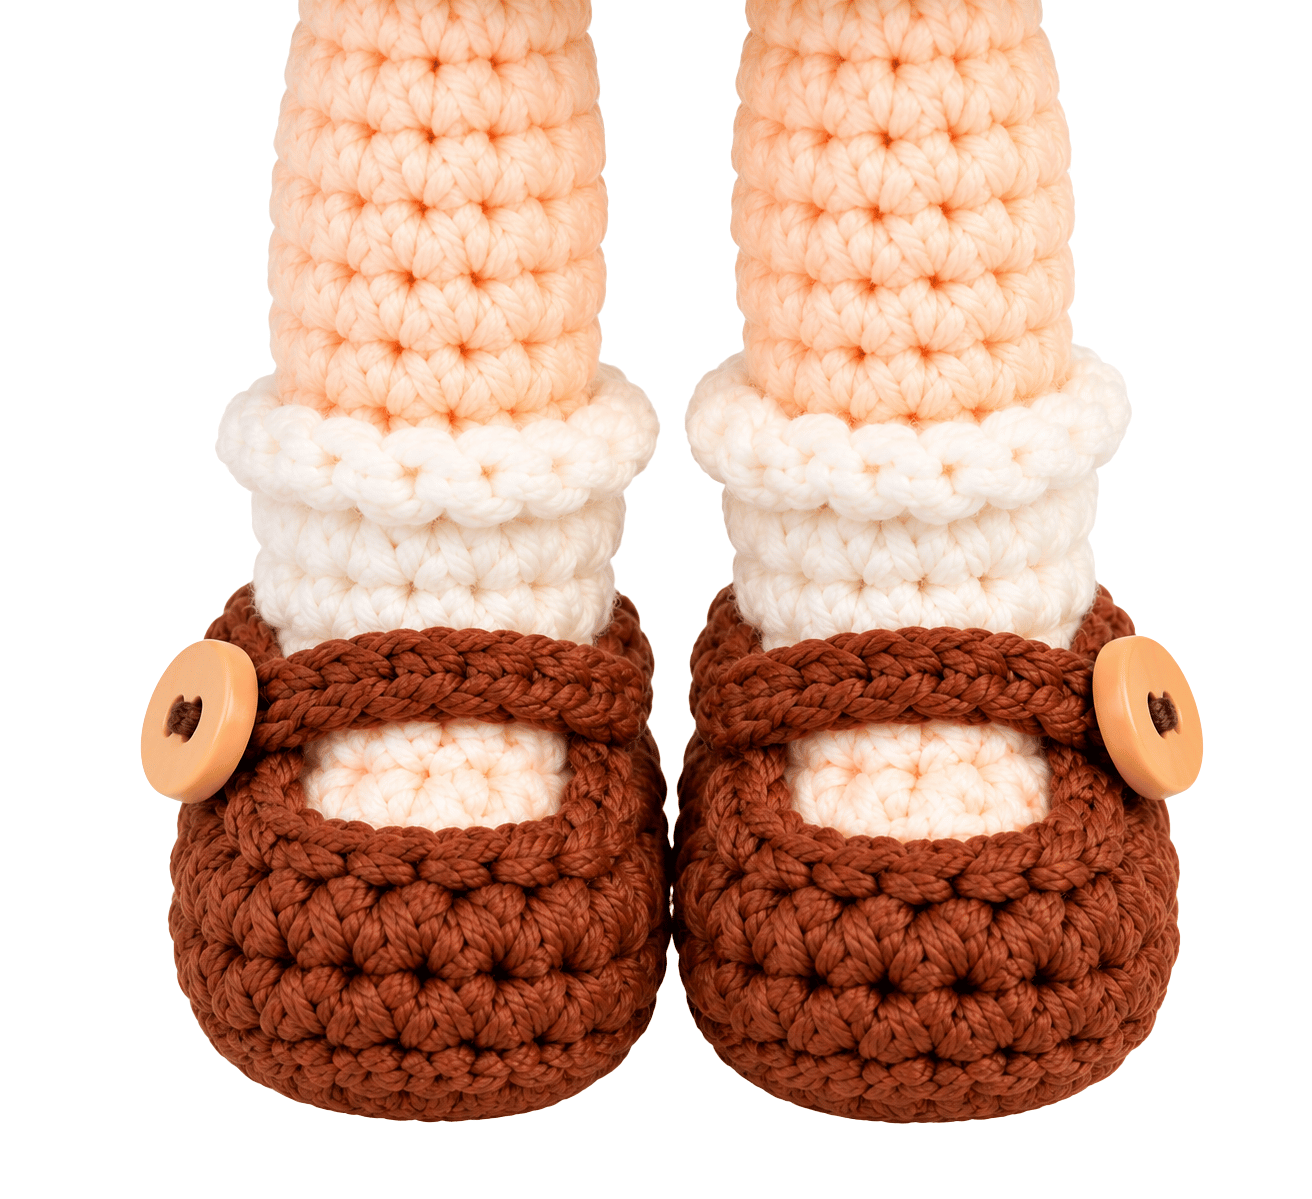
Make two legs using cream or beige yarn for the feet.
Each Leg
Round 1: 6 sc into MR — 6
Round 2: inc around — 12
Rounds 3–5: sc around — 12
Switch to the dress color.
Rounds 6–10: sc around — 12
Add a small amount of stuffing.
Fasten off the first leg and leave a long tail.
Make the second leg, but keep the yarn attached.
You’ll use the second leg to connect both pieces.
Join the Legs
Place the legs side by side.
Using the yarn from the second leg, crochet around both legs until you create one continuous lower body section.
You should have approximately 24 stitches around the joined legs.
Continue:
Rounds 11–14: sc around — 24
Stuff the legs firmly enough to hold their shape.
Then continue with the body.
Round 15: (3 sc, inc) × 6 — 30
Rounds 16–20: sc around — 30
Shape the shoulders:
Round 21: (3 sc, dec) × 6 — 24
Round 22: sc around — 24
Round 23: (2 sc, dec) × 6 — 18
Stuff firmly.
Round 24: sc around — 18
Fasten off and leave a long tail for attaching the head.
Crochet the Arms
Make two arms.
Use cream or beige yarn.
Round 1: 6 sc into MR — 6
Round 2: (2 sc, inc) × 2 — 8
Rounds 3–5: sc around — 8
Switch to the dress color.
Rounds 6–11: sc around — 8
Stuff the arms very lightly.
Flatten the openings and sew them closed.
Leave a long tail on each arm for assembly.
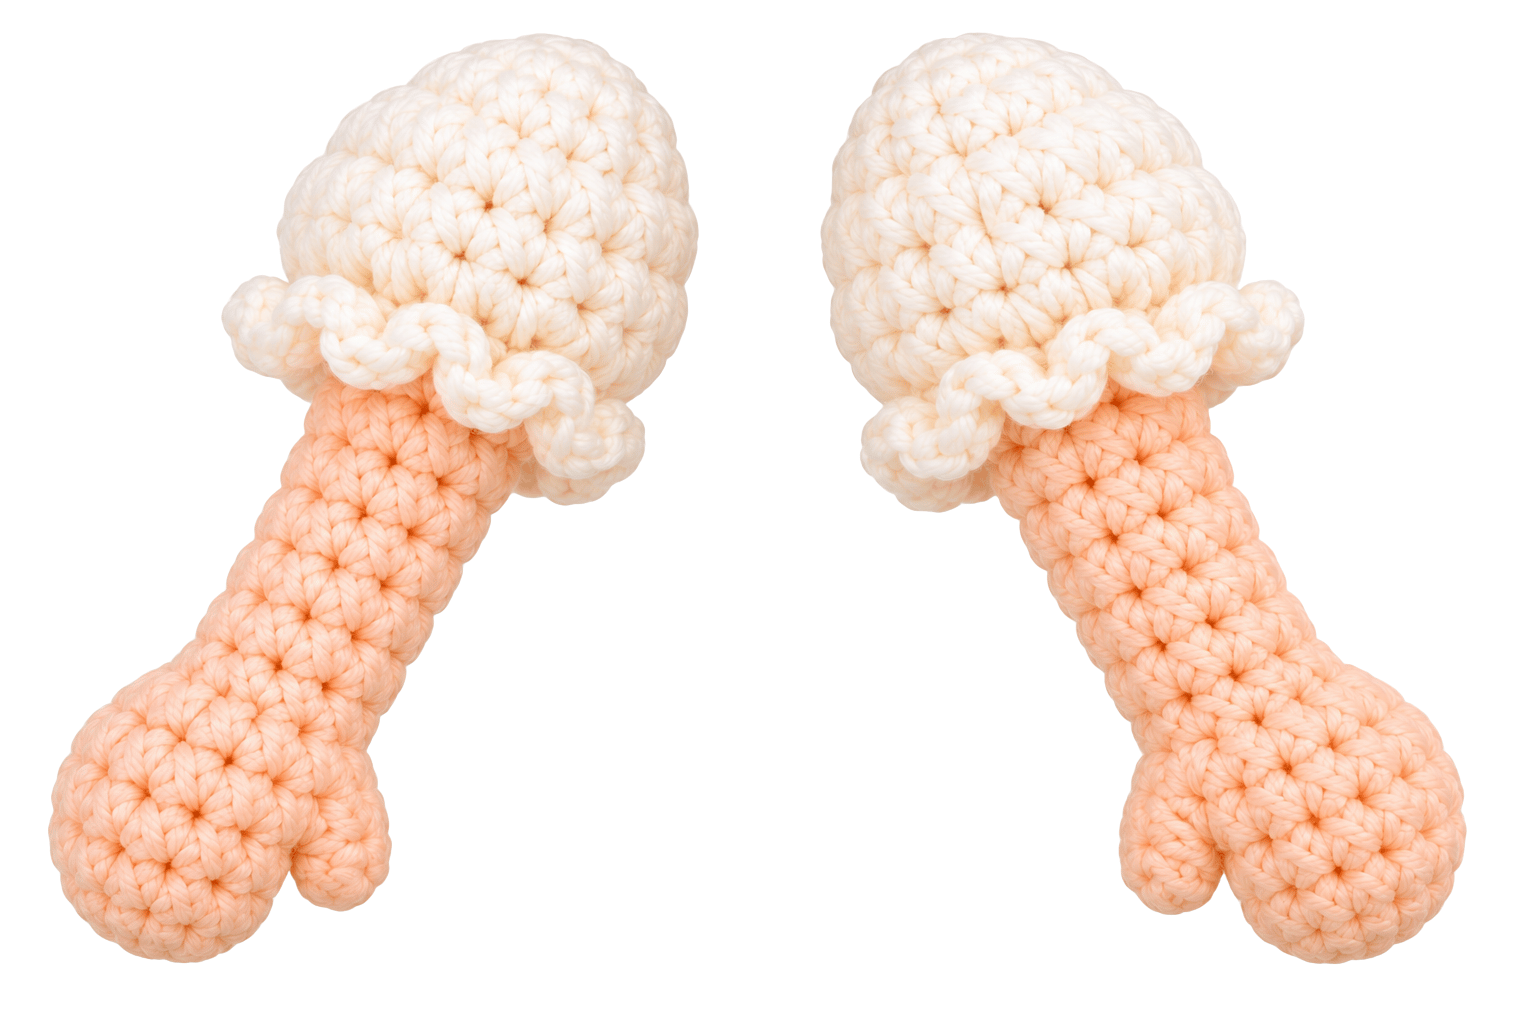
Crochet the Mushroom Stem
Use cream or beige yarn.
Round 1: 6 sc into MR — 6
Round 2: inc around — 12
Rounds 3–5: sc around — 12
Round 6: (sc, inc) × 6 — 18
Rounds 7–9: sc around — 18
Add a small amount of stuffing.
Round 10: (sc, dec) × 6 — 12
Fasten off and leave a long sewing tail.
The stem should remain relatively firm without becoming stiff.
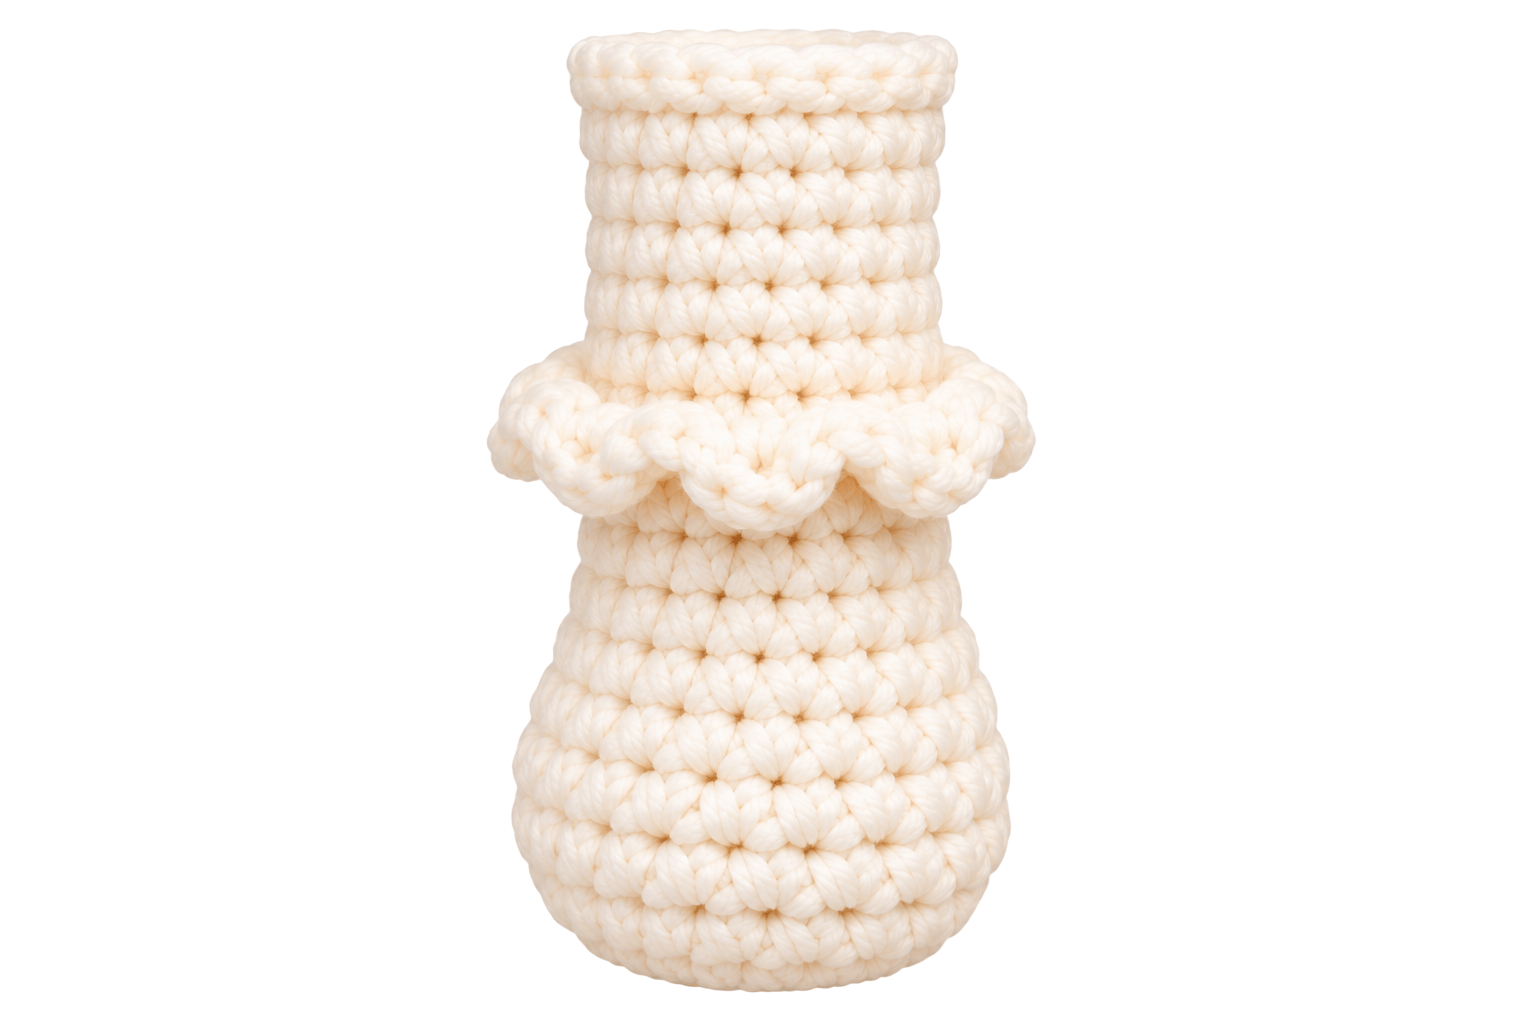
Assembly & Finished Size
Attach the Head
Place the head directly onto the body.
Check the face from the front before sewing.
Use the long yarn tail from the body and sew around the neck several times. Keep the head secure while maintaining a natural neck shape.
Attach the Arms
Position each arm around the upper body, roughly near the shoulder area.
Pin them first.
This small step helps you check symmetry before you commit to sewing.
Sew each arm firmly into place.
Attach the Hair
Position the brown hair cap over the back of the head.
Sew around the edges and add individual strands if you want fuller hair.
Attach the Mushroom Stem
Place the stem on top of the head.
Sew it securely through the center of the hair and head.
Then position the mushroom cap over the stem.
Attach the Mushroom Cap
Tilt the cap slightly to one side if you want a playful pose.
Sew the cap securely around the stem.
You can leave the sides slightly loose to create a softer mushroom-cap silhouette.
Add the Face
Finish the face with:
- Black eyes
- Small embroidered mouth
- Pink cheeks
- Optional tiny eyebrows
- Optional eyelashes
Conclusion
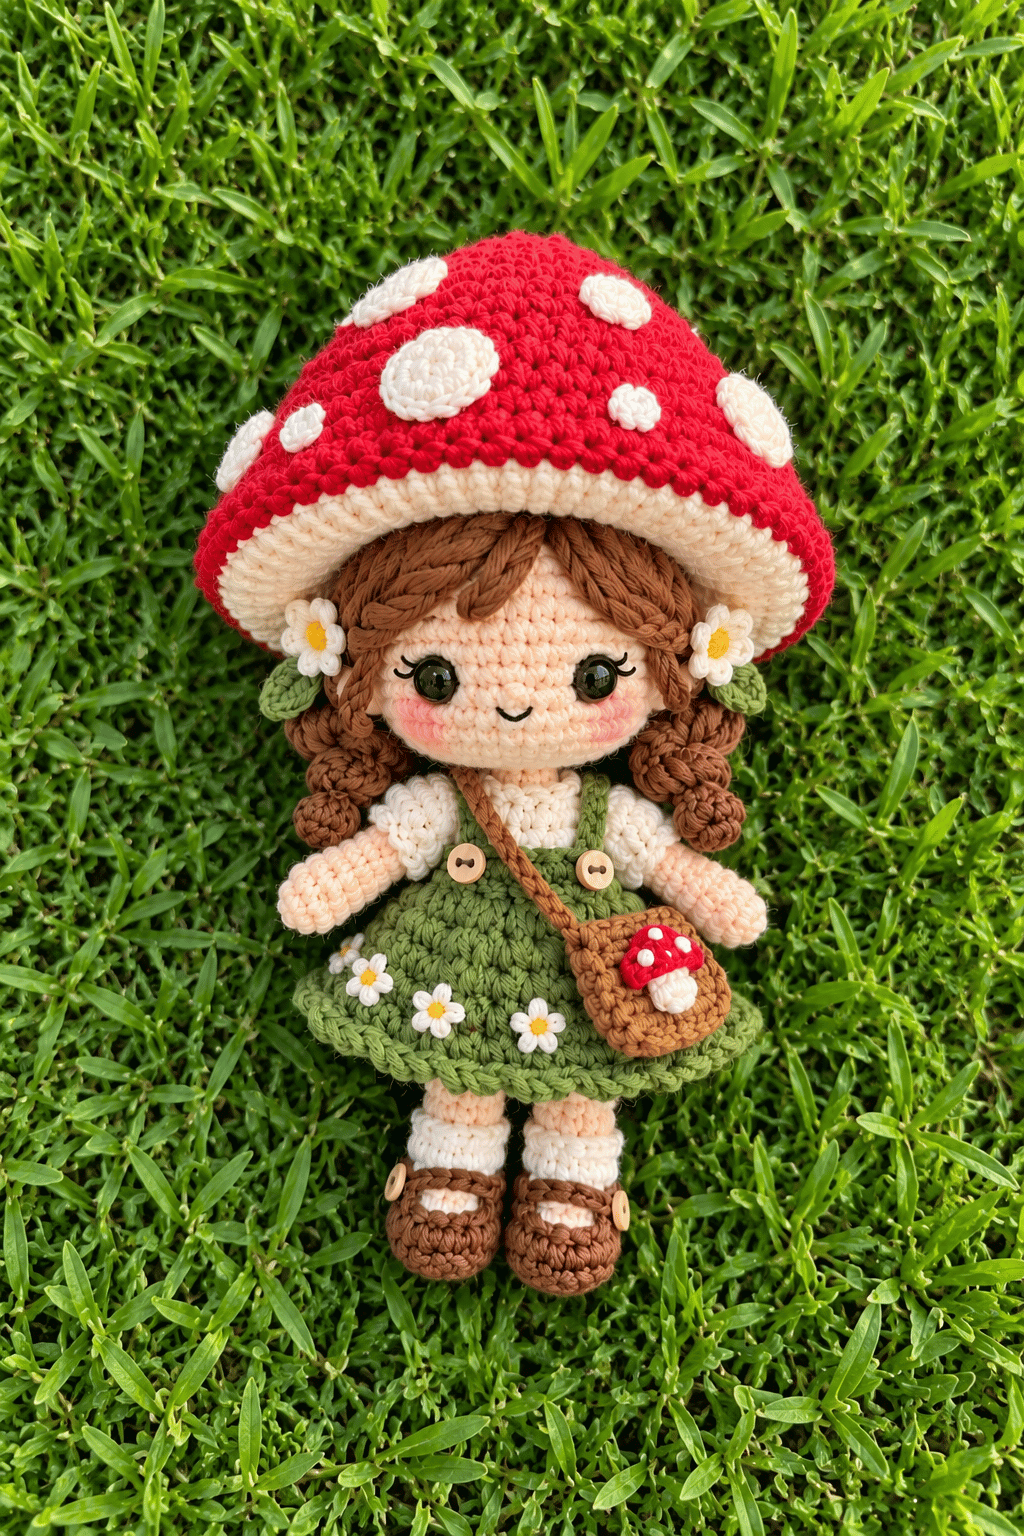
Crochet Mushroom Girl Doll Pattern gives you a simple base for creating a charming woodland-inspired amigurumi character. The project uses familiar amigurumi techniques, including single crochet, increases, decreases, stuffing, and basic sewing.
The oversized mushroom cap creates the signature look, while the hair, dress, facial details, and accessories give you plenty of room for customization.
Most importantly, don’t worry if your first version doesn’t look exactly like the sample. Crochet tension has a mind of its own sometimes.
Try different mushroom colors, experiment with hairstyles, and give each doll a slightly different personality. Once you finish one, you’ll have a solid foundation for creating an entire little collection of crochet mushroom dolls and woodland amigurumi.
FAQ
My stuffing shows through. What went wrong?
Your stitches may sit too loosely.
Try a smaller crochet hook and avoid stretching each stitch while you work.
My mushroom cap looks flat.
You may need additional increase rounds or slightly more height before shaping the edge.
The cap should curve rather than sit completely flat.
My doll leans to one side.
Check the leg placement before sewing the body together.
Also check the head position. Even a slight tilt can make the finished doll look crooked.
The head feels floppy.
Add more stuffing around the lower portion of the head and reinforce the neck seam.
The neck needs enough support to hold the oversized mushroom hat.
My doll looks different from the example.
That’s completely normal.
Yarn thickness, hook size, stitch tension, stuffing density, and even the way you sew the pieces together can change the final shape.