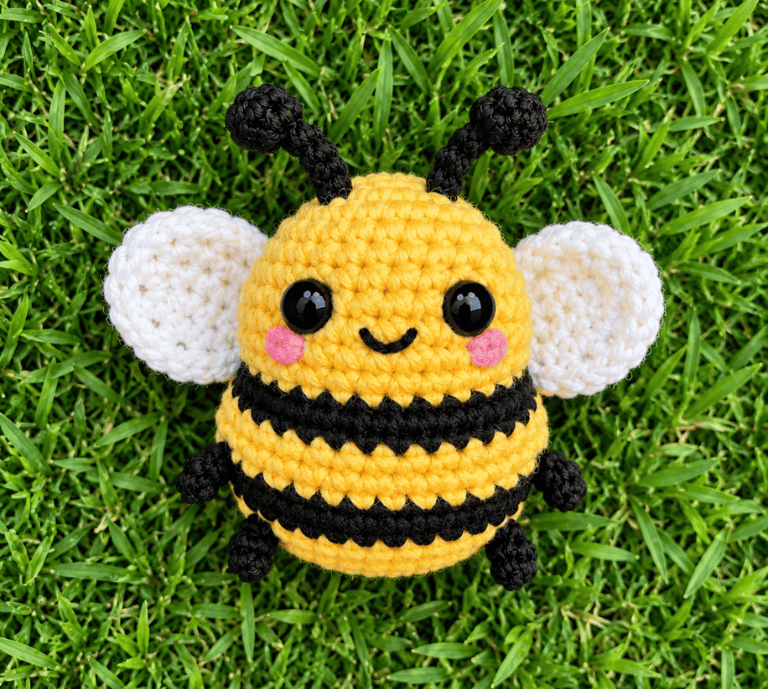
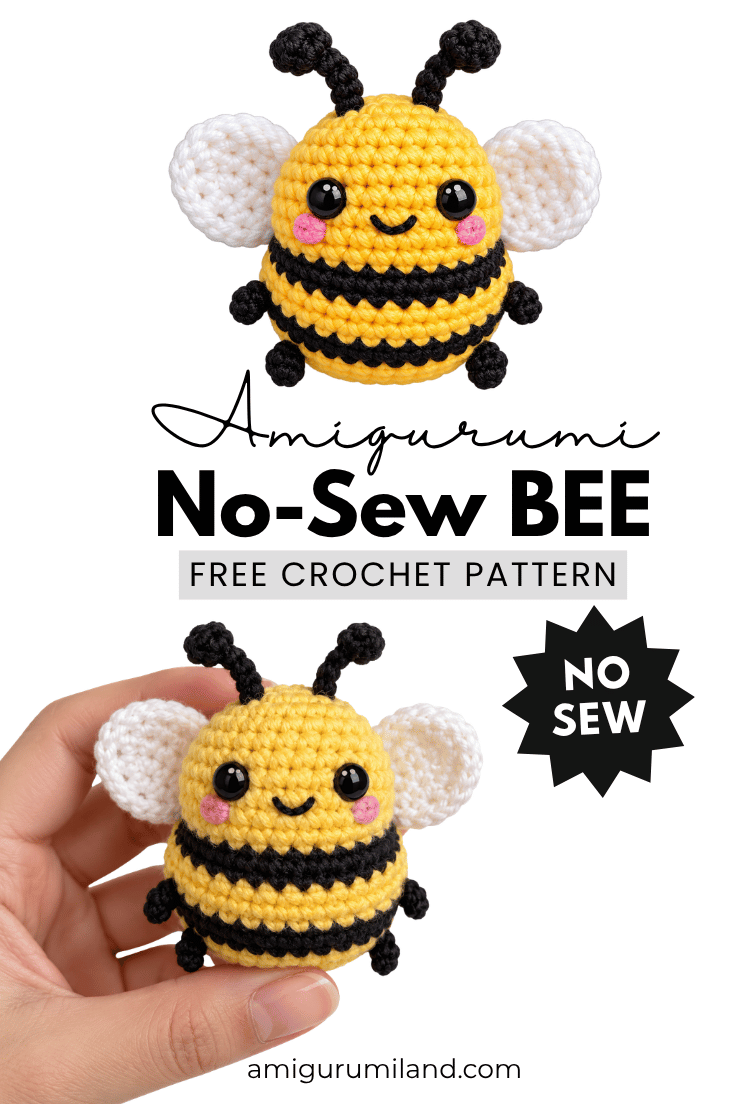
No-Sew Crochet Bee Amigurumi Pattern Step by Step gives you a simple way to crochet a chubby little bee without stitching separate body parts together at the end. You’ll work the body in rounds, add the color changes as you go, and crochet the wings and antennae directly onto the bee.
The pattern suits beginners who already know basic amigurumi stitches. You only need a few supplies, some patience with color changes, and enough stuffing to give your bee a nice round shape.
The best part? You won’t finish the crochet work and then discover a pile of tiny pieces staring back at you like a sewing assignment
Materials
- Yellow yarn
- Black yarn
- White yarn
- Crochet hook suitable for your yarn (around 2.5–3 mm)
- Fiberfill stuffing
- 6 mm safety eyes
- Stitch marker
- Scissors
- Tapestry needle — optional, only for hiding the final yarn tail
Measurements / Sizing
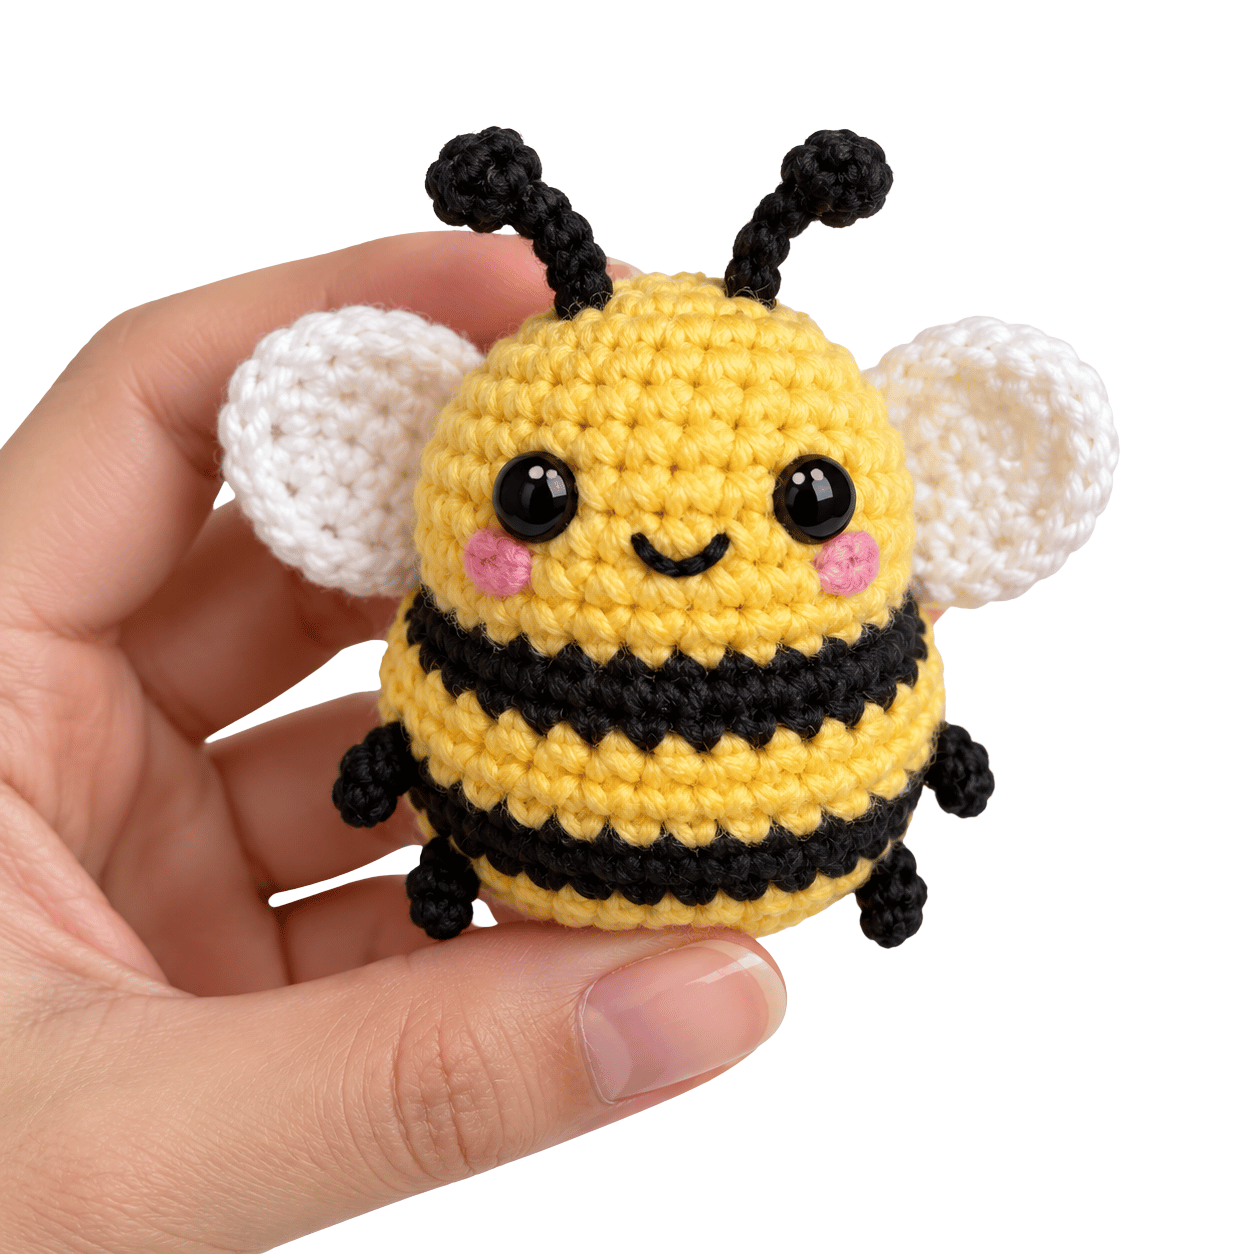
Using approximately DK or worsted-weight yarn with a 2.5–3 mm hook, the finished bee should measure around:
7–9 cm (2.75–3.5 inches) tall.
Your result may differ slightly.
Gauge and Stitch Pattern
With a suitable DK-weight yarn and 2.5–3 mm hook, a practical target is approximately:
20–24 single crochet stitches over 10 cm, depending on yarn and tension.
Don’t worry if your gauge differs slightly. The more important goal involves creating a tight fabric that keeps the stuffing inside.
Main stitch pattern
The body mainly uses:
- sc
- inc
- dec
These three stitches create the rounded shape.
Increasing makes the body wider. Working straight rounds maintains the width. Decreasing gradually closes the shape.
Stitch Abbreviations
This pattern uses standard US crochet terminology.
- MR Magic Ring
- Sc Single Crochet
- Inc Increase
- inc increase
- sl st Slip Stitch
- ch chain
- st stitch
- FO Fasten Off
- Dec Invisible Decrease
Skill Level – Beginner
You should feel comfortable with:
- Magic ring
- Single crochet
- Increasing
- Invisible decreasing
- Slip stitch
- Chain stitch
- Basic color changes
- Stuffing a crocheted shape
Notes Before You Start
Keep your stitches tight
Amigurumi looks best when you crochet with fairly tight tension. Loose stitches can create visible gaps, especially after you add stuffing.
You don’t need to crochet so tightly that your hand starts filing a formal complaint, though. Keep the tension firm but comfortable.
Use a stitch marker
Work in continuous rounds unless the pattern specifically tells you otherwise. Place a stitch marker in the first stitch of each round so you don’t lose track.
Change colors neatly
When you finish a black stripe, change to yellow at the end of the previous stitch. Try to keep the color change on the back of the bee.
The front should look clean and even.
Stuff gradually
Don’t wait until the final few rounds to add all the stuffing. Start adding small amounts once the body becomes deep enough to hold it.
Add stuffing gradually so the body stays round without stretching the stitches.
Avoid packing the stuffing too tightly. A firm but slightly squishy bee usually looks better than one that feels like a yarn-covered rock.
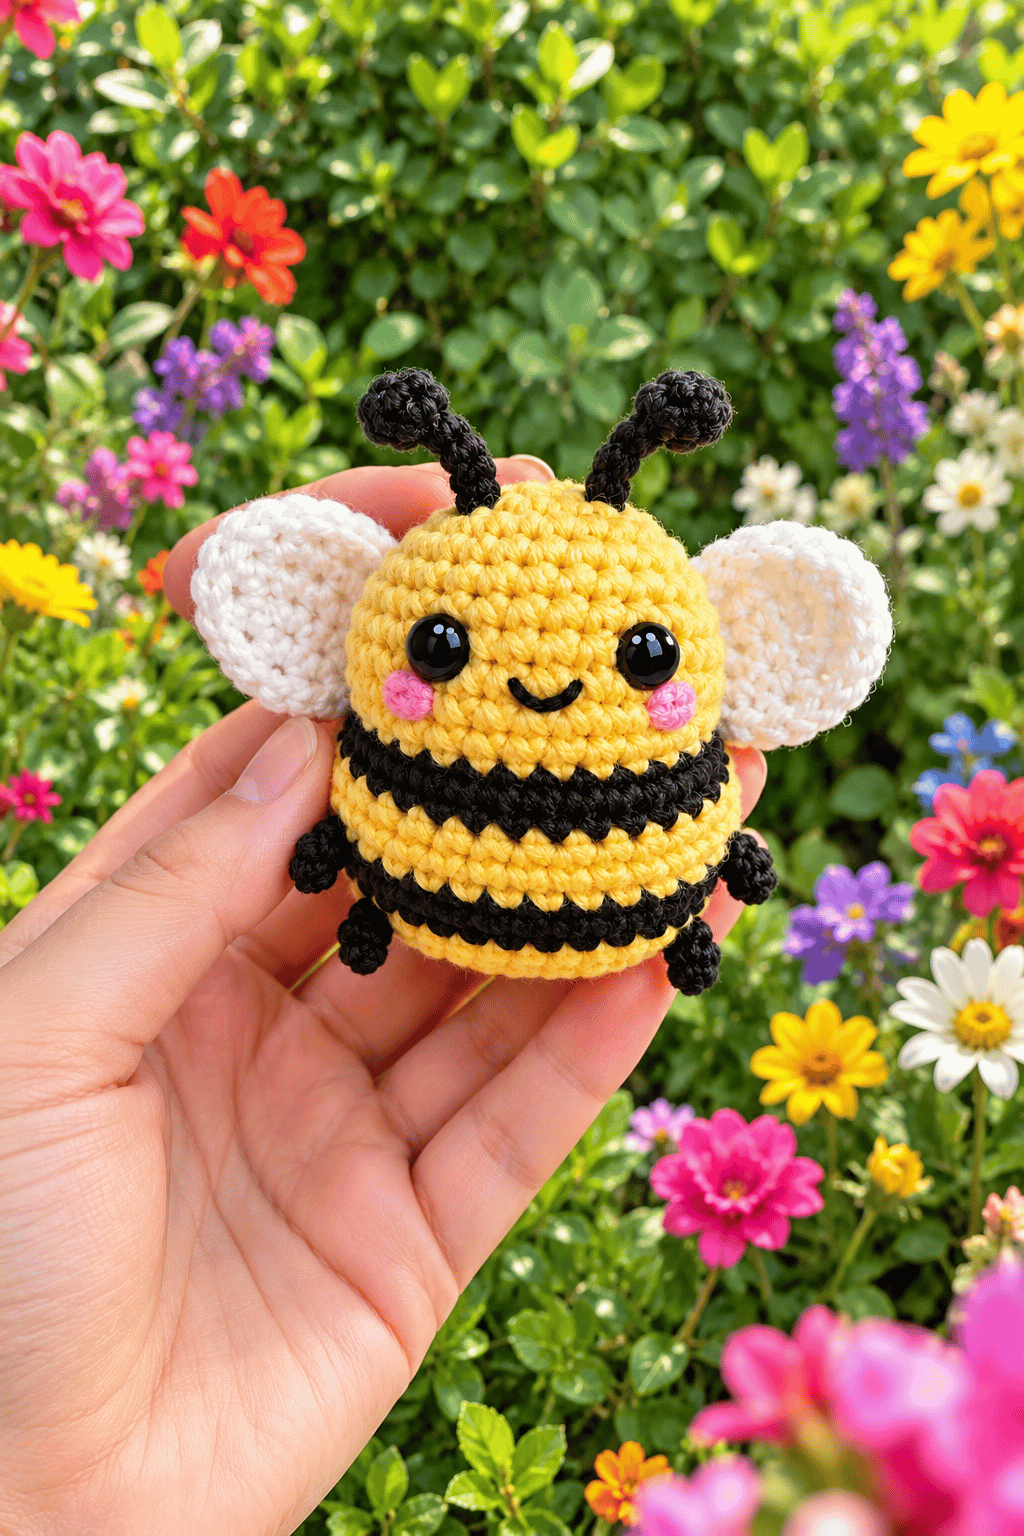
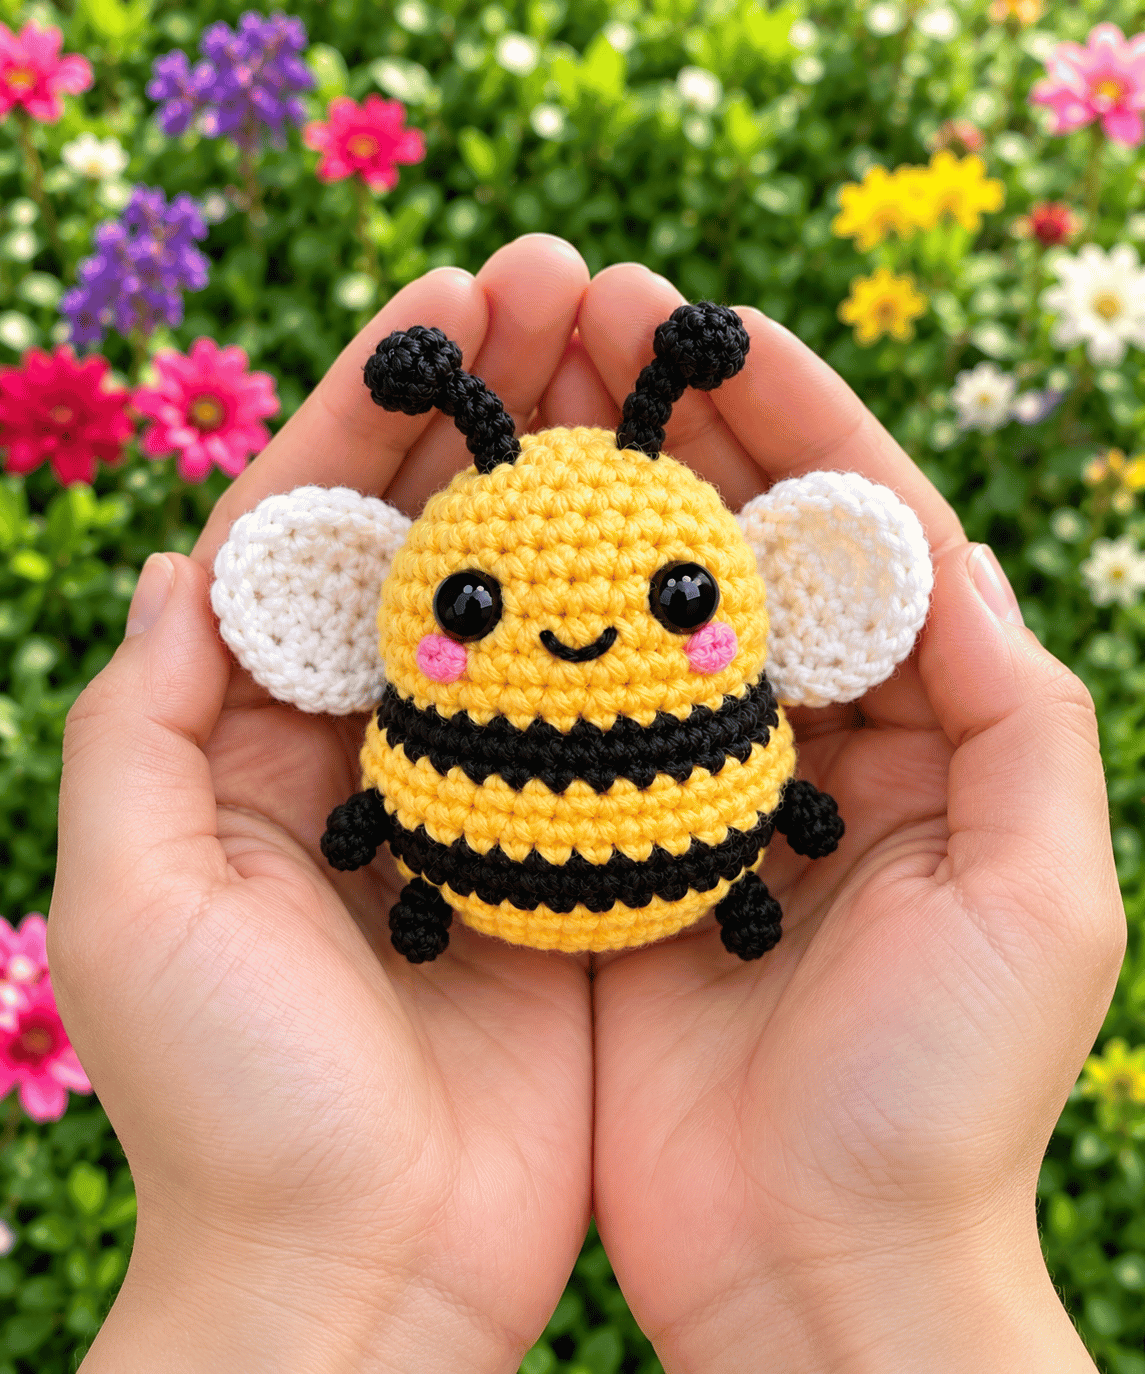
No-Sew Crochet Bee Pattern Step by Step
Round 1 — Start the Body
Using yellow yarn, make a magic ring.
Work:
6 sc into MR
You should have:
6 stitches
Pull the center of the magic ring closed.
Round 2
Work:
inc around
You should have:
12 stitches
Your tiny circle should start expanding.
Round 3
Work:
(sc, inc) × 6
Total:
18 stitches
Round 4
Work:
(2 sc, inc) × 6
Total:
24 stitches
Round 5
Work:
(3 sc, inc) × 6
Total:
30 stitches
At this stage, you should have a small circular base that will become the rounded bee body.
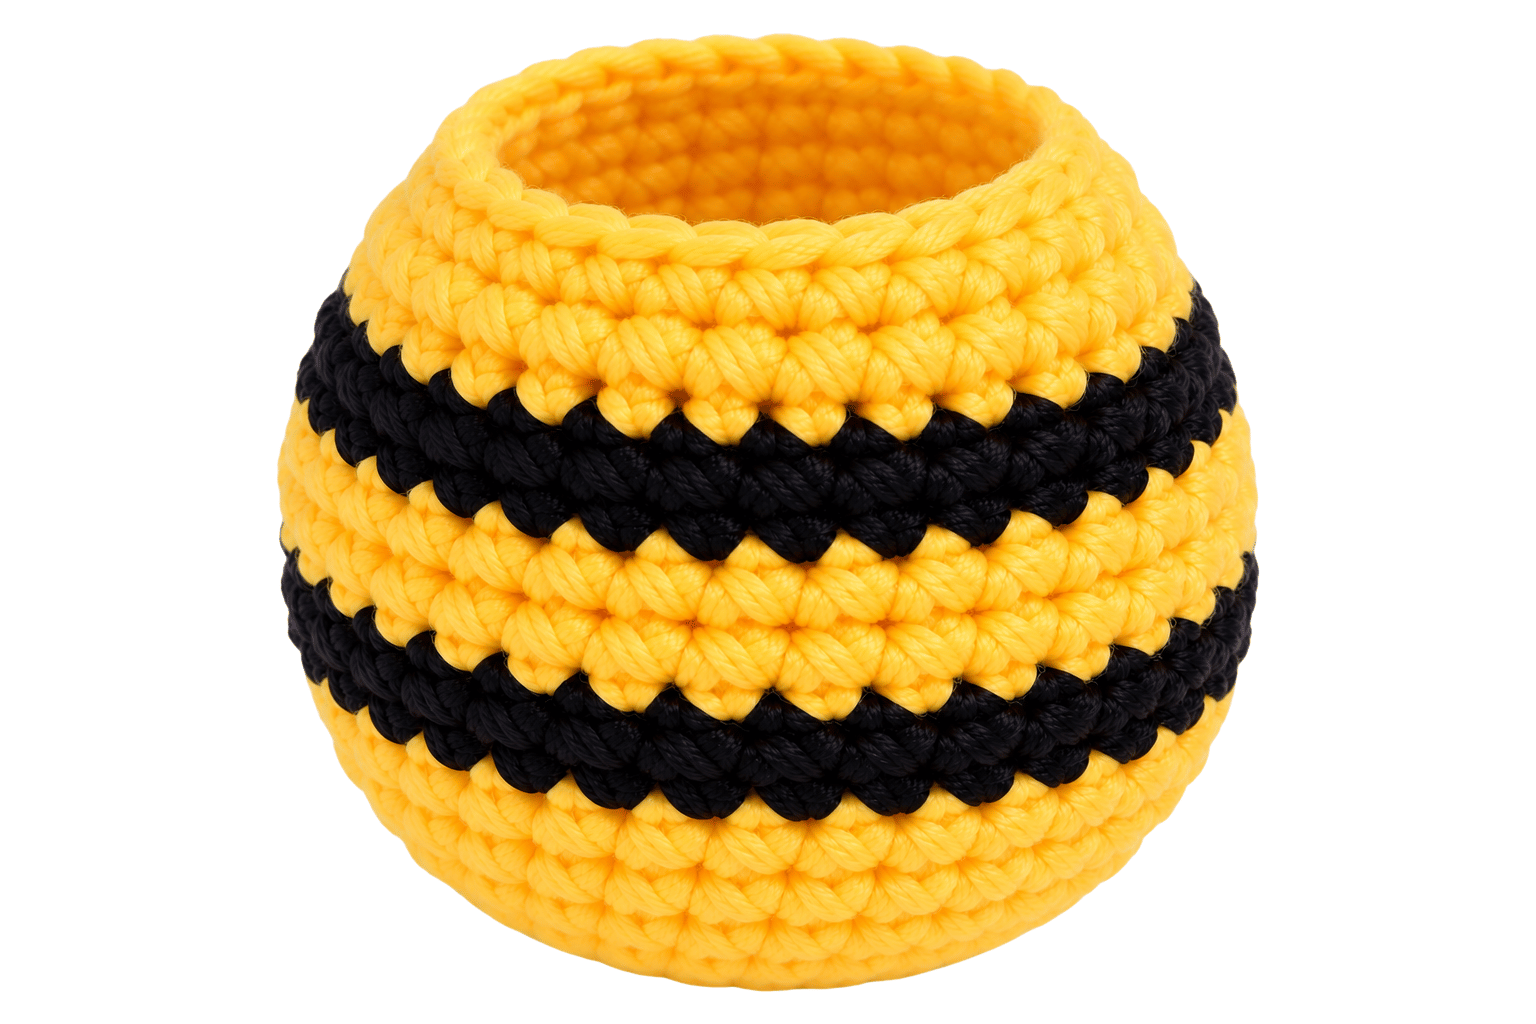
Creating the Bee’s First Black Stripe
Change to black yarn.
Round 6
Work:
30 sc
Round 7
Work:
30 sc
These two rounds create the first black stripe.
Keep your tension consistent during the color change. If your stitches suddenly become much tighter or looser, the stripe can look uneven.
Returning to Yellow
Change back to yellow yarn.
Round 8
Work:
30 sc
Round 9
Work:
30 sc
Round 10
Work:
30 sc
This yellow section gives your bee its bright middle section.
You can make the stripe pattern thicker or thinner if you want a different look. Just remember that changing the number of rounds will change the proportions slightly.
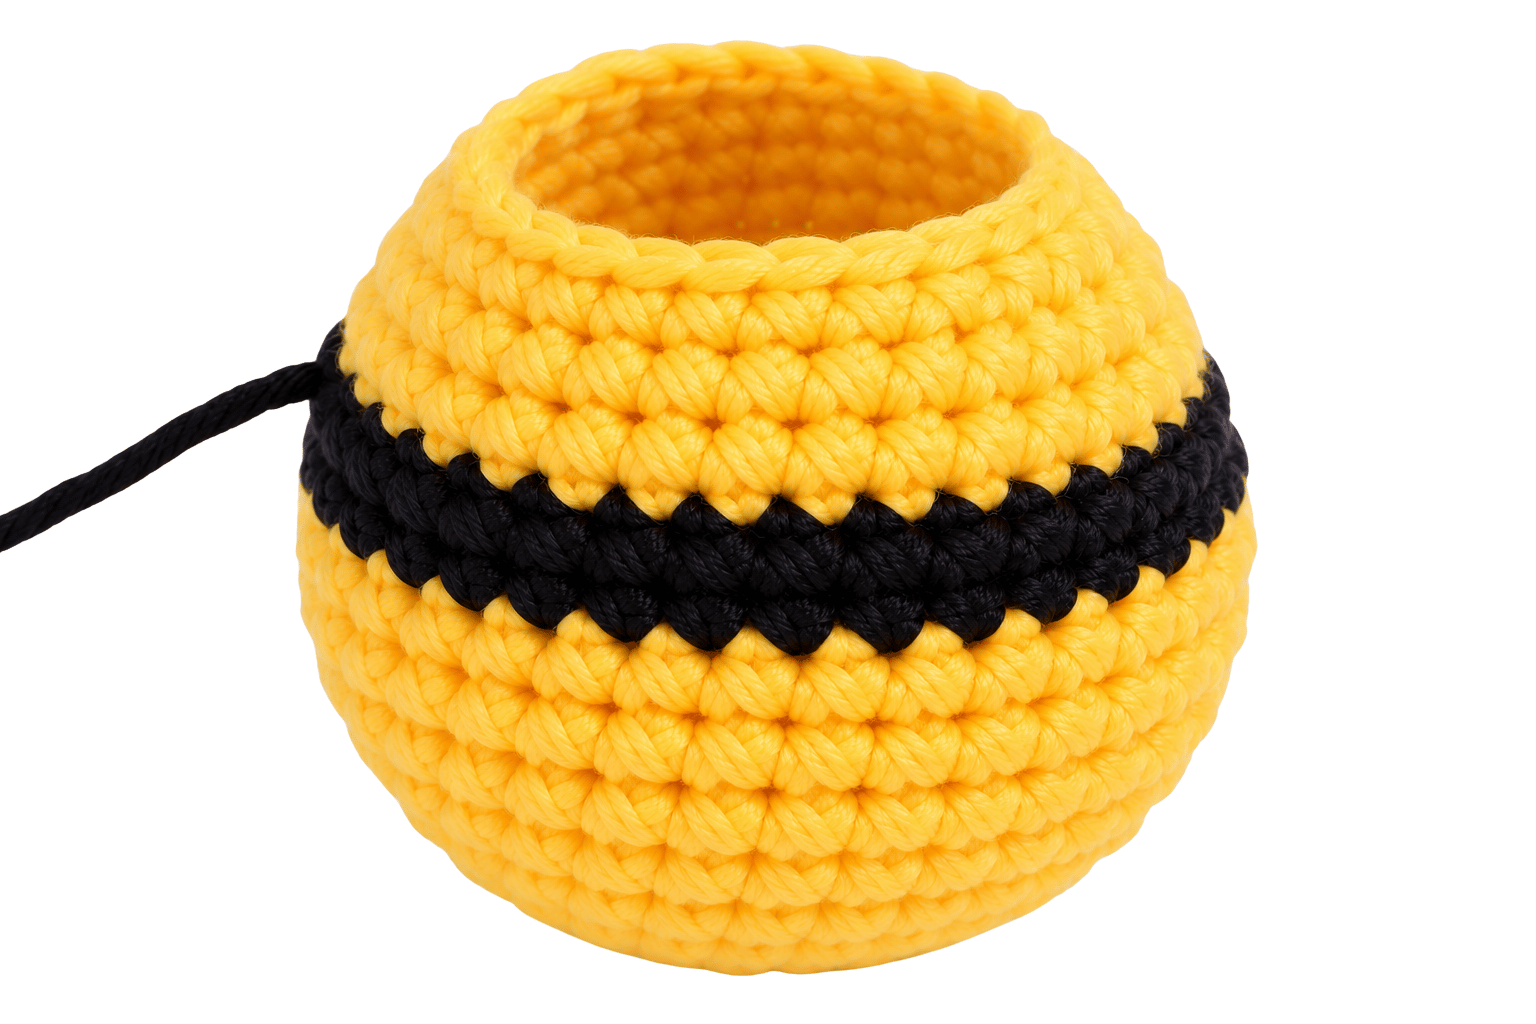
Adding the Second Black Stripe
Switch back to black yarn.
Round 11
Work:
30 sc
Round 12
Work:
30 sc
Your bee should now have two clear black sections.
keeping the stripes the same number of rounds makes the bee look more balanced. You can absolutely experiment, though. Crochet rarely sends the police when you change a stripe.
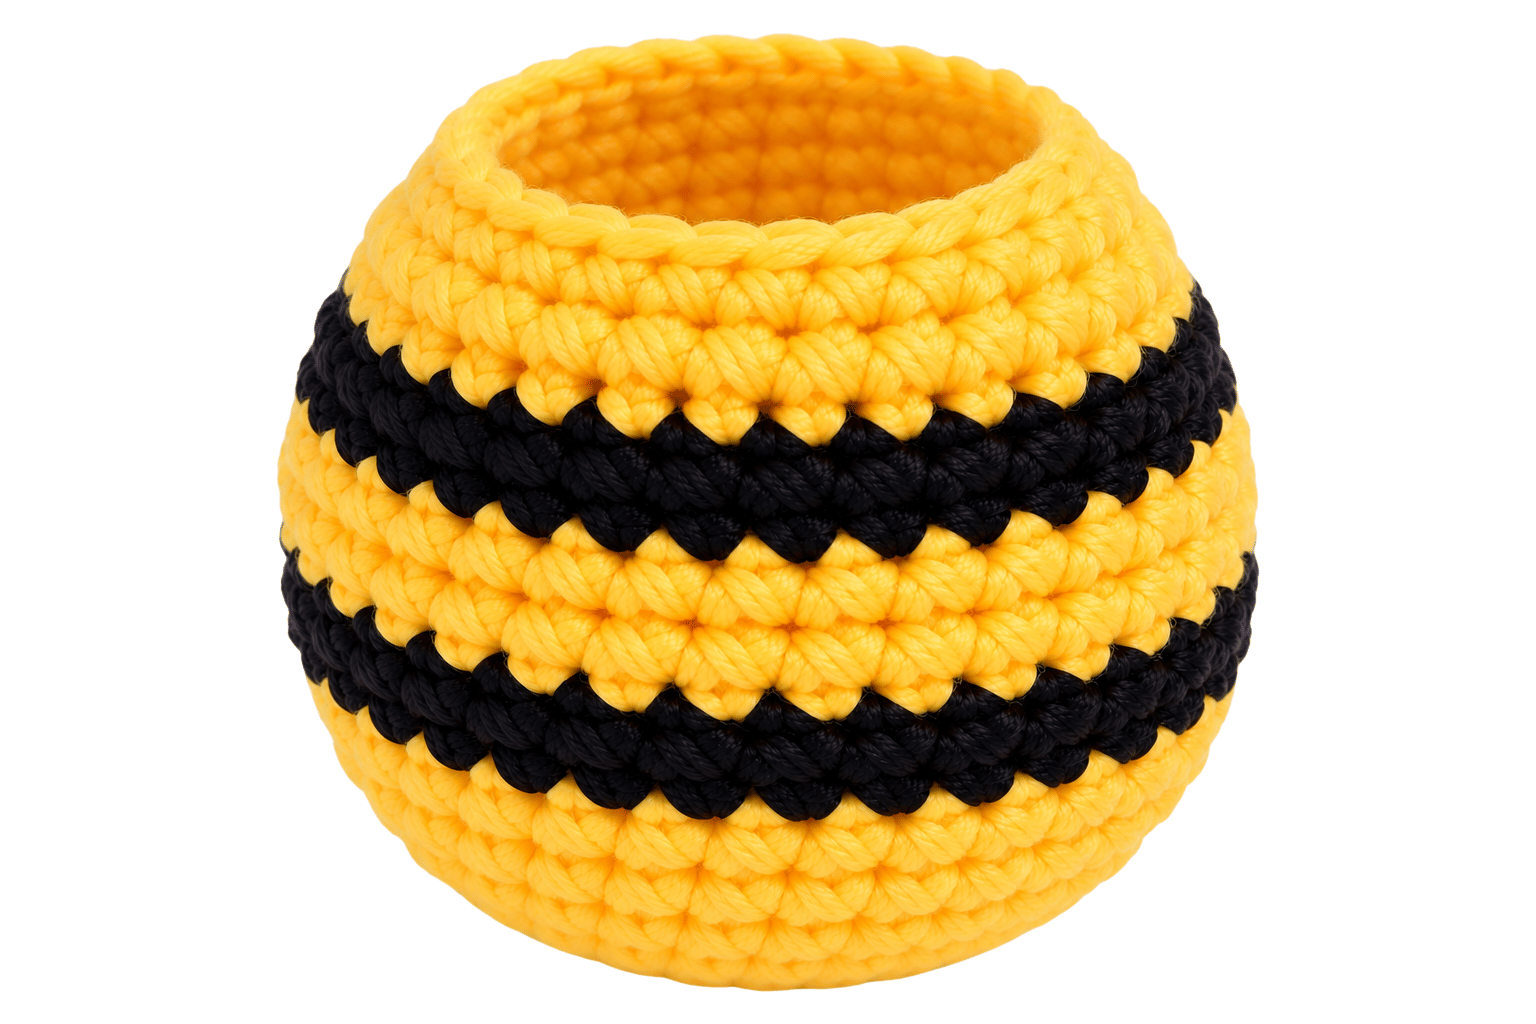
Shaping the Head
Return to yellow yarn.
The decreases will gradually narrow the body.
Round 13
Work:
(3 sc, dec) × 6
Total:
24 stitches
Round 14
Work:
(2 sc, dec) × 6
Total:
18 stitches
Round 15
Work:
(sc, dec) × 6
Total:
12 stitches
At this stage, add more stuffing if needed.
Round 16
Work:
dec × 6
Total:
6 stitches
Before closing the remaining opening, check the shape.
Does the bee look evenly stuffed? Does the head remain rounded? If you notice flat spots, add a small amount of stuffing before closing.
Pull the remaining opening closed and fasten off.
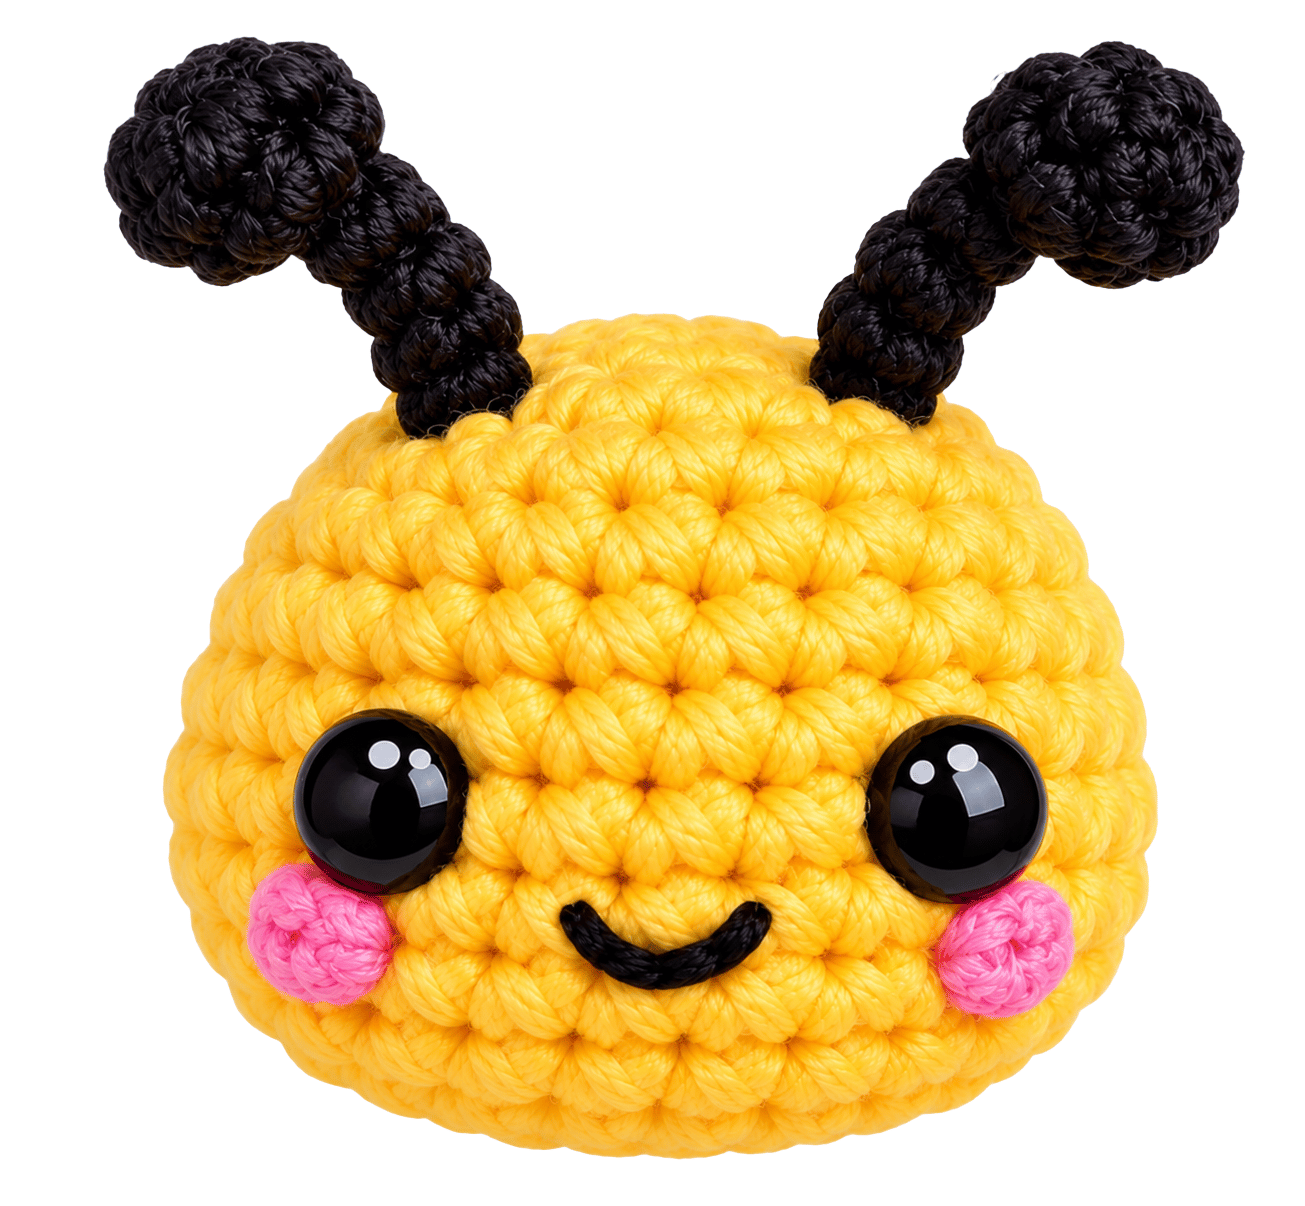
Adding the Safety Eyes
Place the eyes around the upper front section of the bee.
A spacing of approximately 5 stitches between the eyes works well for a small bee, but you can adjust the placement to create different expressions.
For a cuter appearance, place the eyes slightly lower and closer together.
For a more alert-looking bee, place them slightly farther apart.
If you want to embroider the eyes instead, use black yarn and make two small stitches on the face.
No-Sew Wings
The wings create the most important no-sew feature of this pattern.
Instead of making separate wings and sewing them onto the body, crochet them directly onto the bee.
Use white yarn.
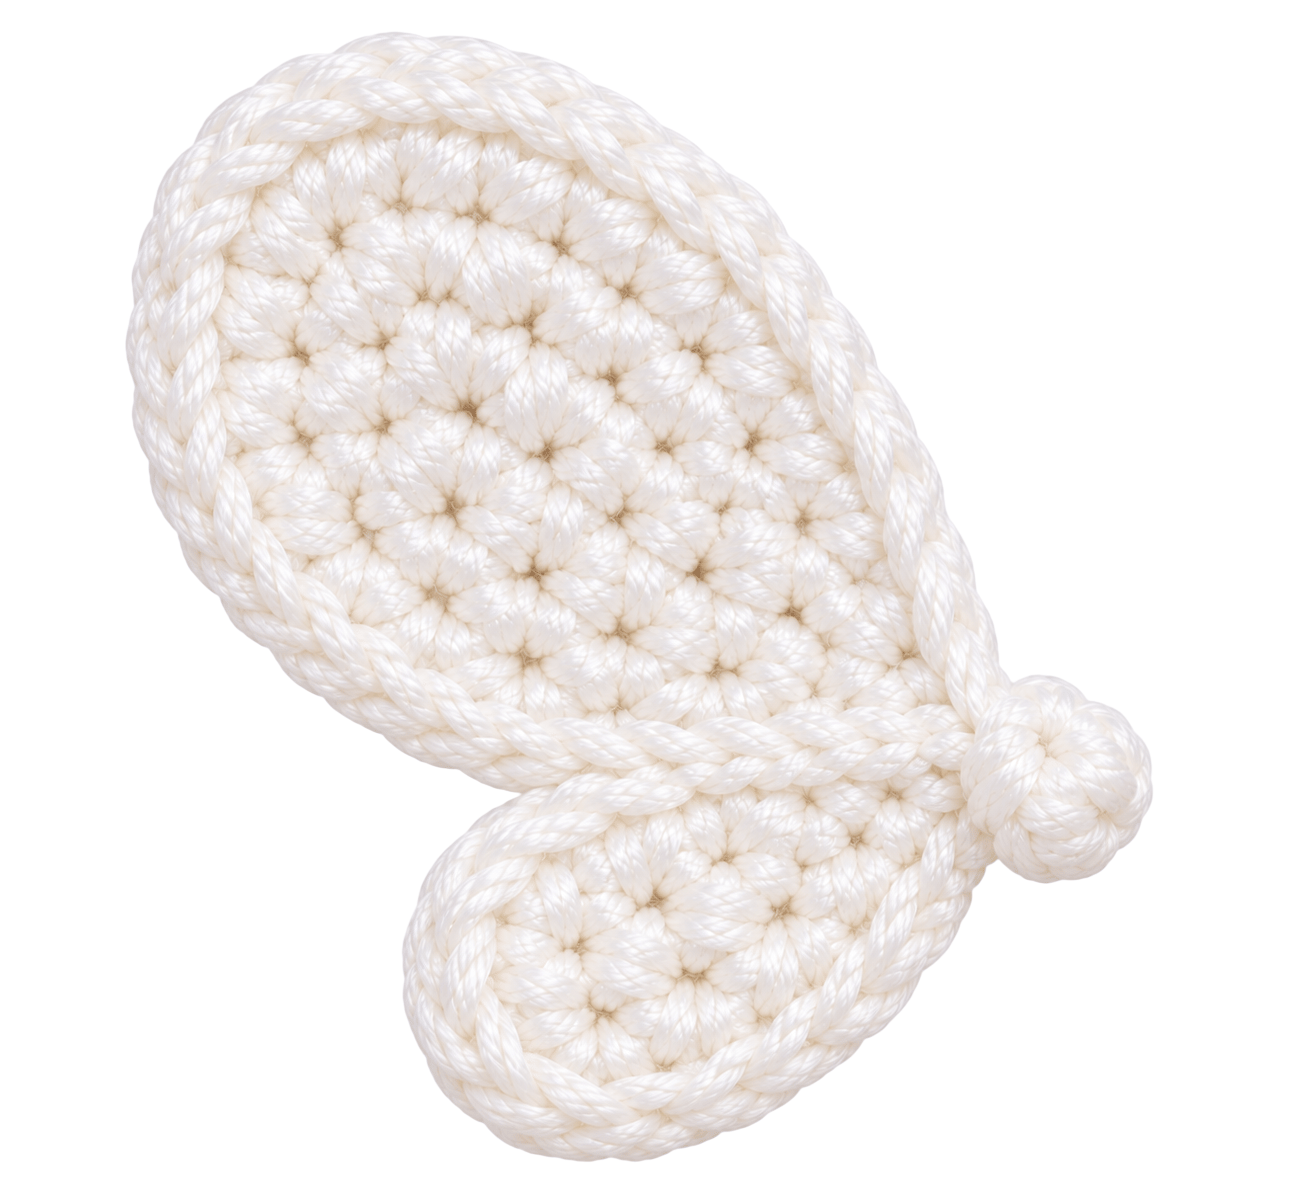
First Wing
Choose a point on the upper side of the bee.
Attach the white yarn directly to the body.
Work:
ch 3
Then work into the attachment area:
3 dc, 2 tr, 3 dc, sl st
Fasten off.
The stitches create a small rounded wing.
Second Wing
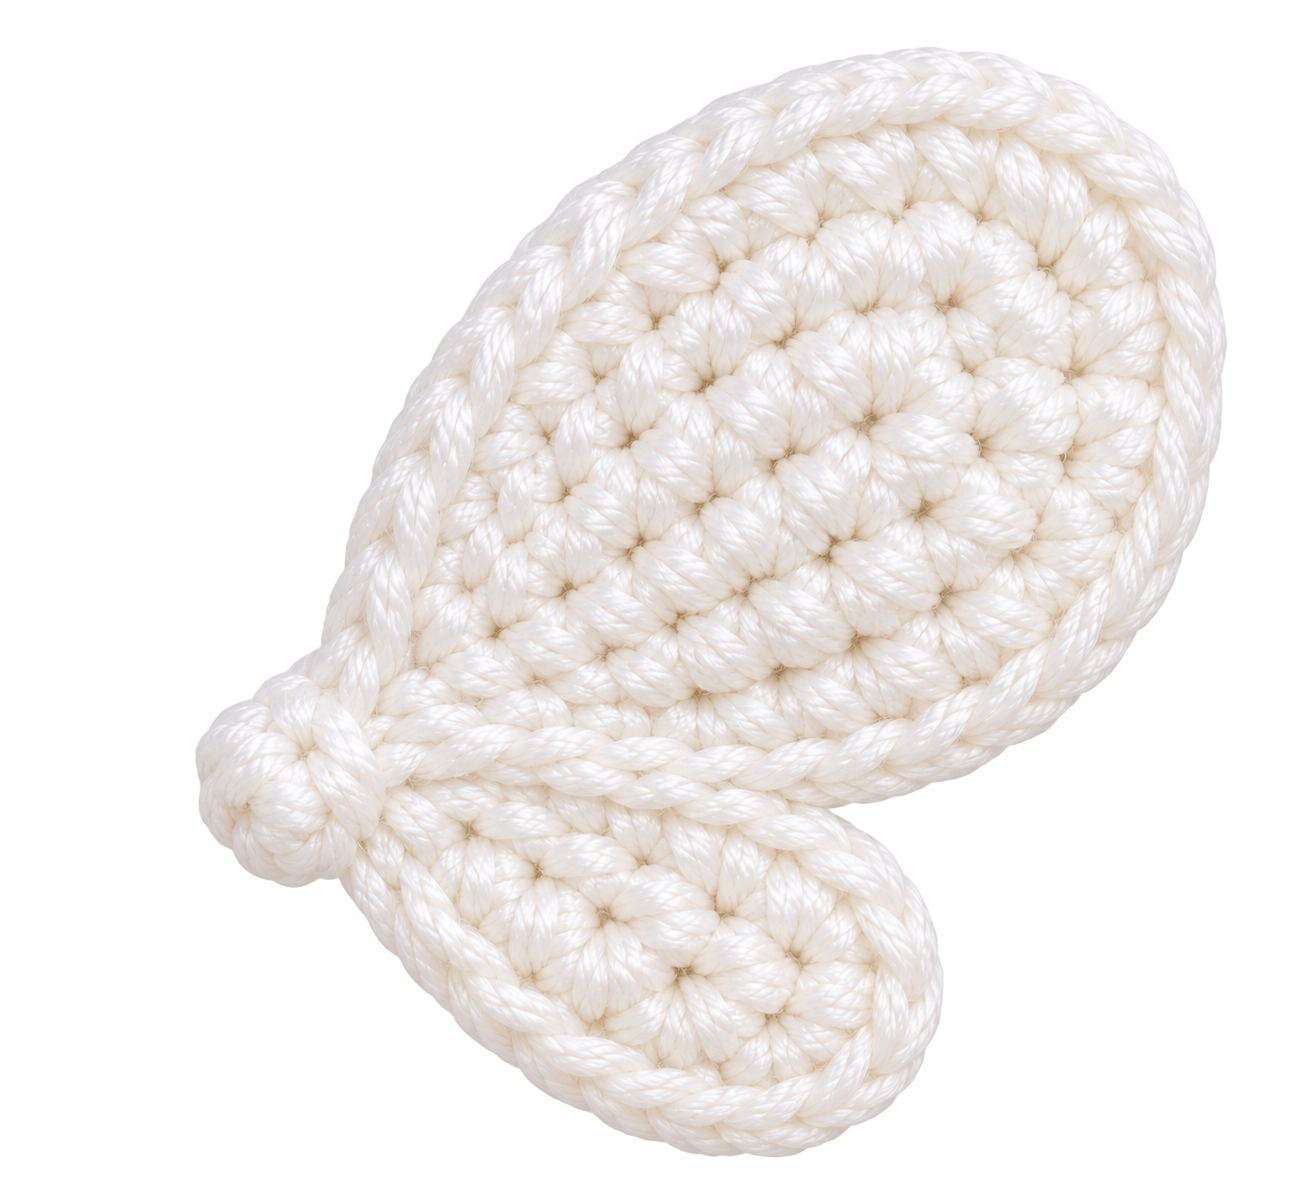
Move to the opposite side of the bee.
Attach white yarn directly to the body.
Work:
ch 3
Then:
3 dc, 2 tr, 3 dc, sl st
Fasten off.
You now have two wings attached directly to the body.
Wing placement tip
Look at the bee from above before you finish hiding the yarn ends.
The wings should sit at roughly equal heights.
If one wing sits noticeably higher than the other, undo the attachment and move it. Fixing it now takes seconds. Ignoring it usually means noticing it every single time you look at the bee. :/
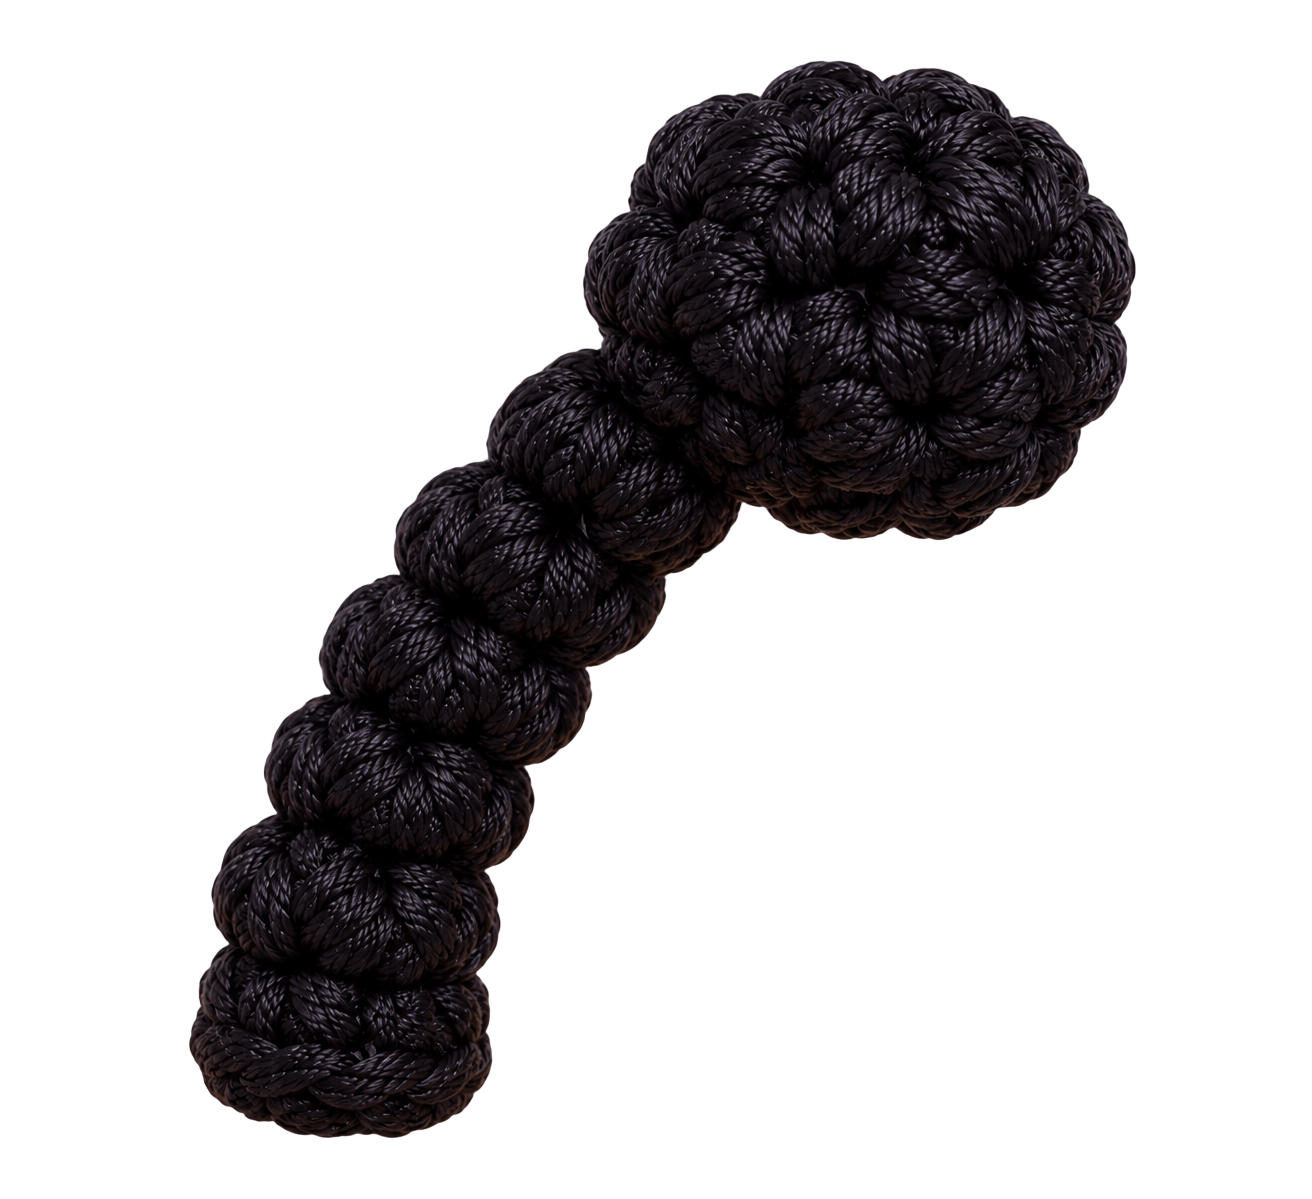
No-Sew Antennae
The antennae also attach directly to the head.
Use black yarn.
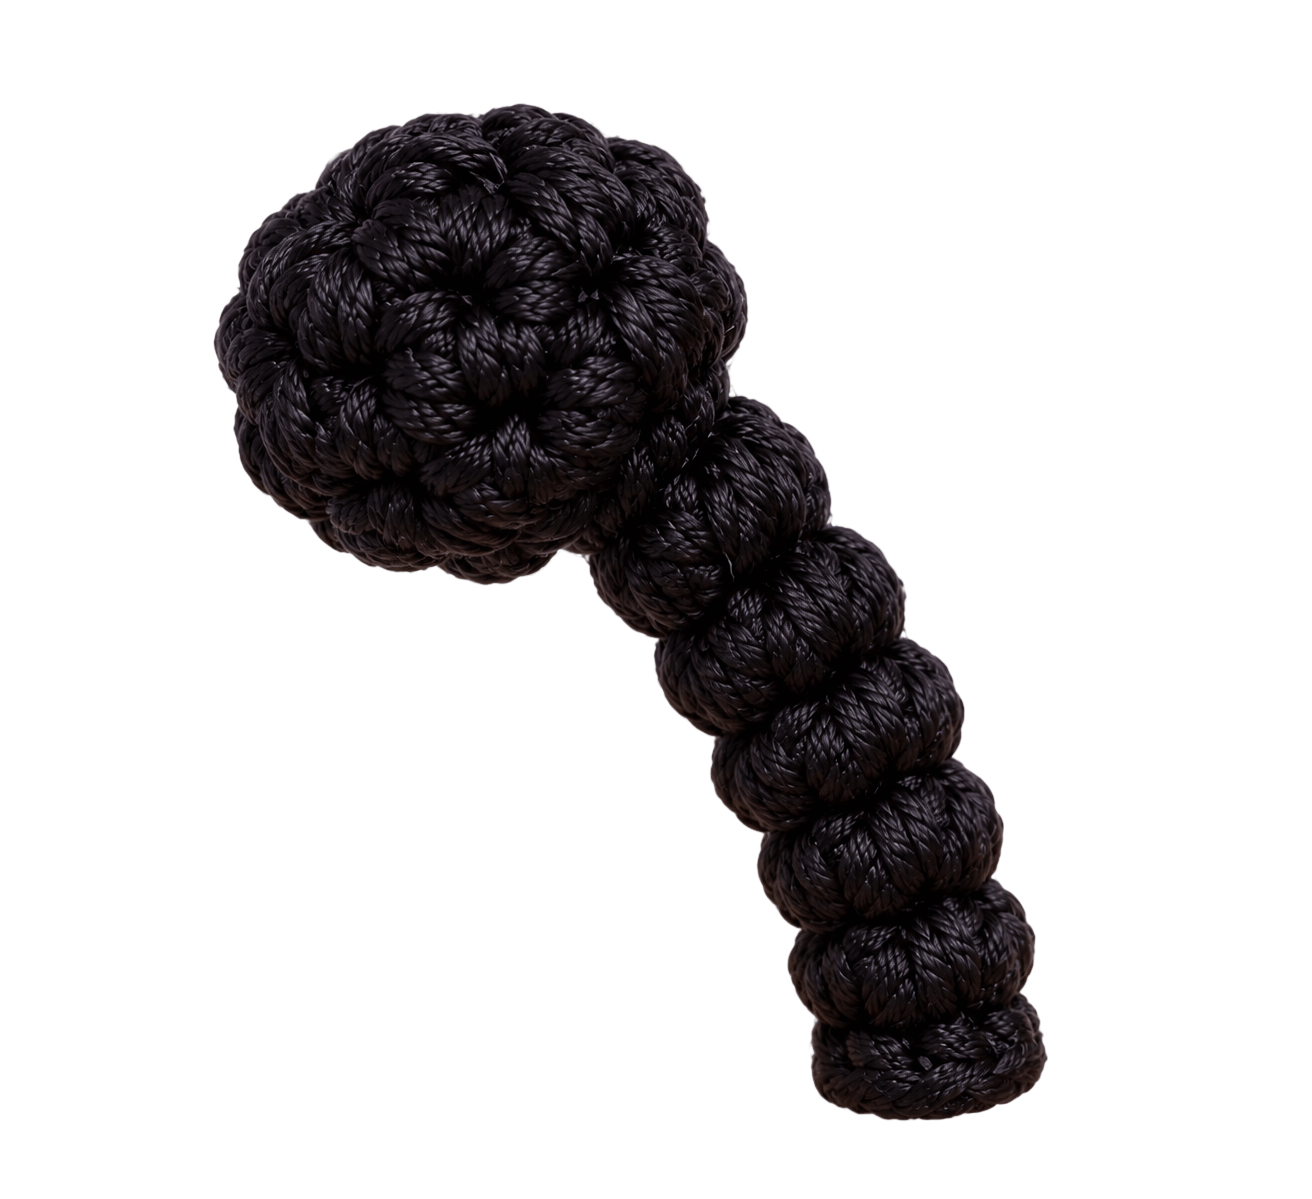
First Antenna
Insert your hook into the top area of the head.
Work:
ch 4
Then make 1 sl st into each chain back toward the head.
Fasten off.
Second Antenna
Repeat the same process on the opposite side.
You can make the antennae slightly longer by adding one or two extra chains.
For a more delicate appearance, use thinner black yarn.
Optional Tiny Legs
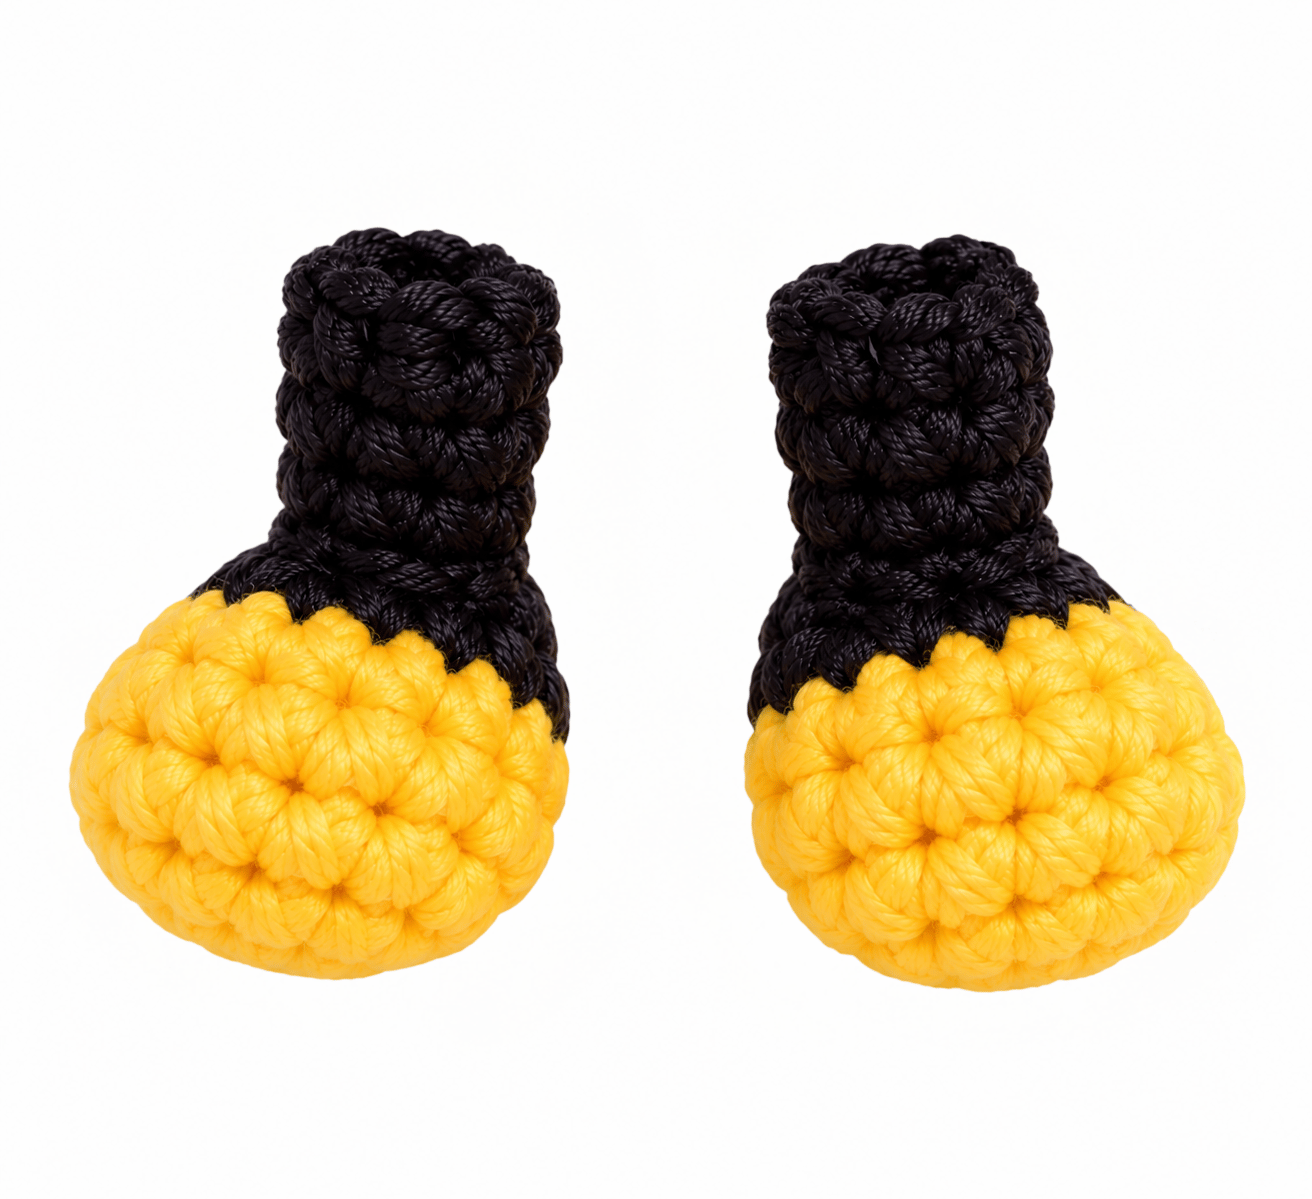
The legs remain optional, but they can give your bee extra personality.
Use black yarn and attach it directly to the lower body.
For each tiny leg:
ch 2, sl st back
Repeat around the lower sides of the bee.
You can add two, four, or six legs depending on the look you want.
For a minimalist bee, skip the legs entirely.
Step 8: Assembly & Finished Size
this pattern needs very little assembly because you crochet most of the components directly onto the body.
Final checklist
Before calling your bee finished, check:
- Safety eyes sit securely
- Body contains enough stuffing
- Final opening looks closed
- Wings sit evenly
- Antennae point upward
- Yarn tails remain hidden
- Stripes look reasonably even
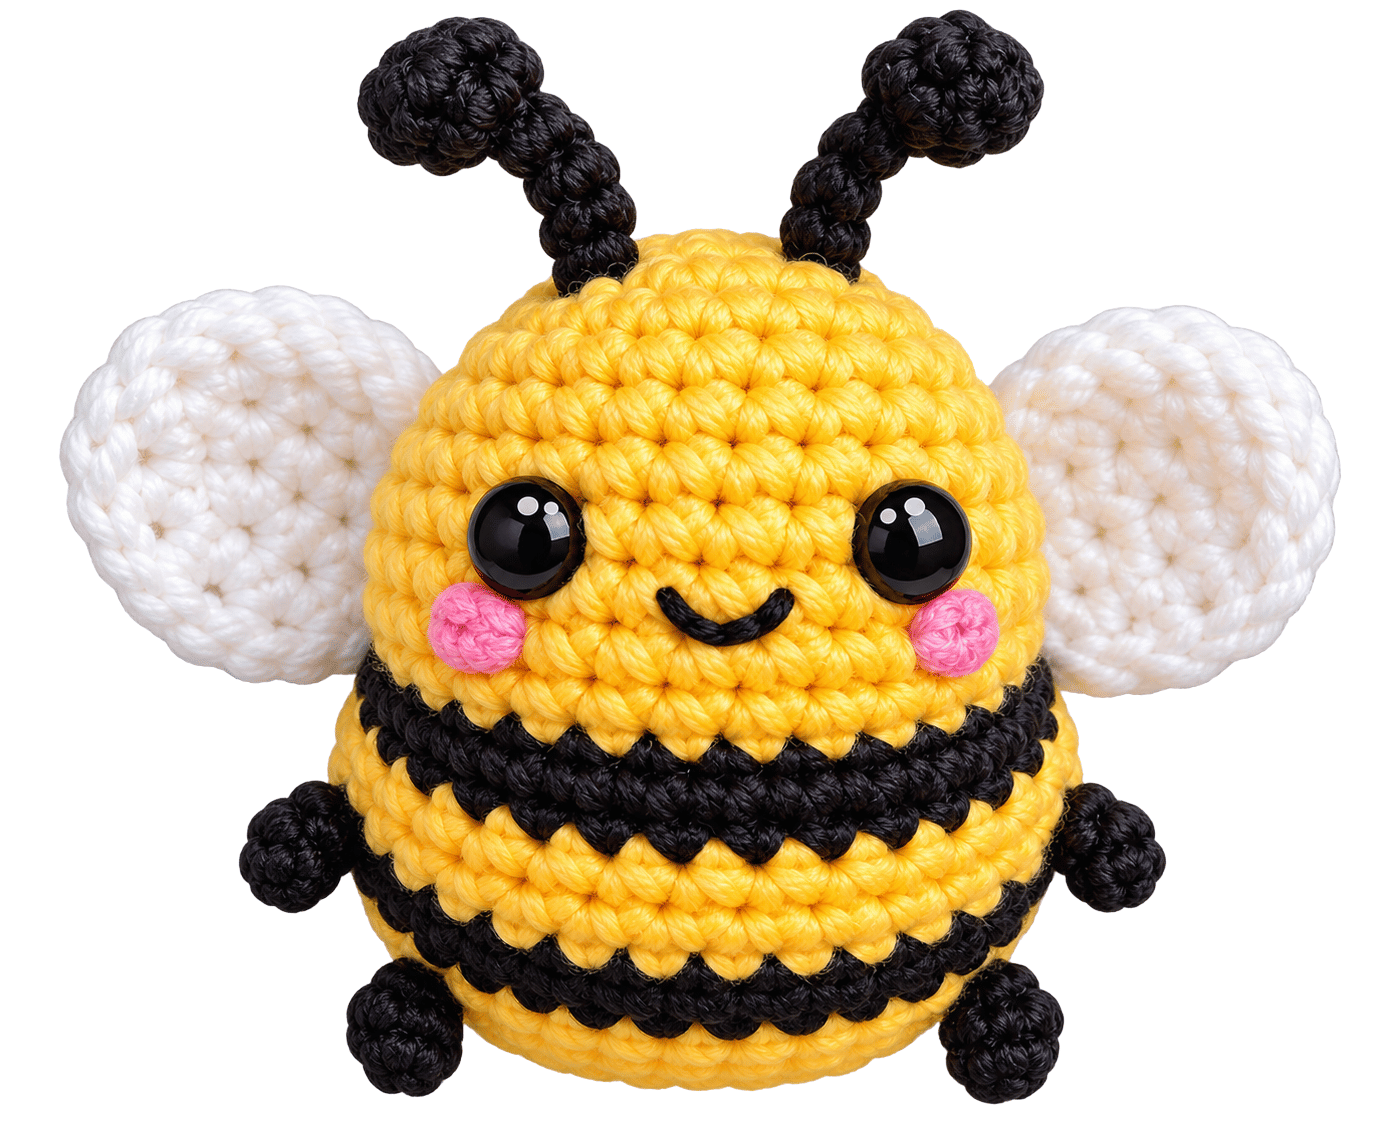
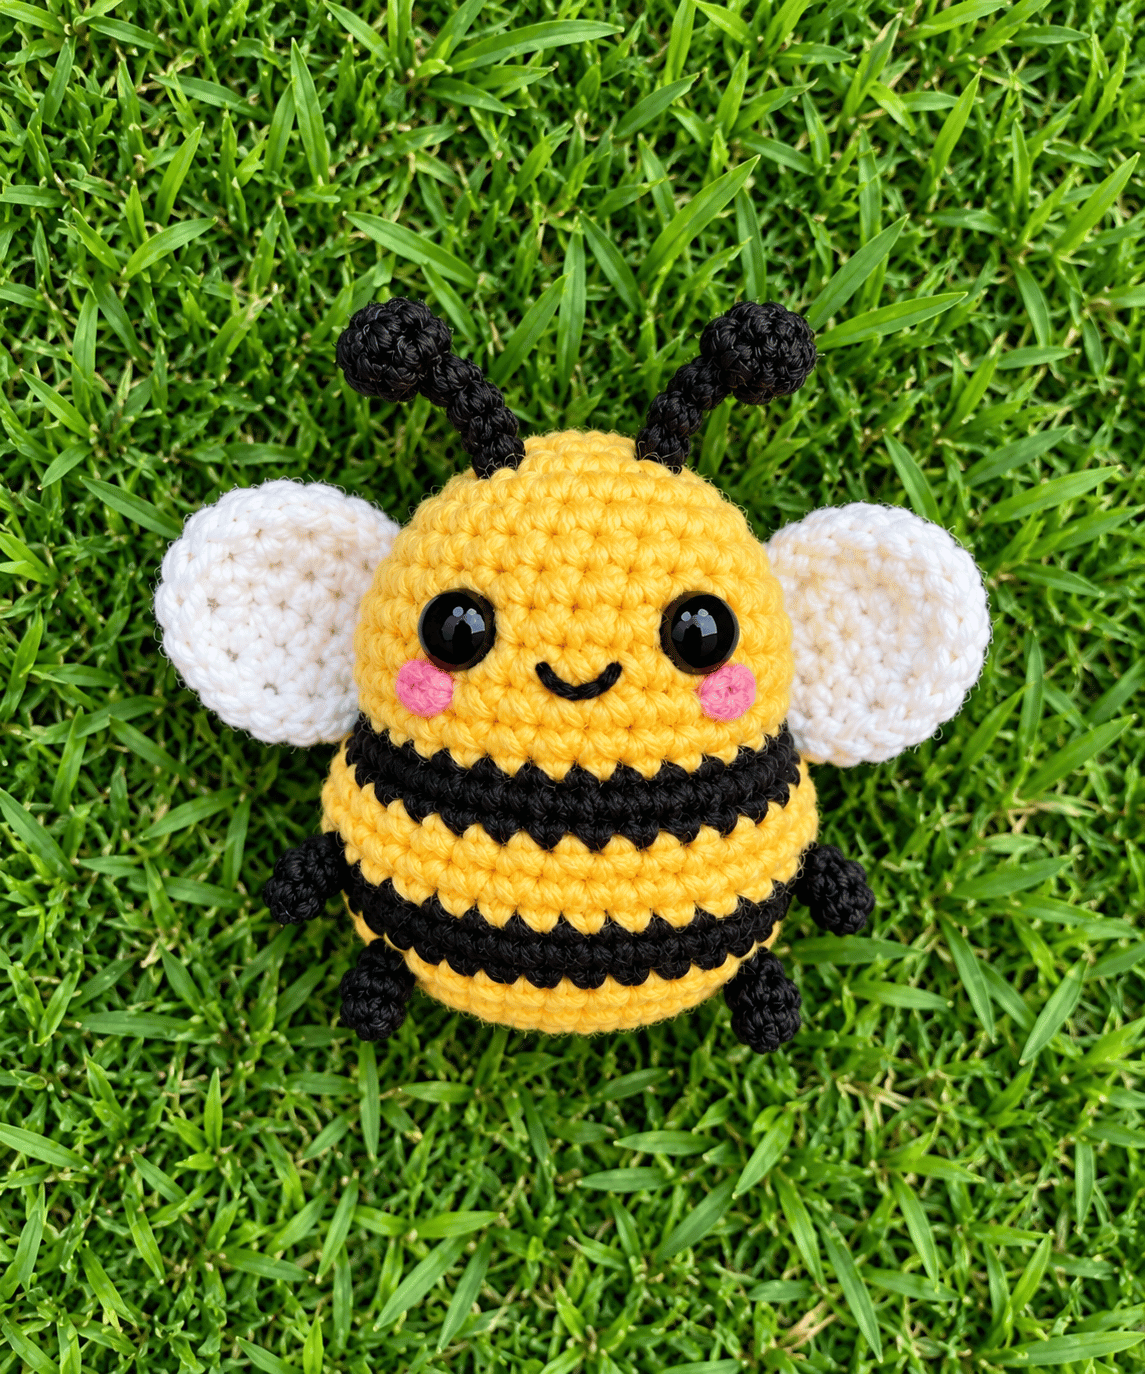
The finished bee should measure approximately 7–9 cm tall.
The body should feel firm but not rock-hard. The wings should remain slightly flexible, while the body should keep its rounded shape.
Assembly
Check these areas before you finish:
- Body: Fully stuffed and securely closed
- Eyes: Firmly attached or embroidered
- Smile: Securely embroidered
- Cheeks: Stitched firmly in place
- Yarn ends: Hidden inside the cloud
- Shape: Soft and evenly rounded
Finished Size
With the recommended yarn and hook, expect approximately:
finished bee should measure approximately 7–9 cm tall.
Your measurements can vary depending on your tension.
Conclusion
No-Sew Crochet Bee Amigurumi Pattern Step by Step gives you a compact project with basic stitches, simple color changes, and very little finishing work.
You’ll create the rounded body with increases and decreases, add two black stripes, attach the wings directly to the body, and finish the face with safety eyes and tiny antennae.
The finished bee measures roughly 7–9 cm, but you can easily scale it up or down by changing your yarn and hook.
If you’re new to amigurumi, focus on tight stitches, gradual stuffing, and even color changes. Those three details will make the biggest difference in the final result.
And once you’ve made one bee, don’t be surprised if you start thinking about making a whole little swarm. One tiny bee is cute. Five tiny bees will look cute Together.
FAQ
My stuffing shows through the stitches
Your stitches may sit too loosely.
Try using a smaller hook while keeping the same yarn. You can also reduce the amount of stuffing slightly.
My bee looks flat
Add stuffing gradually throughout the decrease rounds.
Push the stuffing into the sides rather than placing everything in the center.
My stripes look uneven
Check your tension during color changes.
Also make sure you complete the same number of rounds for each stripe.
My wings look too large
Reduce the wing stitches.
You can try:
ch 2, 2 dc, 1 tr, 2 dc, sl st
This creates a smaller wing.
My bee looks more oval than round
Your body may have stretched because of loose tension or heavy stuffing.
Try a smaller hook and use slightly less stuffing.