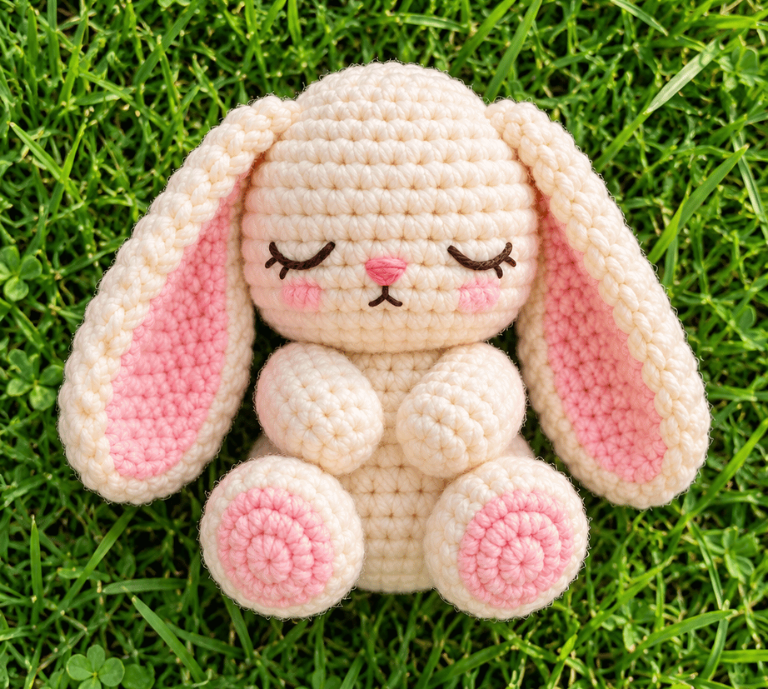
Some crochet projects just seem to belong with a tiny blanket and a cozy little spot on your desk. This Cute Crochet Sleepy Bunny Amigurumi Pattern is definitely one of them.
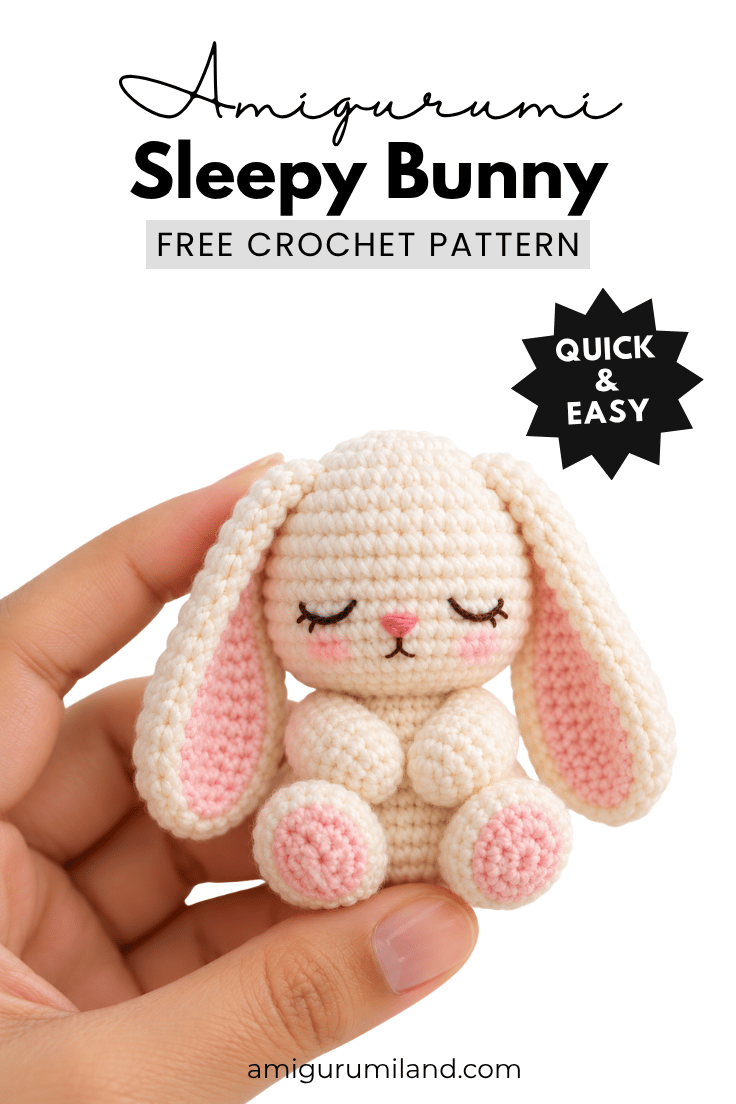
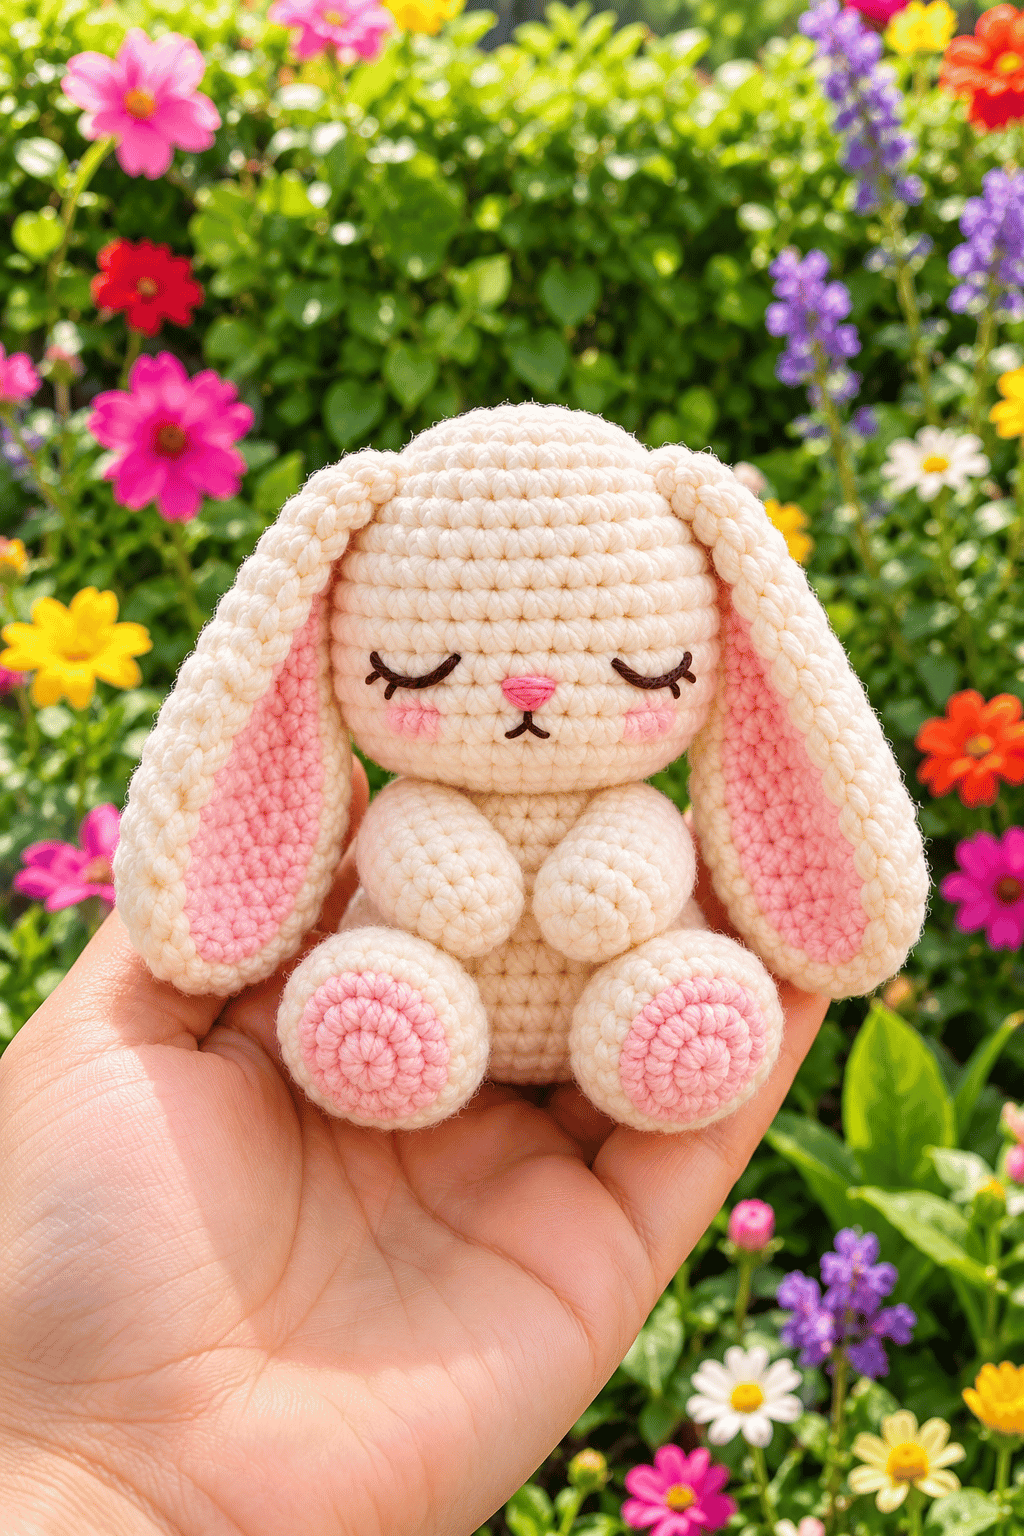
This sweet little bunny has a round body, floppy ears, tiny paws, and a soft sleepy expression. The pattern uses simple amigurumi stitches, so you don’t need advanced crochet skills or complicated shaping to make it.
You can also have fun changing up the look. Try soft pink, creamy white, lavender, light brown, or even a cute gray yarn. You can change the ear position or facial details too, which makes each bunny feel a little different. Pastel shades work especially well for this sleepy design.
In this pattern, I’ll walk you through everything step by step, from the materials and basic stitches to making the body, ears, arms, feet, and tiny tail. We’ll also cover the sleepy face, assembly, and a few finishing tips to help your bunny turn out neat and cuddly.
Materials
- DK/light worsted yarn in your main bunny color
- Small amount of pink yarn
- Black or dark brown embroidery thread
- 2.5–3 mm crochet hook
- Polyester fiberfill
- Yarn needle
- Stitch marker
- Scissors
- Pins
Measurements / Sizing
Using DK-weight yarn with a 2.5–3 mm hook, the finished bunny should measure approximately:
Height: 10–12 cm
Width: 7–8 cm
Ear length: 5–6 cm
Arm length: 3–4 cm
Foot length: 3–4 cm
changing yarn thickness also changes the amount of stuffing and the final proportions.
Gauge and Stitch Pattern
20 single crochet stitches × 22–24 rounds = 10 × 10 cm. Treat this measurement as a guide rather than a strict requirement. The main stitch pattern uses single crochet worked in continuous rounds.
Stitch Abbreviations
This pattern uses standard US crochet terminology.
- MR Magic Ring
- Sc Single CrochetincIncrease
- De cInvisible Decrease
- sl st Slip Stitch
- Ch ChainstStitch
- FO Fasten Off
- BLO Back Loop Only
- R Round
Skill Level – Beginner
You should feel comfortable with:
- Magic ring
- Single crochet
- Increasing
- Decreasing
- Chain stitch
- Slip stitch
- Working in continuous rounds
- Basic embroidery
- Sewing crochet pieces together
Notes Before You Start
Work in Continuous Rounds
The pattern uses continuous rounds, so don’t join each round with a slip stitch unless the instructions specifically tell you to.
Place a stitch marker into the first stitch of every round. Move it upward as you work.
Keep Your Tension Tight
Loose stitches can create little gaps that expose the stuffing.
If you can easily see the stuffing through your stitches, switch to a smaller hook.
Stuff Gradually
Don’t wait until the last few rounds to stuff the bunny.
Add small amounts of stuffing as you crochet the body. Push the stuffing gently into the corners and keep checking the shape.
Crochet Sleepy Bunny Amigurumi Free Pattern Step by Step
Step 1: Crochet the Bunny Body
Start with your main yarn color.
Body
R1: 6 sc into MR (6)
R2: inc around (12)
R3: [sc, inc] × 6 (18)
R4: [2 sc, inc] × 6 (24)
R5: [3 sc, inc] × 6 (30)
R6–R10: sc around (30)
At this stage, your piece should look like a small rounded capsule.
Begin Decreasing
R11: [3 sc, dec] × 6 (24)
R12: [2 sc, dec] × 6 (18)
Start adding stuffing.
Push small amounts of fiberfill into the bottom and sides rather than packing everything into one large lump.
R13: [sc, dec] × 6 (12)
Add a little more stuffing.
Make sure the body feels firm but not rock hard.
R14: dec × 6 (6)
Fasten off and weave the remaining yarn through the front loops of the final stitches.
Pull gently to close the opening.
Tuck the yarn tail inside the body.
Step 2: Make the Bunny Ears
The ears give this bunny most of its personality.
You can make them long and floppy or slightly shorter and rounded.
Make 2 Ears
R1: 6 sc into MR (6)
R2: inc around (12)
R3–R7: sc around (12)
R8: [2 sc, dec] × 3 (9)
R9–R10: sc around (9)
Do not stuff the ears heavily.
A tiny amount of stuffing can add shape, but floppy ears should remain flexible.
Fasten off and leave a long sewing tail.
Optional Inner Ear
If you want extra detail, crochet a smaller inner-ear piece using pink yarn.
Make a simple oval shape:
Ch 5
Work around the chain using sc, adding increases at both ends.
Fasten off and sew the piece onto the front of each ear.
You can also embroider the inner-ear shape directly onto the finished ears.
Step 3: Crochet the Arms
Make two small arms.
R1: 6 sc into MR (6)
R2–R6: sc around (6)
Add a very small amount of stuffing.
R7: dec × 3 (3)
Fasten off and close the opening.
Leave a long yarn tail for sewing.
The arms should remain fairly slim. Overstuffing them can make them look more like tiny sausages than bunny paws. Nobody needs that kind of drama.
Step 4: Crochet the Feet
The feet should look slightly larger than the arms.
Make two.
R1: 6 sc into MR (6)
R2: inc around (12)
R3: sc around (12)
R4: [2 sc, dec] × 3 (9)
R5–R6: sc around (9)
Add a small amount of stuffing.
R7: [sc, dec] × 3 (6)
Fasten off and close.
Leave a long tail for attaching the feet.
Step 5: Add the Tiny Bunny Tail
A fluffy little tail completes the back of the bunny.
You can crochet a small pom-pom-style tail.
Tail
R1: 6 sc into MR (6)
R2: inc around (12)
R3: sc around (12)
R4: dec around (6)
Add a tiny amount of stuffing.
Fasten off and close.
Sew the tail securely onto the back of the bunny.
For an extra fluffy look, you can replace the crochet tail with a small yarn pom-pom.
Step 6: Create the Sleepy Face
This part makes the bunny feel sleepy rather than simply unfinished.
Use black or dark brown embroidery thread.
Closed Eyes
Place each eye slightly below the center of the face.
Create a short curved line using embroidery stitches.
You can make the eyes:
- Slightly curved downward
- Almost straight
- Longer and more dramatic
- Small and subtle
Keep both eyes at roughly the same height.
You can pin or mark the positions before stitching.
Ever notice how moving an eye just one stitch can completely change an amigurumi’s expression? Tiny details have ridiculous amounts of power.
Nose
Use pink yarn or embroidery thread.
Create a tiny triangular or oval nose between the eyes.
Add one or two small stitches below the nose to create a simple mouth.
Keep the mouth small.
A huge smile can quickly change your sleepy bunny into a very enthusiastic bunny.
Step 7: Shape the Bunny’s Face
You can add a little definition around the cheeks.
Use the same main yarn or a slightly darker shade.
Make a few subtle stitches around the lower face to create cheek contours.
Don’t pull the yarn too tightly.
You want gentle shaping rather than deep indentations.
For a softer look, add tiny pink embroidered cheeks.
Step 8: Assembly & Finished Size
Assembly can make or break the final look, so take your time here.
Attach the Ears
Place the ears near the top of the head.
For a sleepy bunny, angle them slightly outward.
Pin both ears before sewing.
Step back and look at the bunny from the front.
Do they sit evenly?
If one ear sits higher than the other, adjust it before sewing permanently.
Attach the Arms
Position the arms around the middle section of the body.
Sew them securely through several stitches.
Keep the arms slightly forward if you want the bunny to look like it’s hugging itself.
Attach the Feet
Place the feet near the bottom of the body.
Angle the toes slightly outward.
Sew through multiple stitches rather than attaching each piece with only one or two points.
Attach the Tail
Turn the bunny around and position the tail slightly above the bottom edge
Assembly
Your cloud doesn’t require complicated assembly.
Check these areas before you finish:
- Body: Fully stuffed and securely closed
- Eyes: Firmly attached or embroidered
- Smile: Securely embroidered
- Cheeks: Stitched firmly in place
- Yarn ends: Hidden inside the cloud
- Shape: Soft and evenly rounded
Finished Size
With the recommended yarn and hook, expect approximately:
Width: 5–7 cm
Height: 4–5 cm
Your measurements can vary depending on your tension.
Conclusion
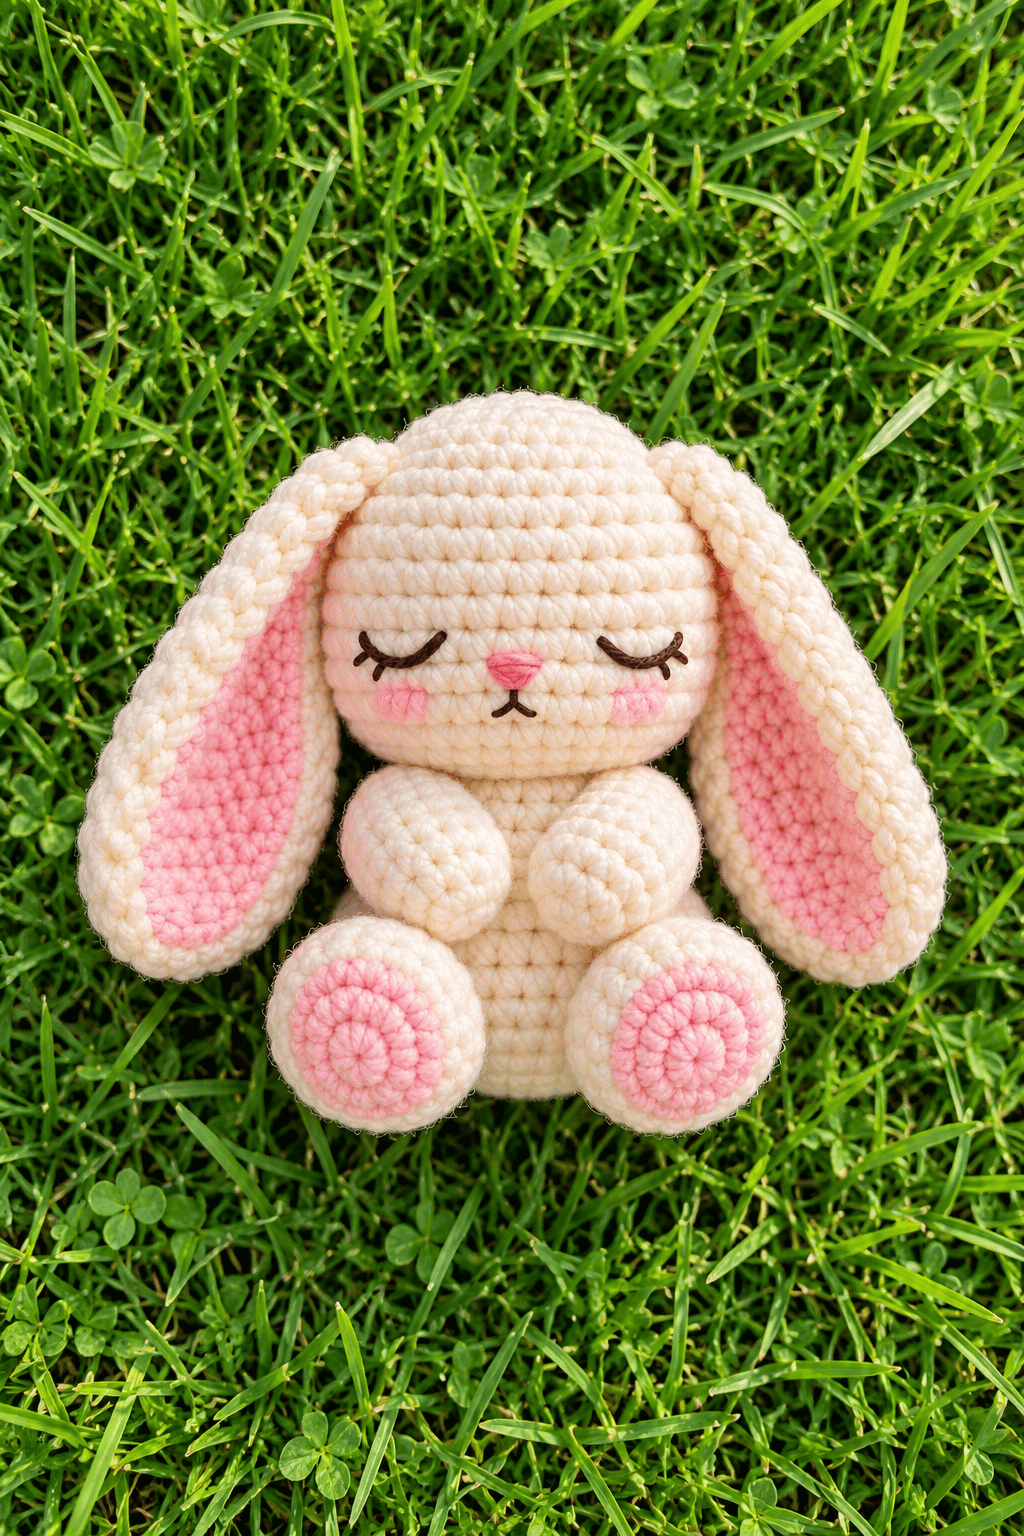
This Cute Crochet Sleepy Bunny Amigurumi Pattern gives you a simple project with plenty of room for personality. The basic body uses familiar amigurumi techniques, while the sleepy embroidered face and floppy ears give the bunny its charm.
Remember the key points: keep your stitches tight, stuff gradually, count your rounds, and take your time with the face. Those little details make a huge difference in the finished result.
Once you finish one bunny, try changing the colors or accessories. You could even create an entire sleepy bunny family with different ear positions and facial expressions.
FAQ
My Bunny Looks Too Flat
You probably need more stuffing.Add small amounts and shape the body with your fingers.Avoid forcing a large amount of stuffing into the opening because it can stretch the stitches.
The Stuffing Shows Through
Your tension may feel too loose.Try a smaller hook.For example, switch from a 3 mm hook to a 2.5 mm hook.
My Bunny Looks Too Tall
Your rounds may run taller because of your stitch tension or yarn choice.Try using a slightly smaller hook or reducing one or two straight rounds.
The Ears Keep Flopping Forward
That actually works nicely for a sleepy bunny.If you want more structure, add a little less stuffing to the ear and sew it more securely at the base.
The Face Looks Uneven
Remove the embroidery and try again.Yes, it’s annoying. But face placement matters more than almost anything else on a small amigurumi.Mark both eyes before stitching to keep them balanced.