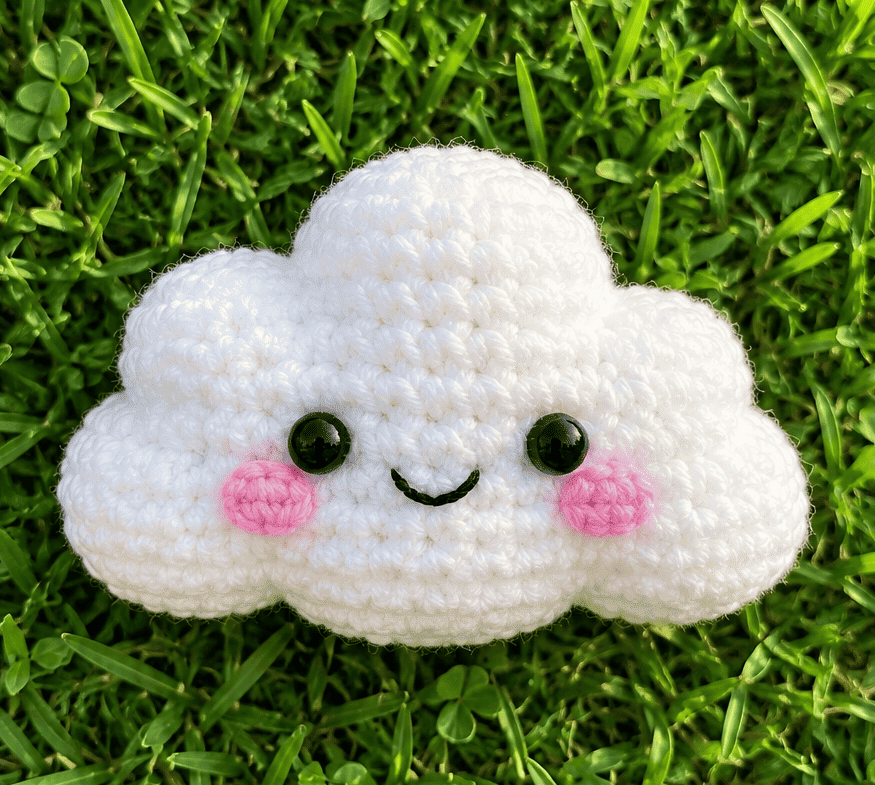
This Mini Cloud Amigurumi Pattern uses simple crochet techniques and a small amount of yarn, so it works especially well for beginners. You can make one as a cute plushie, turn it into a keychain, or use it as a tiny handmade gift.
The shape comes together quickly, and you don’t need complicated color changes or advanced stitches. If you can make a magic ring, single crochet, increases, and decreases, you will already have most of the skills you need.
Free Mini Cloud Amigurumi Pattern
Materials
- White or cream yarn — worsted/DK weight
- Crochet hook suitable for your yarn (around 2.5–3 mm)
- Black embroidery thread for the eyes
- Pink embroidery thread for the cheeks
- Fiberfill stuffing
- Tapestry needle
- Stitch marker
- Scissors
- Optional: small keychain ring
Measurements / Sizing
With DK or light worsted yarn and a 2.5–3 mm hook, the finished cloud should measure approximately:
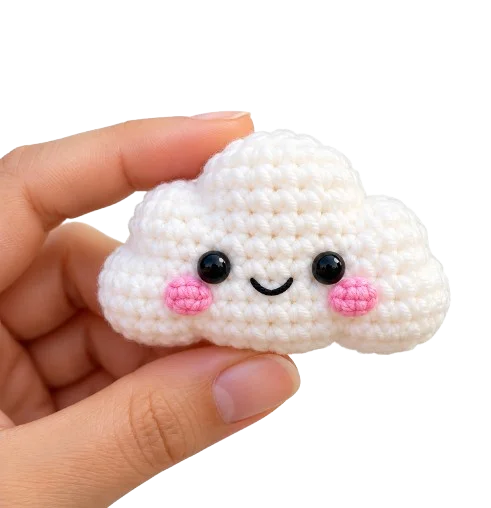
5–7 cm wide × 4–5 cm tall
A tighter crocheter may create a smaller, denser cloud, while a looser tension may create a larger one. If you want a noticeably smaller cloud, switch to thinner yarn and a smaller hook.
Gauge and Stitch Pattern
This pattern doesn’t require an exact gauge because you can use the finished measurements as your main reference.
- Single crochet for the basic structure
- Increases to expand the shape
- Half double crochet and double crochet to create fluffy cloud bumps
- Decreases to close the body
Stitch Abbreviations
This pattern uses standard US crochet terminology.
- MR – Magic Ring
- Sc – Single Crochet
- Hdc – Half Double Crochet
- Dc – Double Crochet
- Inc – Increase
- Dec – Decrease
- sl st – Slip Stitch
- FO – Fasten Off
Skill Level – Beginner
You should know these basic techniques:
- Magic ring
- Single crochet
- Half double crochet
- Double crochet
- Increase
- Invisible decrease
- Slip stitch
- Basic yarn fastening
Notes Before You Start
Work the cloud in continuous rounds rather than joining every round with a slip stitch. Keep your tension fairly firm. Loose stitches can create visible gaps, especially after you add the stuffing.
Mini Cloud Amigurumi Pattern Step by Step
Step 1: Start the Magic Ring
Create a magic ring with your white or cream yarn.
Work:
6 sc into the magic ring.
You should have:
[6]
Pull the yarn tail gently to close the center.
Don’t pull so hard that you distort the first stitches. You only need to close the small hole.
Step 2: Build the Base
- Round 2
Work:
inc in each stitch around
You should finish with:
[12]
The circle will start expanding.
- Round 3
Work:
(sc, inc) × 6
You should have:
[18]
Keep your stitches fairly even. If the circle starts curling slightly, check your stitch count before continuing.
- Round 4
Work:
(2 sc, inc) × 6
You should finish with:
[24]
You now have the basic rounded foundation for your cloud.
Step 3: Create the Fluffy Cloud Shape
This round gives the cloud its personality.
Work around the 24 stitches using a mixture of regular and taller stitches.
Follow this sequence:
3 sc, 3 dc in next stitch, 3 sc, 3 hdc in next stitch, 3 sc, 4 dc in next stitch, 3 sc, 3 hdc in next stitch, 3 sc, 3 dc in next stitch, sc in remaining stitches.
The taller stitches push parts of the edge outward and create rounded bumps.
Don’t worry if the shape looks a little strange while you crochet it. Those bumps will become much more obvious after you shape and stuff the piece.
Step 4: Stabilize the Shape
- Round 6
Work:
sc around
Keep the stitch count at approximately:
[24]
This round helps bring the shape back together after the taller stitches.
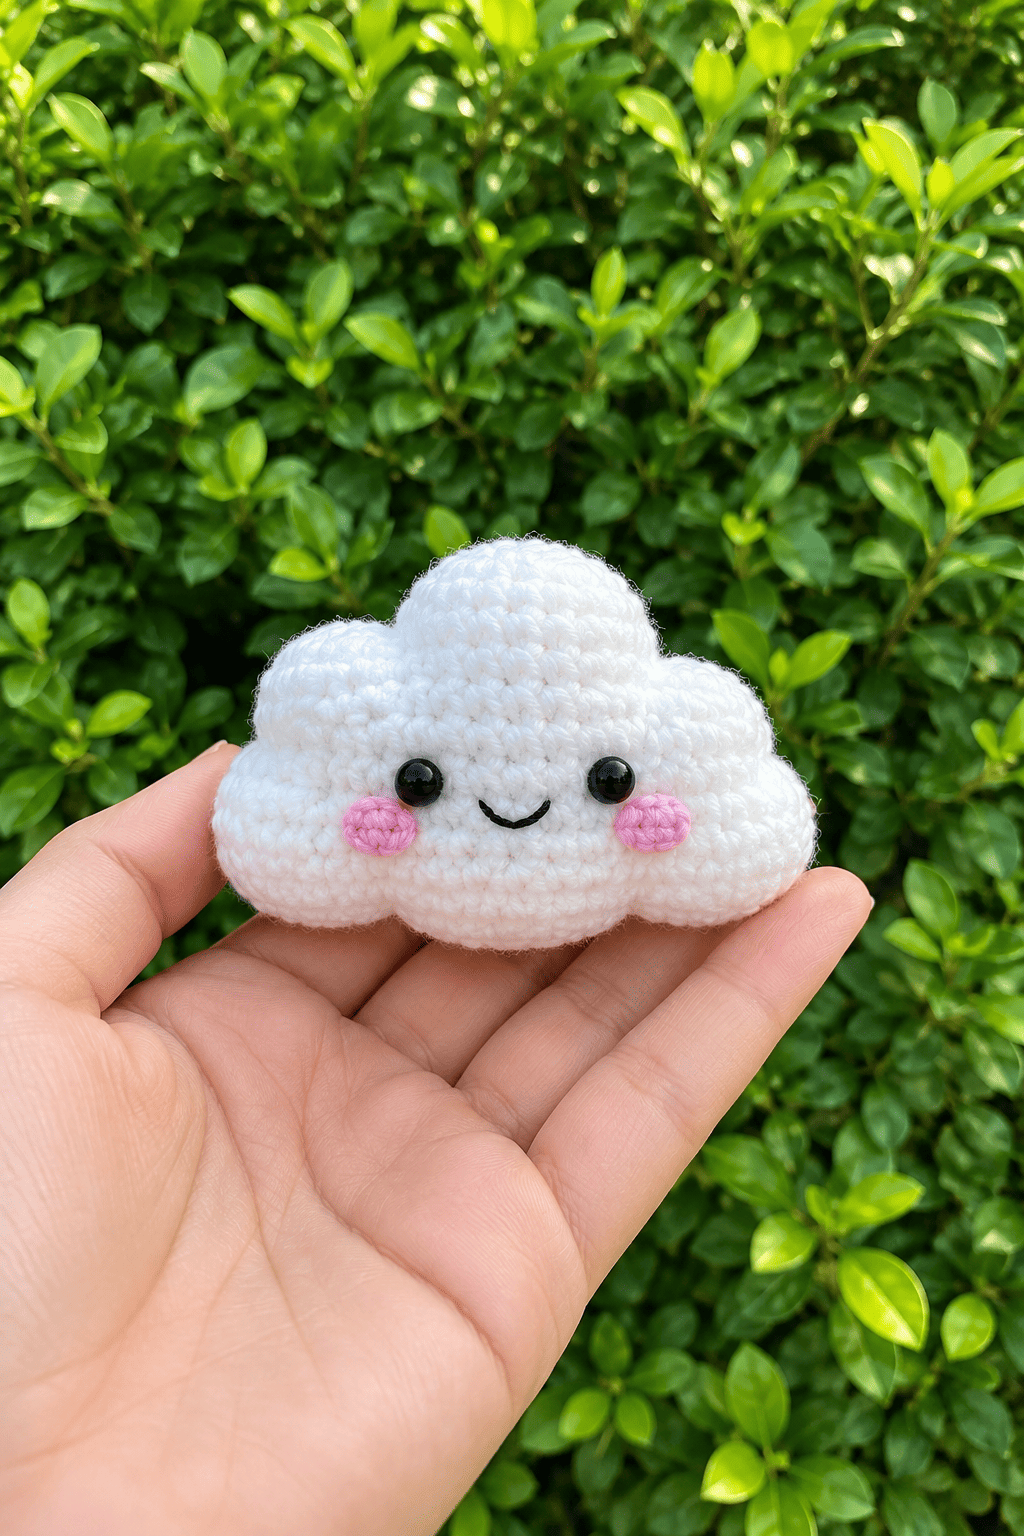
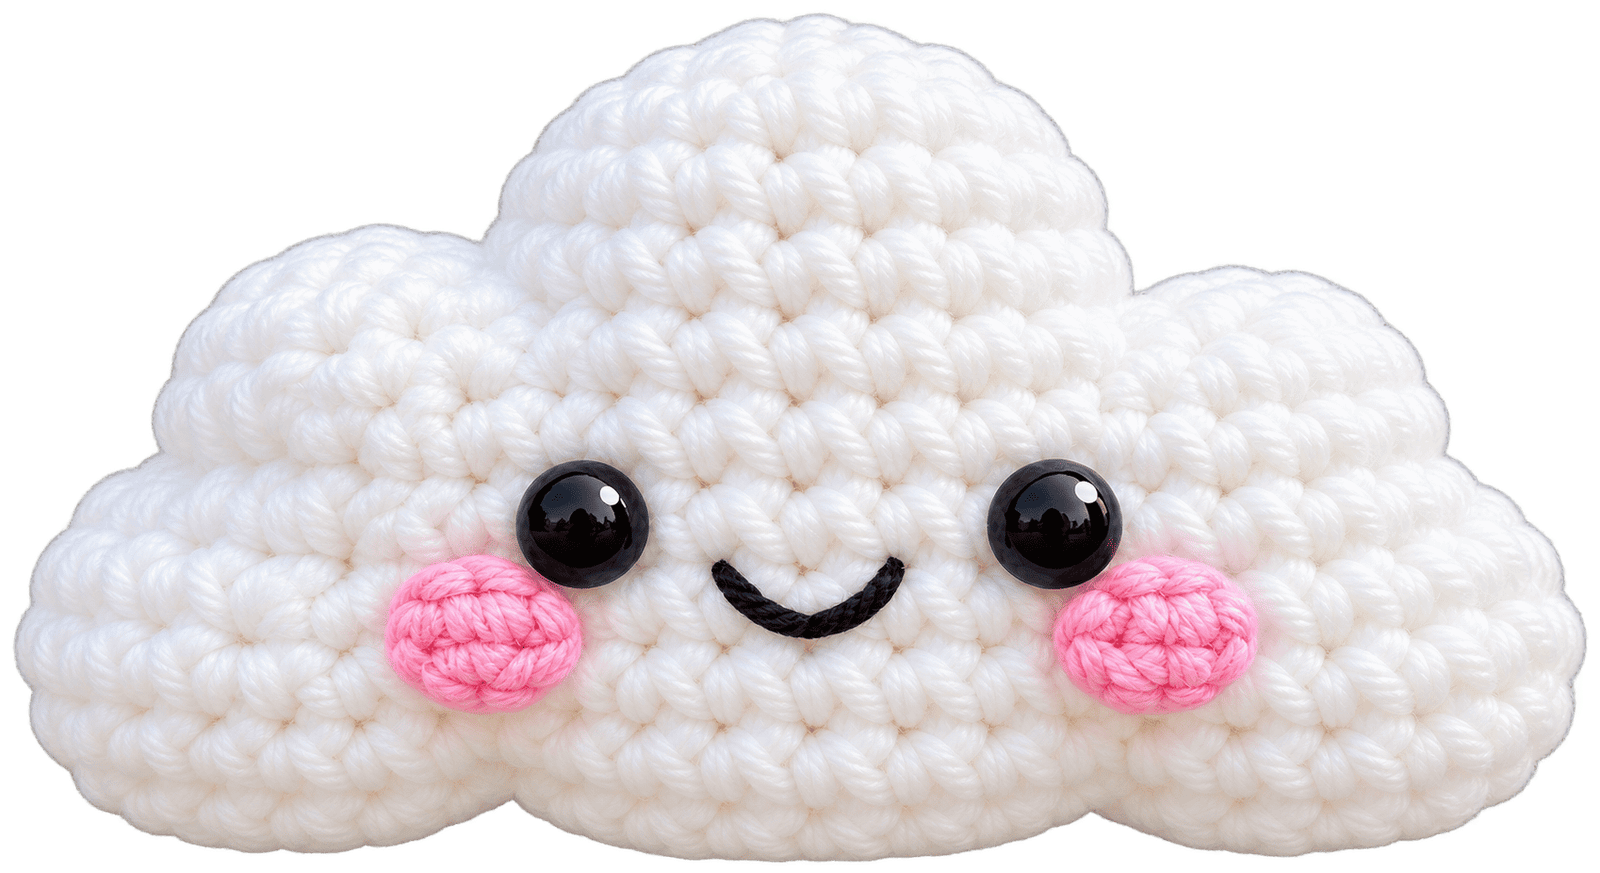
check your cloud from the front. You should see a wider lower section with several rounded bumps across the top.
Step 5: Start Closing the Cloud
- Round 7
Work:
(2 sc, dec) × 6
You should have:
[18]
The opening will start becoming smaller.
- Round 8
Work:
(sc, dec) × 6
You should have:
[12]
Start adding fiberfill during this stage.
How Much Stuffing Should You Add?
Add the stuffing a little at a time.
Push it gently into the corners and rounded sections. Then check the shape from the front.
You want a soft, rounded cloud rather than a rock-hard ball.
Why does that matter? Too much stuffing can stretch the stitches and make the crochet texture look uneven.
Step 6: Close the Cloud
Round 9
Work:
dec × 6
You should finish with:
[6]
Cut the yarn and leave a long tail.
Thread the tail onto your tapestry needle. Weave through the front loops of the remaining stitches and pull gently.
The opening should close neatly.
Secure the yarn and hide the remaining tail inside the cloud.
Your main cloud shape is complete.
Step 7: Add the Cute Face
Now you can give your little cloud some personality.
- Add the Eyes
Place two small black safety eyes on the front.
Keep them evenly spaced around the center of the cloud.
For a cute kawaii expression, place the eyes slightly below the widest part of the upper bumps. Avoid placing them too close to the edges.
If you prefer a completely child-safe design, embroider the eyes with black yarn instead of using safety eyes.
- Add the Smile
Use black embroidery thread to create a small curved smile.
A simple shallow U-shaped smile works beautifully.
Keep it small. The eyes and cheeks already give the cloud plenty of character.
Step 8: Add Pink Cheeks
Use pink yarn or embroidery thread for the cheeks.
Make two small round patches underneath the eyes.
You can create each cheek with a few simple stitches or crochet tiny circles and sew them onto the cloud.
Keep both cheeks approximately the same size.
A little asymmetry can look handmade and charming, but dramatically different cheeks can make the cloud look Cute.
Assembly
Your cloud doesn’t require complicated assembly.
Check these areas before you finish:
- Body: Fully stuffed and securely closed
- Eyes: Firmly attached or embroidered
- Smile: Securely embroidered
- Cheeks: Stitched firmly in place
- Yarn ends: Hidden inside the cloud
- Shape: Soft and evenly rounded
Finished Size
With the recommended yarn and hook, expect approximately:
Width: 5–7 cm
Height: 4–5 cm
Your measurements can vary depending on your tension.
Conclusion
This Mini Cloud Amigurumi Pattern step by step gives you a simple way to create a tiny handmade cloud with basic crochet techniques. You only need a few supplies, and the project doesn’t require complicated shaping or advanced colorwork.
The important parts are keeping your stitches tight, counting your rounds, adding stuffing gradually, and shaping the cloud bumps carefully. Small details such as the pink cheeks and embroidered smile bring the finished piece to life.
Once you finish one, try changing the colors, expression, or size. A tiny cloud can become a plushie, keychain, bag charm, decoration, or part of a larger crochet collection.
Grab your yarn, keep that stitch marker nearby, and give your little cloud a personality of its own.
FAQ
My cloud has holes between the stitches.
Your hook may feel too large for your yarn, or you may crochet too loosely.
Try using a smaller hook and keep your tension firm.
My cloud looks too flat.
Add a little more stuffing and gently shape the center.Don’t pack the fiberfill tightly. Small additions give you much more control.
My cloud looks like a ball instead of a cloud.
Check your taller stitches in the cloud-shaping round.The hdc and dc stitches create the raised bumps, so consistent placement matters.
My cloud keeps getting bigger than expected.
Check your stitch count after every increase round.An accidental extra increase can change the shape surprisingly quickly in a small amigurumi project.
My face looks uneven.
Don’t sew the facial features until you’ve decided which side looks best.Place the eyes loosely first, step back, and check the expression. Once everything looks balanced, secure the pieces.